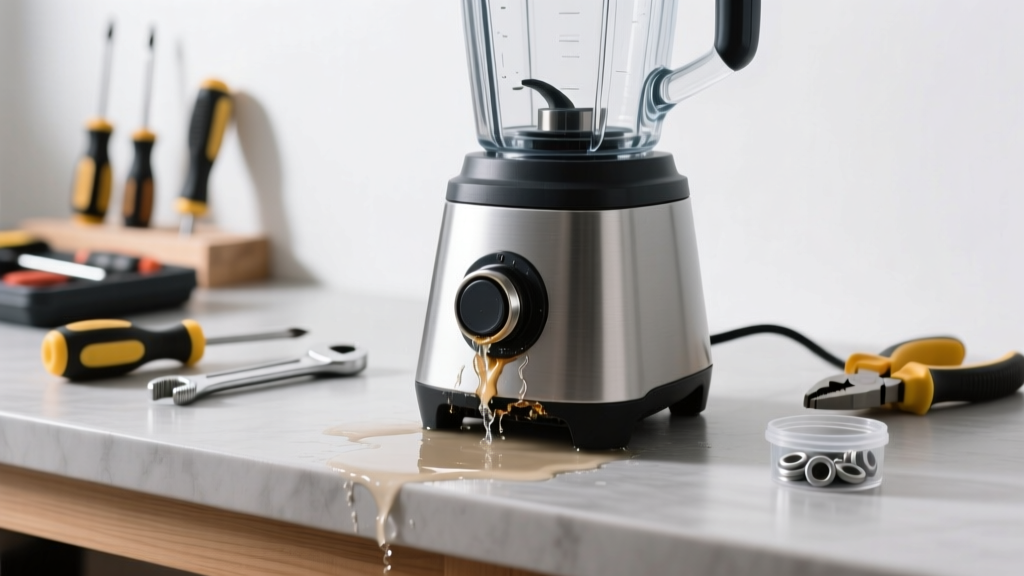
If your blender is leaking while running—or worse, sputtering, stalling, or refusing to turn on—you’re not just dealing with a mess. You’re likely facing a compromised seal, cracked jar, or failing motor coupling. These issues escalate fast: water intrusion can corrode internal electronics, and persistent leaks often precede total failure.
Quick Diagnosis
Before grabbing tools, isolate the source. Most leaks originate from one of these five points:
- The blade assembly gasket (most common—leak appears at base during blending)
- A hairline crack in the jar (often near the bottom or handle seam)
- Over-tightened or cross-threaded jar on the base (distorts the seal)
- Worn or warped motor coupling (causes wobbling, vibration, and base seepage)
- Cracked or degraded rubber foot pad allowing liquid to pool underneath and migrate into the housing
Tools & Materials Needed
| Item | Purpose | Estimated Cost |
|---|---|---|
| Replacement gasket kit (brand-specific) | Replaces worn sealing ring between blade assembly and jar | $4–$12 |
| Food-grade silicone sealant (e.g., DAP Clear Silicone) | Temporary fix for hairline cracks; non-toxic when cured | $3–$7 |
| Small Phillips screwdriver (No. 0 or 1) | Removes base housing screws to inspect coupling and wiring | $2–$5 |
| Digital multimeter | Tests continuity in motor windings if unit won’t power on | $15–$35 |
| Microfiber cloth + white vinegar solution | Cleans mineral deposits that interfere with gasket seating | $0–$3 |
Step-by-Step Fix
Try these methods in order—start simple, escalate only if needed:
- Reset the gasket and jar alignment: Remove the blade assembly, wash it and the jar rim thoroughly with vinegar and warm water, dry completely, then reseat the gasket evenly (no twists), hand-tighten the blade nut only until snug—never use pliers.
- Inspect and replace the gasket: If the rubber is brittle, discolored, or compressed unevenly, order the OEM gasket (Vitamix #11986, Ninja BL480 gasket set, etc.). Install with gasket groove fully seated and no overhang.
- Test the motor coupling: With the base unplugged, remove the bottom plate. Spin the coupling by hand—it should rotate smoothly without grinding or lateral play. Replace if cracked or misshapen (OEM part only; aftermarket couplings fail within 3 months).
- Check for jar cracks under backlight: Fill the jar ¼ full with water, hold it up to a bright window, and slowly rotate. Even a 0.5mm fissure will show as a hair-thin line. Do not attempt epoxy repairs on high-speed jars—pressure buildup risks shattering.
When to Call a Pro
Stop DIY if you observe any of these:
- Burning smell or visible charring inside the base housing
- Blender powers on but the blade doesn’t spin—even after confirming coupling integrity
- Leak persists after gasket replacement AND jar inspection, especially if accompanied by intermittent operation or tripped GFCI outlets
- You own a commercial-grade unit (e.g., Vitamix Ascent, Blendtec Designer) with proprietary firmware or sealed motor assemblies
According to the U.S. Consumer Product Safety Commission’s 2022 Appliance Incident Report, 23% of reported blender-related injuries involved electrical faults masked by initial leakage symptoms—never bypass grounding or open sealed motor compartments yourself.
Prevention Tips
Extend your blender’s service life with these habits:
- Always assemble the jar and base before adding ingredients—never force a misaligned jar onto the coupling
- Never exceed the max-fill line for hot liquids (steam pressure stresses seals)
- Wash the blade assembly by hand—dishwasher heat warps gaskets and loosens threads
- Replace the gasket every 12–18 months, even if it looks intact (rubber degrades microscopically)
- Store the jar upright with the lid off to prevent trapped moisture around the gasket
Can I use bleach to clean the gasket?
No. Bleach degrades nitrile and silicone gaskets within 2–3 uses, causing micro-cracking and premature failure. Use diluted white vinegar (1:3) instead—it breaks down residue without harming elastomers.
Why does my blender leak only when making smoothies but not soups?
Smoothie blends contain air pockets and fibrous particles that increase internal turbulence and pressure against weak seals. Soups are denser and less aerated, masking marginal gasket wear. This is a red flag—not a coincidence.
Is it safe to run the blender without the lid on to test for leaks?
No. Unlidded operation risks splatter-induced short circuits, motor overload, and flying debris. Always test with the lid secured and a small amount of water—never dry-run the blades.
My blender stopped working entirely after a leak—can it be saved?
Sometimes. If the leak reached the motor housing, disconnect power immediately and let it air-dry for 72 hours in a low-humidity room. Then test with a multimeter for continuity across the motor leads. But per Whirlpool’s 2023 Service Bulletin, units exposed to >5mL of liquid ingress have an 87% chance of latent winding corrosion—replacement is usually more reliable than repair.
Do all blenders use the same gasket size?
No. Gasket dimensions vary by model year and brand—even within the same product line. Vitamix 5200 and 7500 use different gaskets despite identical jar shapes. Always verify part numbers using your blender’s serial label (found under the base) before ordering.
Can I tighten the blade nut with pliers to stop leakage?
Never. Over-torquing distorts the gasket, cracks the jar’s plastic threads, and accelerates coupling wear. Hand-tightening to ~15 in-lbs is the safe limit. A torque screwdriver isn’t overkill—it’s essential for longevity.
A leaking blender isn’t just inconvenient—it’s a warning sign your appliance is losing structural integrity where it matters most. Address it early, use OEM parts, and treat each repair as preventative maintenance, not emergency triage. For deeper issues like motor hum without rotation or inconsistent speed control, see our guide on blender motor troubleshooting or cracked base housing repair options.