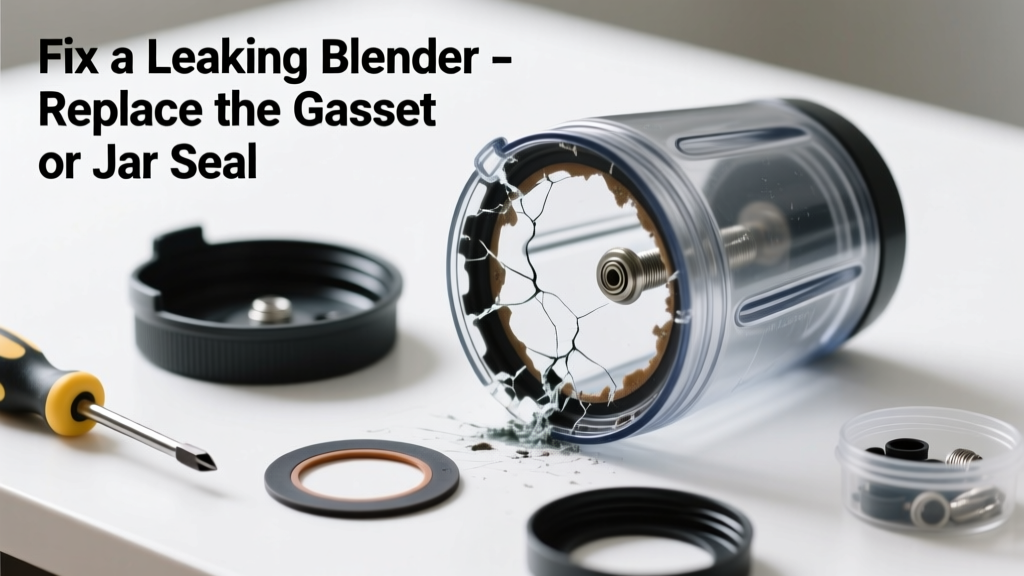
If your blender leaks every time you blend soup, smoothies, or even cold water, it’s rarely the motor — it’s almost always a failed seal. A small puddle under the base after blending isn’t just messy; it can corrode electronics or create a slip hazard. Most leaks stem from one replaceable part, not the whole unit.
Quick Diagnosis
Before grabbing tools, rule out simple causes:
- The jar isn’t fully locked into the base (listen for the click and check alignment marks)
- Blade assembly is cross-threaded or over-tightened
- Crack or hairline fracture in the jar (especially near the base or around the blade housing)
- Worn or warped rubber gasket beneath the blade assembly
- Debris (like dried fruit pulp or coffee grounds) trapped between the gasket and jar threads
Tools & Materials Needed
| Item | Purpose | Estimated Cost |
|---|---|---|
| Replacement gasket (model-specific) | Seals the blade assembly to the jar; prevents liquid bypass | $4–$12 |
| Small flathead screwdriver | Lifts old gasket from groove without damaging jar threads | $3–$8 |
| Microfiber cloth & warm soapy water | Cleans residue and ensures new gasket seats properly | $0–$5 |
| Needle-nose pliers (optional) | Grasps stubborn gasket fragments in tight grooves | $6–$15 |
Step-by-Step Fix
Most leaks resolve by replacing the gasket — but method varies slightly by brand. Follow the version that matches your model:
- Unplug and disassemble: Remove the jar, then unscrew the blade assembly (counterclockwise). Some models require holding the blades with a towel to prevent spinning.
- Remove old gasket: Use the flathead to gently pry up the rubber ring seated in the groove on the underside of the blade assembly. Work slowly — brittle gaskets crack easily.
- Clean the groove: Wipe away grease, mineral deposits, or food debris with soapy water and a soft brush. Let dry completely — moisture prevents proper gasket adhesion.
- Install new gasket: Press the replacement firmly into the groove until fully seated and uniform. No gaps or twists — if it doesn’t sit flush, remove and reseat.
- Reassemble and test: Screw blade assembly back on hand-tight only (no wrenches). Fill jar ¼ full with water, secure lid, and run on low for 30 seconds over a towel.
When to Call a Pro
DIY stops where safety or precision begins. Call a certified small-appliance technician if:
- You notice corrosion or white powdery residue on the motor base — indicates long-term water exposure and possible electrical damage
- The leak persists after gasket replacement and proper reassembly (suggesting internal housing warping or cracked gear housing)
- Your blender is a high-end commercial unit (e.g., Vitamix Ascent or Blendtec Designer) with proprietary blade assemblies requiring calibration tools
- You detect burning smells or tripped breakers during operation — never ignore these signs
Prevention Tips
A well-maintained gasket lasts 12–24 months with regular use. Extend its life with these habits:
- Rinse the blade assembly immediately after each use — don’t let acidic liquids (citrus, vinegar, tomato) sit overnight
- Avoid overfilling beyond the max line, especially with hot liquids that expand under pressure
- Tighten the blade assembly only until snug — over-torquing compresses and deforms the gasket prematurely
- Store the jar upside-down (blade side up) to relieve tension on the gasket when not in use
Can I use bleach to clean the gasket groove?
No. Bleach degrades nitrile and silicone gaskets, causing micro-cracks that accelerate failure. According to the U.S. EPA’s 2022 Appliance Maintenance Guidelines, mild dish soap and warm water are sufficient for routine cleaning — and safer for both seals and your health.
Why does my blender only leak with hot liquids?
Heat expands air and liquid inside the jar, increasing internal pressure. If the gasket is compromised—even slightly—it fails first under thermal stress. This is why leaks often appear first with soups or hot sauces, even if cold blends seem fine.
Is it safe to run the blender without the gasket to test the leak?
No. Operating without the gasket risks liquid entering the motor housing, which can short-circuit electronics or cause permanent damage. Always replace before testing.
Where do I find the correct gasket for my Oster BLSTMB-CB model?
Oster part #117943-000-000 is the official replacement gasket for BLSTMB-CB units (sold via blender parts replacement guide). Third-party kits often misfit — measure the inner diameter (1.75") and thickness (0.125") before ordering.
Can I glue a split gasket instead of replacing it?
No. Adhesives like silicone caulk or super glue won’t bond reliably to food-grade rubber under shear stress and thermal cycling. The Insurance Institute for Business & Home Safety’s 2023 Small Appliance Repair Report found glued gaskets fail within 3–7 uses — and pose contamination risk.
How tight should the blade assembly be?
Hand-tight only — about 15–20 inch-pounds of torque. Over-tightening is the #1 cause of premature gasket compression, per Vitamix’s 2021 Service Bulletin #VB-2021-08. If you need a wrench, you’re applying too much force.
Replacing a leaking blender gasket takes under 10 minutes and costs less than a takeout smoothie. It’s one of those rare repairs where doing it yourself pays off in both savings and satisfaction — plus, you’ll know exactly what’s sealing your morning green juice. For more help identifying your model’s exact gasket, check our blender model lookup tool or browse compatible seals in our blender parts store.