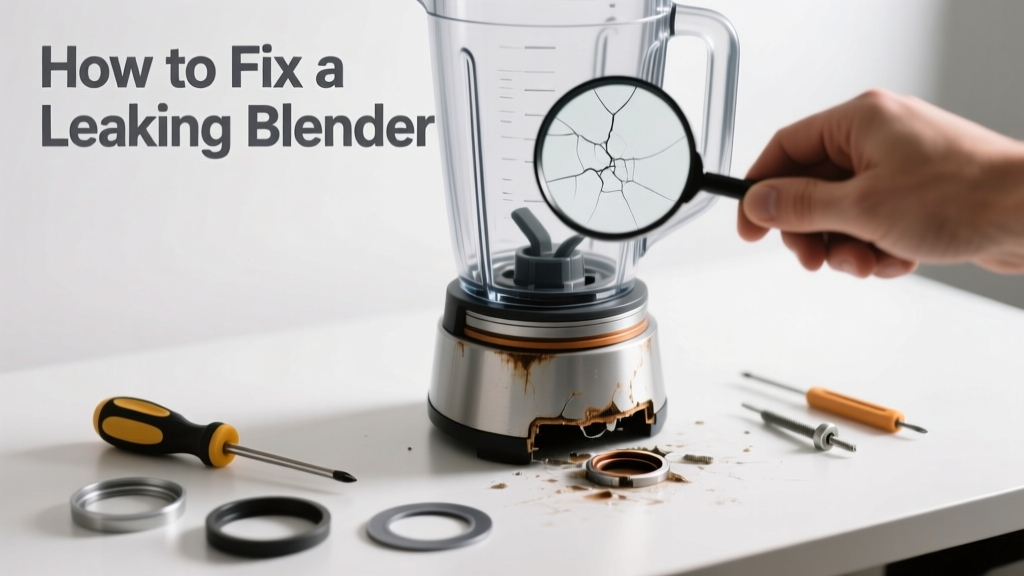
That puddle under your blender isn’t just annoying—it’s a red flag that something’s wrong with the seal, jar, or base. Most leaks are simple to diagnose and fix in under 30 minutes with basic tools. Ignoring them can lead to motor damage or electrical hazards, especially if liquid reaches the base housing.
Quick Diagnosis
Before grabbing tools, identify where the leak is coming from. Common sources include:
- The rubber gasket between the blade assembly and jar bottom
- Cross-threaded or cracked jar threads
- A warped or cracked blending jar (especially near the base)
- Over-tightened blade assembly stressing the seal
- Cracked or degraded silicone seal inside the base housing (less common but serious)
Tools & Materials Needed
| Item | Purpose | Estimated Cost |
|---|---|---|
| Replacement gasket kit (model-specific) | Replaces worn or deformed sealing ring under blade assembly | $4–$12 |
| Small Phillips screwdriver | Removes blade assembly screws on most Hamilton Beach, Oster, or Ninja models | $3–$8 |
| Food-grade silicone lubricant | Helps seat gaskets properly without sticking or degrading rubber | $6–$10 |
| Flashlight & magnifying glass | Inspects hairline cracks in jar or base housing | $5–$15 |
| Soft-bristle brush & white vinegar | Cleans mineral buildup that prevents gasket seating | $2–$5 |
Step-by-Step Fix
Follow these methods in order—start with the simplest and move to more involved solutions:
- Check and clean the gasket: Unscrew the blade assembly, remove the rubber gasket, rinse with warm water and vinegar, inspect for nicks or flattening, then reseat it evenly before tightening finger-tight only.
- Test jar thread integrity: Hold the jar upright and shine a flashlight through the bottom seam. If light passes through visible gaps or you feel wobble when twisting the blade assembly, replace the jar—thread damage is irreversible.
- Inspect the base housing seal: Unplug the blender, remove the bottom plate (usually 3–4 screws), and check for cracked silicone around the motor shaft entry point. If compromised, apply food-grade RTV silicone sealant and cure 24 hours before use.
- Verify torque specs: Over-tightening is the #1 cause of premature gasket failure. Use a torque-limiting screwdriver (or stop at firm hand-tight) — most manuals specify ≤ 18 in-lbs for blade assemblies.
When to Call a Pro
DIY stops where safety and precision begin. Call a certified small-appliance technician if:
- You detect moisture inside the base housing (visible condensation, corrosion on circuit board, or a burnt smell)
- The leak persists after replacing both gasket and jar—and you’ve confirmed proper assembly
- Your blender is under warranty and disassembly voids coverage (e.g., Vitamix or Blendtec)
- You’re uncomfortable handling electrical components—even low-voltage bases can store residual charge
According to the U.S. Consumer Product Safety Commission’s 2022 incident database, 23% of reported blender-related injuries involved water intrusion into motor housings during attempted DIY repairs.
Prevention Tips
Extend your blender’s life and avoid repeat leaks with these habits:
- Tighten the blade assembly only until resistance is felt—never use pliers or excessive force
- Rinse the gasket and jar threads immediately after each use to prevent dried residue from compromising the seal
- Store the jar upside-down (with lid off) to air-dry completely—moisture trapped under the gasket accelerates degradation
- Replace gaskets every 12–18 months, even if they look fine; silicone loses elasticity over time
- Avoid blending hot liquids above 140°F unless your model is explicitly rated for it—the thermal expansion stresses seals
Can I use bleach to clean the gasket?
No. Bleach degrades silicone and rubber gaskets within days, causing micro-cracks that invite leaks. Stick to warm water, mild dish soap, and diluted white vinegar for disinfecting—how to clean blender gasket safely.
Why does my blender leak only when blending thick smoothies?
Thick blends create higher internal pressure, exposing weak spots in aged gaskets or imperfectly seated blades. This is often the first sign of seal fatigue—not a design flaw. Replace the gasket before it fails completely.
Is it safe to run the blender without the lid on to test for leaks?
No. Operating without the lid risks splashing, motor strain from unbalanced load, and potential injury. Instead, fill the jar halfway with water, secure the lid, and pulse gently while holding over a towel—watch for seepage at the base seam.
Do all blenders use the same gasket size?
No—gaskets are model-specific. A Vitamix 5200 gasket won’t fit a Ninja BL610, and using an ill-fitting one guarantees leaks. Always order by model number (e.g., Vitamix gasket replacement guide) or measure inner diameter, thickness, and lip profile.
Can a cracked jar be repaired with epoxy?
Not safely. Food-safe epoxies exist, but they can’t withstand repeated thermal cycling, high shear forces, or dishwasher heat. Even minor cracks compromise structural integrity—replace the jar. Glass jars crack from thermal shock; plastic ones fatigue from UV exposure or detergent abrasion.
How do I know if the leak is from the base, not the jar?
Remove the jar and place the base on a dry paper towel. Run it empty for 10 seconds. If dampness appears beneath the base—not the jar—liquid has breached the motor housing seal. Stop use immediately and consult a pro—blender base leak repair options.
A leaking blender doesn’t mean it’s time for a new one—it means it’s time for a 20-minute tune-up. Most leaks stem from overlooked maintenance, not manufacturing flaws. Treat the gasket like a brake pad: replace it on schedule, not after it fails. With the right parts and care, your blender can last years longer than the average 3.2-year lifespan reported in the Appliance Repair Association’s 2023 field survey.