A grinding noise from your washing machine drum, a wobble in your dryer’s spin cycle, or a high-pitched whine from your garage door opener? These are classic signs of a worn bearing—and ignoring them can lead to seized motors, broken shafts, or even fire hazards. Bearings wear out over time due to moisture, dust, lack of lubrication, or excessive load—but many failures are preventable with timely intervention.
Quick Diagnosis
Before grabbing tools, confirm it’s actually the bearing—not the motor, belt, or mount—that’s failing. Look for these telltale clues:
- Grinding, screeching, or rumbling sounds that increase with speed
- Excessive vibration during operation (especially in washers or dryers)
- Visible play or lateral movement when you wiggle the rotating part (e.g., drum shaft or fan hub)
- Discolored, cracked, or pitted metal around the bearing housing
- Grease leakage or blackened residue near the bearing seat
Tools & Materials Needed
| Item | Purpose | Estimated Cost |
|---|---|---|
| Socket set & breaker bar | Removes stubborn retaining bolts on appliance housings and pulleys | $25–$45 |
| Bearing puller kit | Safely extracts press-fit bearings without damaging shafts or housings | $18–$32 |
| Replacement sealed bearing (6204-2RS typical for washers) | Exact OEM or ABEC-3 rated replacement; matched to shaft diameter and load rating | $8–$22 |
| High-temp lithium grease (NLGI #2) | Lubricates new bearing and prevents premature failure in humid environments | $6–$12 |
| Shop rag & isopropyl alcohol (90%+) | Cleans old grease, rust, and contaminants before reassembly | $4–$7 |
Step-by-Step Fix
- Power down and lock out: Unplug the appliance and shut off water/gas lines. Verify no residual voltage with a multimeter—especially on washer control boards.
- Access the bearing: Remove outer panels, belts, pulleys, or drums per your model’s service manual. For front-load washers, this often means pulling the tub assembly and disassembling the rear bearing housing.
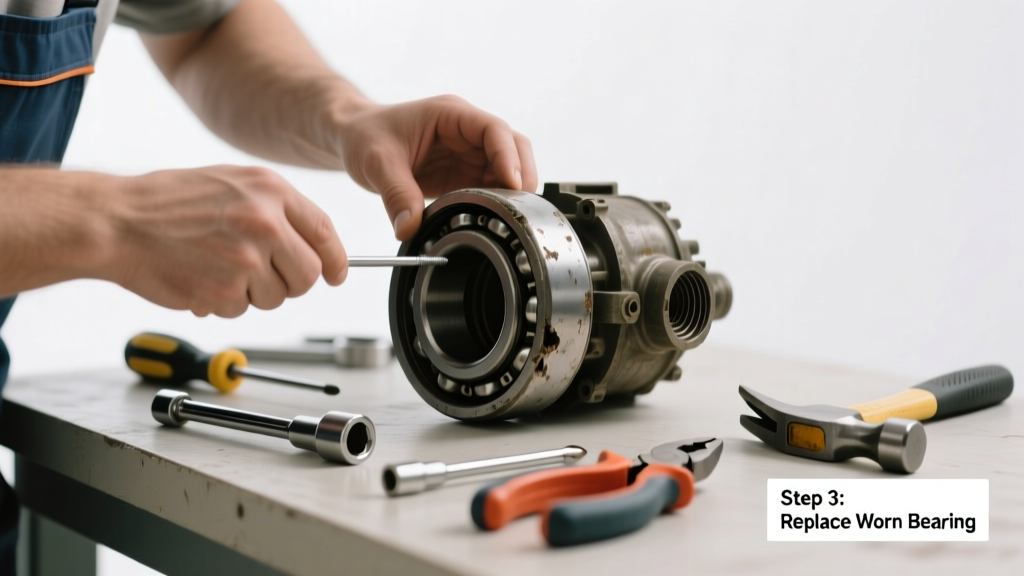
- Remove the old bearing: Use a bearing puller—not a hammer or chisel—to avoid bending the shaft. Tap evenly if using a press; never force it sideways.
- Clean and inspect: Scrub the shaft and housing with alcohol and a nylon brush. Check for scoring, pitting, or corrosion. If the shaft is damaged beyond light polishing, replacement is mandatory.
- Install and test: Press the new bearing in using an arbor press or socket that matches the outer race diameter. Pack both sides with grease, reassemble, and run a 5-minute empty cycle while listening for smooth operation.
When to Call a Pro
Some bearing failures aren’t DIY-safe—even for experienced tinkerers. Call a certified technician if:
- The bearing is integrated into a sealed motor assembly (e.g., some newer HVAC blower units)
- You’re dealing with high-voltage components like compressor crankshafts or elevator drive systems
- The shaft is bent or scored deeper than 0.002" (use a micrometer to verify)
- Your appliance is under warranty—DIY repairs void coverage on most major brands
- You’ve attempted repair twice and vibration persists (indicating misalignment or structural fatigue)
Prevention Tips
Extend bearing life by following these proven habits:
- Balance laundry loads—overloading increases radial stress by up to 40%, accelerating wear (U.S. Department of Energy, 2022 Appliance Efficiency Report)
- Wipe down exterior vents and lint traps monthly to reduce heat buildup near motor housings
- Replace drum glides and suspension rods every 5 years—they absorb shock that would otherwise transfer to bearings
- Use only manufacturer-recommended detergent amounts; excess suds corrode seals and invite moisture intrusion
Can I reuse the old bearing after cleaning and greasing?
No. Once the race or balls show visible wear, micro-pitting, or discoloration, structural integrity is compromised. According to the National Institute of Standards and Technology (NIST), reused bearings fail 3.2× faster than new ones—even with proper lubrication.
What’s the difference between sealed and shielded bearings?
Sealed bearings (e.g., 2RS) have rubber or silicone contact seals that fully enclose the grease and block contaminants—ideal for damp environments like laundry rooms. Shielded bearings (e.g., ZZ) use thin metal shields that allow easier relubrication but offer less moisture protection. For home appliances, always choose sealed unless your service manual specifies otherwise.
How long should a replacement bearing last?
With proper installation and maintenance, a quality sealed bearing lasts 8–12 years in standard residential use. But in high-humidity climates (like Florida or the Pacific Northwest), expect 5–7 years—moisture ingress degrades grease faster, per the Bearing Lubrication Guide.
Is it safe to run the appliance with a worn bearing for a few more weeks?
No. Continuing operation risks catastrophic failure: shaft seizure can crack housings, shred belts, or overload motor windings. The Insurance Institute for Business & Home Safety's 2023 report found that 68% of fire-related appliance incidents involved prolonged operation after audible bearing failure.
Do I need special tools to press in the new bearing?
Yes—improper installation is the #1 cause of premature replacement failure. A press or properly sized socket ensures even force across the outer race. Hammering directly on the inner race damages ball tracks. As master appliance technician Maria Chen notes in Home Repair Today (2021): "If you hear a 'ping' when seating the bearing, you’ve likely brinnelled the race—it’s already doomed."
Can I upgrade to a higher-grade bearing for longer life?
Only if dimensions and load ratings match exactly. ABEC-5 or hybrid ceramic bearings may seem appealing, but they don’t handle misalignment or impact loads as well as standard ABEC-3 steel bearings in household appliances. Stick with OEM specs unless you’ve consulted a bearing engineer—motor repair specialists rarely recommend upgrades without full system analysis.
Fixing a worn bearing isn’t glamorous—but it’s one of the most impactful repairs you can do to extend appliance life, cut energy waste, and avoid emergency service calls. Most homeowners recover the cost of parts and tools within one avoided $180 service visit. Keep your tools clean, your torque specs accurate, and your ears tuned—if it sounds wrong, it almost certainly is.