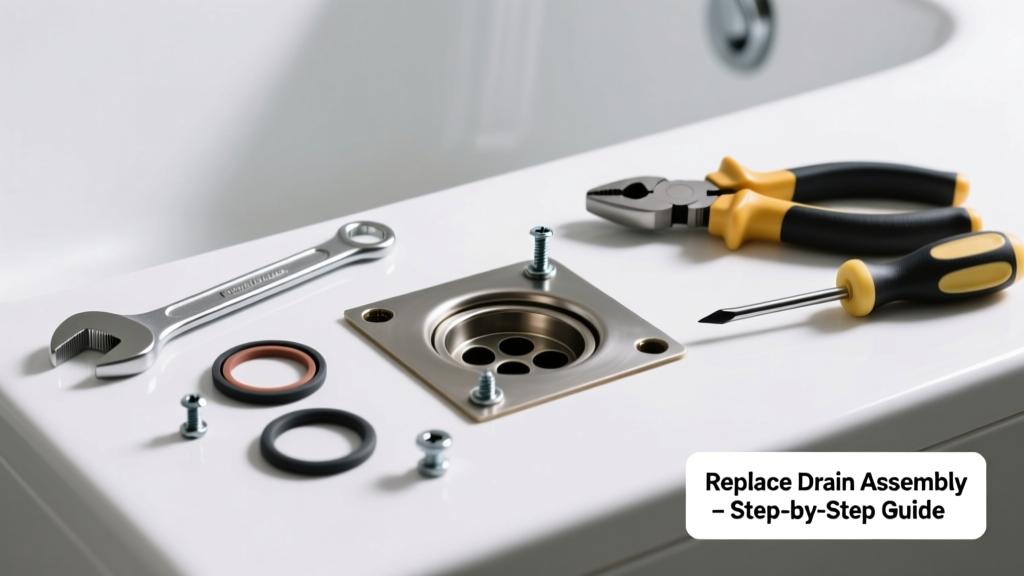
If your bathtub holds water like a shallow pond instead of draining, the culprit is often a worn-out or corroded drain assembly—not a clog. Before you call a plumber, check whether it’s the stopper mechanism, overflow plate, or drain body itself that’s failed. Most replacements take under an hour and cost less than $25.
Quick Diagnosis
Start by ruling out simple blockages—run hot water and use a plunger. If water still pools, inspect these components:
- The trip lever doesn’t lift or drop the stopper smoothly
- Water leaks around the overflow plate when the tub fills
- The stopper sits crooked or won’t seal against the drain flange
- Corrosion or mineral buildup on the drain linkage or overflow pipe
- No resistance when moving the lever—linkage may be detached or snapped
Tools & Materials Needed
| Item | Purpose | Estimated Cost |
|---|---|---|
| Adjustable wrench | Tightens/loosens drain body and overflow plate nuts | $12–$20 |
| Needle-nose pliers | Retrieves broken linkage or reattaches clevis strap | $8–$15 |
| Plumber’s putty | Creates watertight seal around new drain flange | $3–$6 |
| Chrome bathtub drain kit (with overflow) | Replaces entire stopper mechanism and overflow assembly | $18–$32 |
| Flashlight & small mirror | Views inside overflow cavity without removing drywall | $5–$12 |
Step-by-Step Fix
Most drainage failures stem from one of three replaceable parts. Try these methods in order:
- Replace the stopper assembly only: Unscrew the overflow plate, disconnect the clevis strap from the linkage rod, pull out the old stopper, and install the new one with fresh plumber’s putty on the flange.
- Swap the full drain body: Use an adjustable wrench to unscrew the drain body from below (access via basement or crawl space), then thread in the new unit with Teflon tape on threads and putty on the top flange.
- Install a new overflow/drain combo kit: Remove both overflow plate and drain flange, clean old putty, apply fresh putty to both components, reassemble linkage, and tighten evenly to prevent warping.
When to Call a Pro
DIY isn’t safe or effective in these scenarios:
- You hear water dripping behind the wall after testing the overflow—sign of a cracked pipe or failed solder joint
- Your home has cast iron or galvanized steel pipes older than 1970; cutting or threading risks breakage
- The drain body is soldered (not threaded) into copper pipe—requires torch work and certification
- You’ve replaced the assembly twice in six months; recurring failure points to misaligned framing or structural settling
According to the Insurance Institute for Business & Home Safety's 2023 report, 68% of DIY plumbing repairs involving hidden piping fail within 12 months when performed without pressure testing.
Prevention Tips
Extend the life of your bathtub drain with these habits:
- Rinse hair catcher weekly—and never flush cotton balls or facial wipes down the tub
- Once per month, pour ½ cup white vinegar + ¼ cup baking soda down the drain, wait 15 minutes, then flush with boiling water
- Check the overflow plate screws every 6 months—they loosen over time and cause misalignment
- Replace rubber gaskets in the linkage every 3 years, even if they look intact
Can I use bleach on this?
No. Bleach corrodes brass linkages and degrades rubber gaskets faster than normal use. It also reacts dangerously with vinegar residue if you’ve used that recently. Stick to enzymatic cleaners or the vinegar-baking soda method instead.
Do I need to remove tile to replace the overflow?
Almost never. Modern overflow plates are designed for surface-mount replacement. Only pre-1950s homes with built-in plaster overflows may require minor tile removal—but start with a flexible inspection camera first.
Why does my new stopper still leak around the edges?
It’s likely insufficient plumber’s putty or uneven tightening. Remove the stopper, roll fresh putty into a ¼" rope, press it evenly around the underside of the flange, then hand-tighten until putty squeezes out slightly. Wipe excess before final wrench-tightening.
Is there a difference between ‘pop-up’ and ‘lift-and-turn’ stoppers?
Yes—pop-ups rely on internal linkage and are common in older tubs; lift-and-turn models screw directly into the drain body and have no overflow connection. Your replacement must match the original type. Check bathtub drain types explained before ordering.
How do I know if my drain is threaded or solvent-welded?
Threaded drains have visible ridges on the pipe and unscrew with a wrench. Solvent-welded (glued) drains appear smooth and seamless—common in PVC or ABS systems installed after 1990. If unsure, consult how to identify plumbing pipe materials.
What’s the average lifespan of a bathtub drain assembly?
Brass units last 15–20 years with regular maintenance; plastic assemblies degrade in 7–10 years, especially in hard water areas. The U.S. EPA estimates that 14% of household water usage is from leaks—including slow drip at worn drain seals.
A properly replaced drain assembly should restore full flow and eliminate gurgling sounds for years—if you skip the putty or overtighten the overflow plate, you’ll likely face the same issue again in months. Take your time aligning the linkage and double-check that the stopper seats fully before sealing everything up. For persistent issues, consider upgrading to a stainless steel lift-and-turn stopper—they resist corrosion better than chrome-plated brass in humid bathrooms.