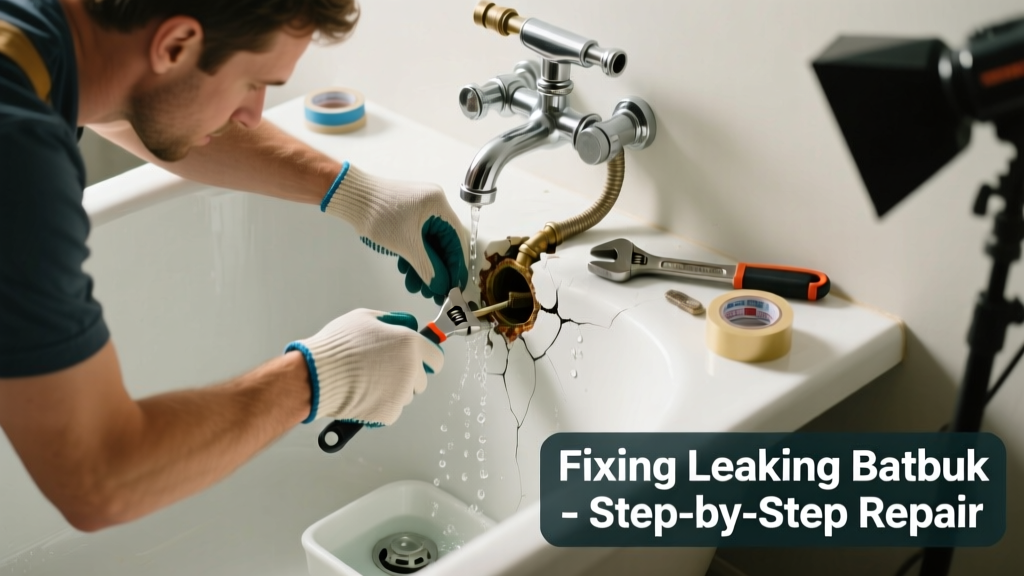
A dripping faucet is annoying—but a bathtub that leaks *while you're using it*, pools water around the base, or won’t hold water at all? That’s a red flag screaming for attention. Left unaddressed, even a slow leak can rot subflooring, warp drywall, or invite mold behind tiles. Most bathtub leaks aren’t catastrophic—but they’re rarely cosmetic either.
Quick Diagnosis
Before grabbing tools, isolate where the leak originates. Water follows gravity—and often misleads you. A puddle near the tub’s front may actually stem from the overflow plate or shower valve behind the wall.
- Water pooling under the tub: Likely a failed pan seal, cracked acrylic/fiberglass, or compromised subfloor support
- Dripping from the spout when the shower is on: Faulty diverter valve (common in tub/shower combos)
- Leak at the drain flange: Worn rubber gasket, corroded threads, or improper torque
- Moisture behind wall tiles near faucet handles: Leaky cartridge, loose supply line connection, or failing valve body
- Grout cracks near tub edge with seepage: Failed caulk-to-tile bond—not just cosmetic; allows water into framing
Tools & Materials Needed
| Item | Purpose | Estimated Cost |
|---|---|---|
| Adjustable wrench | Tightens drain assembly and supply lines without stripping fittings | $12–$25 |
| Plumber’s putty or silicone caulk (100% silicone, mold-resistant) | Seals drain flanges and tub-to-wall joints; resists water degradation | $4–$9 |
| Replacement drain basket gasket (rubber or foam) | Replaces compressed or cracked gasket causing slow drip at drain | $2–$6 |
| Shower diverter repair kit (for 3-handle or single-handle units) | Includes new O-rings, washers, and cam seals specific to your valve model | $8–$18 |
| Stud finder with AC detection | Locates wall framing and electrical before drilling or cutting near wet areas | $25–$60 |
Step-by-Step Fix
Start with the most accessible and likely culprits first—no need to rip out tile unless evidence points there.
- Test the drain flange: Plug the drain, fill tub halfway, then let water drain. Watch for drips directly beneath the drain opening. If present, shut off water, remove overflow plate, unscrew drain strainer, replace rubber gasket, and reseal with plumber’s putty (not caulk—putty stays pliable).
- Inspect the diverter: Turn on the tub spout, then flip the diverter to shower mode. If water continues dribbling from the spout, disassemble the handle and replace the diverter stem or O-rings. Match part numbers—Moen, Delta, and Kohler use proprietary designs.
- Check the overflow plate: Remove the faceplate and inspect the connecting tube. Tighten the slip-nut coupling; if corroded, replace the entire overflow assembly ($12–$22). Use Teflon tape on threaded connections—not pipe dope, which can clog small ports.
- Reseal the tub perimeter: Remove old caulk completely with a utility knife and caulk remover gel. Clean with denatured alcohol, not vinegar (too weak on silicone residue). Apply 100% silicone caulk in a smooth, continuous bead—press firmly with a damp finger. Let cure 72 hours before wetting.
When to Call a Pro
Some leaks hide behind walls, under floors, or inside cast iron tubs—areas where guesswork risks bigger damage. Don’t DIY if:
- You hear running water when all fixtures are off (possible slab leak)
- There’s buckling flooring or spongy drywall near the tub (structural moisture damage)
- The tub is cast iron with hairline cracks—welding requires specialized equipment and certification
- You’ve replaced the cartridge twice and still get cross-leaks (indicates valve body corrosion)
- Your home has polybutylene pipes (installed 1978–1995); these degrade unpredictably and require full repipe
"Over 30% of bathroom water damage claims involve undetected tub or shower leaks that went unaddressed for more than six months." — Insurance Institute for Business & Home Safety, 2023 Residential Plumbing Failure Report
Prevention Tips
Proactive care extends your tub’s life and catches issues early:
- Wipe down the tub perimeter weekly to spot early caulk separation or discoloration
- Run hot water through the drain monthly to dissolve soap scum buildup that stresses gaskets
- Replace rubber washers and O-rings every 3 years—even if no leak is visible
- Avoid abrasive cleaners on chrome fixtures; corrosion accelerates leaks at supply line connections
Can I use bleach on this?
No. Bleach degrades rubber gaskets, oxidizes brass components, and breaks down silicone caulk bonds. For mold in grout or caulk lines, use a 3% hydrogen peroxide solution applied with a stiff brush—safer and equally effective on mildew.
How long does silicone caulk take to cure?
Full cure takes 72 hours under normal humidity (40–60%). You can lightly splash water after 24 hours, but avoid soaking or scrubbing until fully cured. Cold or humid conditions extend cure time—check manufacturer specs for your product’s exact window.
Why does my tub drain slowly even after cleaning?
A slow drain often signals buildup past the P-trap—in the horizontal branch line or vent stack. Try a Zip-It tool first, then a hand-crank auger (not a chemical drain cleaner, which damages seals). If it persists, the issue may be a collapsed ABS pipe or blocked roof vent—both require professional inspection.
Is it safe to tighten the drain flange myself?
Yes—if done carefully. Over-tightening cracks fiberglass or acrylic tubs. Hand-tighten the locknut, then give it only a 1/4 turn with pliers. If resistance increases sharply, stop. A properly sealed flange should hold water for 10+ minutes without dripping.
What’s the difference between plumber’s putty and silicone?
Plumber’s putty stays soft and malleable, ideal for sealing non-pressure applications like drain flanges. Silicone creates a rigid, waterproof bond best for perimeter sealing and exterior joints. Never use silicone under a drain flange—it prevents proper compression and can squeeze out under pressure.
Can hard water cause tub leaks?
Indirectly, yes. Mineral buildup restricts flow, increases backpressure on seals, and accelerates corrosion in brass and chrome-plated parts. Install a point-of-use water softener for the bathroom or use white vinegar soaks on aerators and diverter valves every 6 months.
A well-maintained bathtub should last 20+ years—but only if small leaks get fixed before they become big problems. The key isn’t waiting for disaster; it’s catching the first drip, tracing its path, and acting before water finds its way into places it shouldn’t go. If you’ve tightened, resealed, and replaced the obvious parts and the leak remains, don’t spin your wheels—call a licensed plumber before drywall starts bubbling or your insurance deductible climbs. And remember: recaulking twice a year costs less than one moisture meter reading from a restoration company.