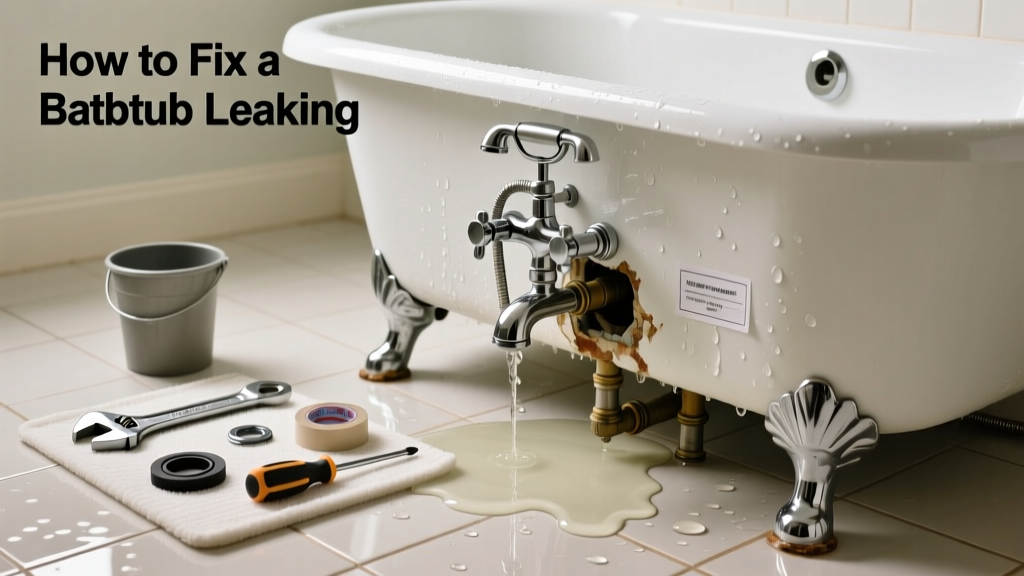
That slow drip under your bathtub isn’t just annoying—it’s a sign of water damage brewing behind walls or under floors. Left unaddressed, even a minor leak can rot subflooring, warp drywall, or invite mold growth within days. Most bathtub leaks are fixable in under two hours if you know where—and how—to look.
Quick Diagnosis
Before grabbing tools, isolate the source. Water traveling from the tub can mislead you: what looks like a leak at the base may actually originate at the faucet, overflow plate, or shower arm.
- Water pooling near the wall? Likely failed caulk or cracked grout at the tub-to-wall joint
- Dampness under the tub or in the ceiling below? Often a corroded drain pipe or loose slip-nut assembly
- Leak only when filling? Overflow gasket or pop-up stopper seal is compromised
- Dripping from the faucet or spout? Cartridge or washer failure inside the valve body
- Musty smell + discoloration behind tile? Hidden leak feeding into framing—urgent inspection needed
Tools & Materials Needed
| Item | Purpose | Estimated Cost |
|---|---|---|
| Adjustable wrench | Tightens drain assembly nuts and supply line connections without stripping threads | $12–$25 |
| 100% silicone caulk (mold-resistant) | Seals tub-to-wall joints; stays flexible and waterproof longer than acrylic | $4–$8 |
| Grout removal tool or utility knife | Cleans out old, cracked grout before resealing—critical for adhesion | $6–$15 |
| Drain basket wrench | Reaches deep into overflow pipe to tighten hidden mounting nut | $9–$18 |
| Plumber’s putty | Creates watertight seal around drain flange during reinstallation | $3–$5 |
Step-by-Step Fix
Match your symptoms to one of these targeted repairs. Don’t skip the diagnostic step—applying caulk over a leaking drain won’t help.
- Reseal the tub-to-wall joint: Remove all old caulk and grout down to bare substrate. Clean with isopropyl alcohol, let dry. Apply 1/4" bead of 100% silicone caulk using steady pressure and a caulk smoothing tool. Let cure 24 hours before wetting.
- Tighten the drain assembly: Shut off water, plug overflow opening, then use a drain basket wrench to snug the overflow mounting nut. Under the tub, check the P-trap slip-nuts—hand-tighten only (overtightening cracks plastic).
- Replace the pop-up stopper gasket: Remove overflow cover plate, unscrew linkage rod, pull out stopper assembly. Replace rubber gasket (part #D4002 fits most American Standard units) and reassemble.
- Fix a leaking faucet spout: Turn off shut-offs under sink, remove handle screw, pull off handle, then extract cartridge with pliers. Match old cartridge to new at hardware store—don’t guess. Reinstall with plumber’s grease on O-rings.
When to Call a Pro
Some leaks signal deeper issues that require licensed expertise—not just more caulk.
- Water stains spreading across ceiling drywall or floor joists beneath the tub
- Leak persists after tightening all visible connections and replacing gaskets
- You hear running water when no fixtures are on—possible slab leak or supply line rupture
- Cast iron tub with hairline cracks (requires epoxy injection or replacement)
- No access panel under tub and no crawl space—plumber must cut drywall to reach drain lines
According to the Insurance Institute for Business & Home Safety's 2023 report, 68% of bathroom water damage claims involved undetected leaks originating at tub or shower drains—most of which worsened for over 72 hours before discovery.
Prevention Tips
Small habits extend your tub’s life and catch trouble early.
- Wipe down tub walls and caulk lines weekly to prevent mildew buildup that breaks down sealants
- Test drain flow monthly: fill tub 2 inches, then pull stopper—should drain fully in under 90 seconds
- Inspect overflow plate screws every 6 months—they loosen from vibration and cause gasket compression failure
- Avoid abrasive cleaners on chrome parts; they scratch plating and accelerate corrosion at seals
Can I use bleach on this?
No—bleach degrades silicone caulk and weakens rubber gaskets. Use diluted white vinegar (1:1 with water) to clean mildew from caulk lines, then rinse thoroughly before resealing. For stubborn growth, try a hydrogen peroxide-based cleaner like SafeShield Mold Remover.
How long does silicone caulk take to cure?
Most 100% silicone needs 24 hours to skin over and 72 hours for full waterproof cure. Don’t run water until it’s completely firm to the touch and no tackiness remains. Humidity slows curing—use a dehumidifier in steamy bathrooms.
Why does my tub leak only when the water is hot?
Thermal expansion stresses aging washers and cartridge seals. Hot water softens worn rubber, letting water bypass the seal. This almost always means the faucet cartridge or diverter gasket needs replacement—not just tightening.
Is plumber’s putty or silicone better for the drain flange?
Plumber’s putty is preferred for metal drain flanges because it stays malleable, forms instant seal, and doesn’t bond permanently (so future removal is easier). Silicone works for PVC but can make later repairs messy. Never use both—choose one.
Can I patch a cracked fiberglass tub?
Surface hairline cracks can be sealed temporarily with a marine-grade epoxy kit like Fiberglass Tub Repair Kit, but structural cracks near drain or rim require professional assessment. Epoxy won’t hold under flex stress long-term.
What’s the average cost to hire a plumber for a tub leak?
Most plumbers charge $85–$125/hour with a 1–2 hour minimum. Simple drain reseal: $120–$180. Overflow gasket replacement: $150–$220. If drywall removal is needed, add $200–$400 for repair and painting. DIY saves 60–75% on labor.
Leaks don’t wait—and neither should you. A few minutes spent diagnosing today prevents thousands in water damage tomorrow. Keep your caulk fresh, your drains clear, and your shut-off valves labeled and functional. And if you’re ever unsure whether it’s safe to turn that nut or peel that seal, call a licensed plumber before the drip becomes a flood.