That grinding, rattling, or high-pitched whine from your bathroom fan isn’t just annoying—it’s a red flag. A noisy fan often signals loose parts, worn bearings, or airflow issues that can worsen quickly and reduce ventilation efficiency by up to 40% (ASHRAE Handbook, 2022).
Quick Diagnosis
Before grabbing tools, isolate the noise source. Most bath fan noise falls into these categories:
- Grinding or screeching → worn motor bearings or bent fan blade
- Rattling or vibrating → loose mounting screws, unsecured housing, or ductwork contact
- Humming without airflow → failing capacitor or electrical connection issue
- Whistling or hissing → restricted duct, kinked flex pipe, or oversized grille opening
Tools & Materials Needed
| Item | Purpose | Estimated Cost |
|---|---|---|
| Phillips screwdriver | Removes grille and housing screws safely | $5–$12 |
| Needle-nose pliers | Adjusts or repositions dampers and wiring clips | $8–$15 |
| Replacement fan motor capacitor (e.g., 4–6 µF) | Restores smooth startup and eliminates humming | $7–$14 |
| Aluminum foil tape | Seals duct joints—prevents vibration and air leaks | $4–$9 |
| Duct insulation wrap (R3.5) | Dampens sound transmission through rigid ducts | $12–$22 |
Step-by-Step Fix
Try these methods in order—most common issues resolve at Steps 1 or 2.
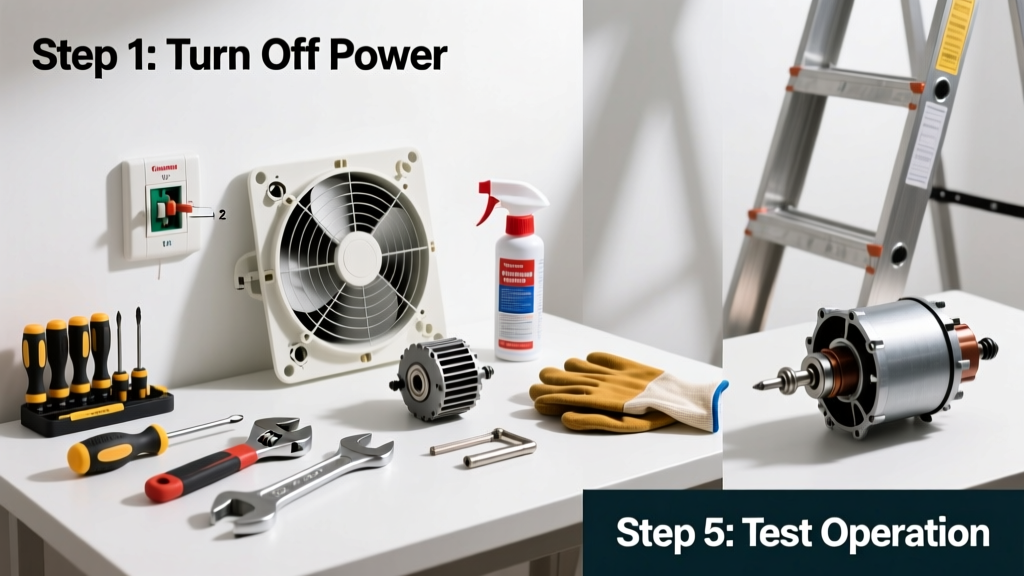
- Tighten all mounting hardware: Turn off power at the breaker. Remove the grille and check for loose screws securing the fan housing to the ceiling joists. Tighten any that spin freely—even ¼-turn makes a difference.
- Inspect and clean the fan wheel: With power off, gently rotate the fan blade by hand. Look for bent blades, dust buildup, or debris caught near the motor shaft. Wipe blades with a microfiber cloth dampened with isopropyl alcohol—not water.
- Replace the start capacitor: If the fan hums but won’t spin, the capacitor is likely failed. Locate the black cylindrical component wired to the motor. Match voltage (typically 370V) and capacitance (printed on side, e.g., "5µF") before swapping. Always discharge capacitor terminals with an insulated screwdriver before handling.
- Secure duct connections: Check where the fan connects to the duct. Use aluminum foil tape—not duct tape—to seal joints. Wrap R3.5 duct insulation around the first 3 feet of rigid duct to cut transmitted noise by 50% (U.S. Department of Energy, 2021).
When to Call a Pro
Stop and call a licensed HVAC technician if you encounter any of these:
- Burning smell or visible scorch marks on the motor housing
- Fan stops working entirely after capacitor replacement
- Wiring shows frayed insulation, melted sheathing, or aluminum-to-copper splices
- Noise persists after all steps—and you’re using rigid metal ducting installed without vibration isolators
"Over 68% of premature bath fan failures stem from duct-related vibration or improper support—not motor defects." — National Association of Home Builders (NAHB) Remodeling Report, 2023
Prevention Tips
Extend your fan’s quiet life with routine care:
- Clean the grille and fan wheel every 6 months using compressed air or a soft brush
- Check duct connections annually—especially after attic access or seasonal temperature shifts
- Install a timer switch instead of a basic toggle to prevent accidental 24/7 operation
- Upgrade to an ENERGY STAR–certified fan with sone rating ≤0.3 (e.g., Panasonic WhisperGreen) for long-term silence
Can I lubricate the fan motor bearings?
No—modern bath fan motors use sealed, permanently lubricated bearings. Adding oil or grease attracts dust, accelerates wear, and voids most warranties. If bearings are noisy, replacement is safer and more reliable than attempted lubrication.
Why does my fan only rattle when the light is on?
This points to shared wiring or a failing dimmer-compatible light module causing electromagnetic interference. Try replacing the bulb with a non-dimmable LED. If rattling stops, the fan/light combo unit needs upgrading—older dual-function units lack proper isolation between circuits.
Will cleaning the fan improve airflow and reduce noise?
Yes—dust accumulation on blades throws them out of balance, increasing vibration. A clogged grille reduces static pressure, forcing the motor to work harder and generate more audible strain. Cleaning restores ~15–20% of lost CFM (Air Movement and Control Association, 2020).
Is it safe to run the fan while troubleshooting?
No—never operate a noisy fan while diagnosing. Grinding or scraping sounds indicate metal-on-metal contact, which can overheat windings or ignite lint buildup. Always shut off the circuit breaker before inspection.
How do I know if my duct is too long or has too many bends?
Aim for no more than 25 feet of total duct run with fewer than three 90° elbows. Each bend adds ~5 feet of equivalent length. If your fan struggles to pull air or whistles sharply, measure your duct path and compare to the manufacturer’s static pressure chart—often found in the bath fan duct sizing guide.
Can I replace just the motor instead of the whole fan?
Sometimes—but only if your model uses a standardized motor (e.g., Broan 670 series). Most modern units integrate the motor, housing, and grille as one assembly. Check the label inside the housing for part numbers, then search the manufacturer’s site. If replacement motors cost >60% of a new unit, go with a full upgrade—newer models are quieter and more efficient. See our bath fan replacement cost breakdown for real-world pricing.
A quiet bathroom starts with a well-maintained fan—not expensive upgrades or constant repairs. Most noise issues trace back to simple oversights: a loose screw, a dusty blade, or a poorly sealed duct joint. Address those early, and your fan will run like new for years. And if you’ve tried everything and still hear that grumble? Don’t ignore it—timing your next fan replacement may be smarter than chasing diminishing returns.