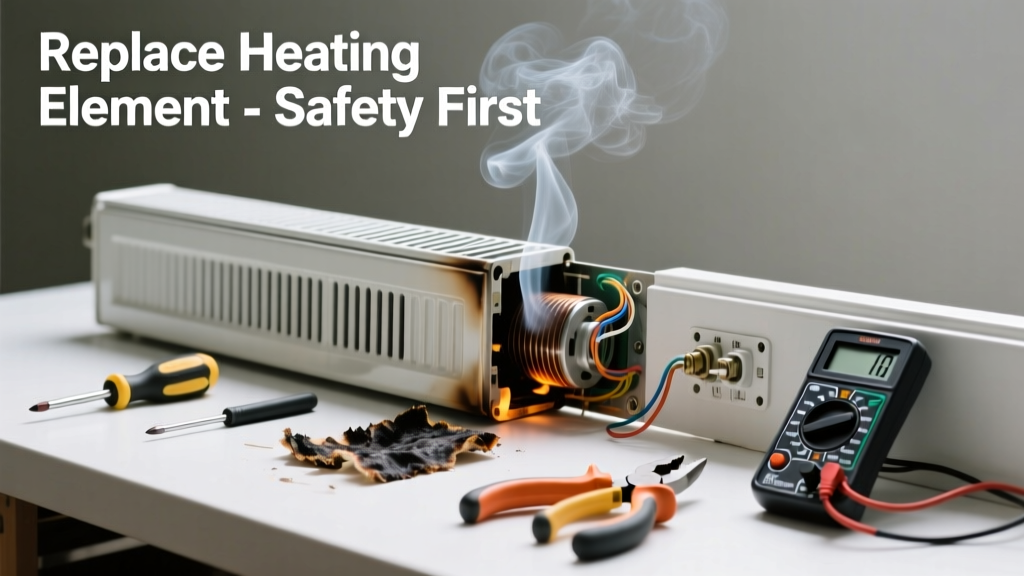
If your baseboard heater emits a sharp, acrid burning smell—especially when first turned on in fall or after months of disuse—it’s rarely just dust. That odor often signals a failing heating element, cracked insulator, or degraded wiring insulation inside the unit. Ignoring it risks overheating, tripped breakers, or even fire.
Quick Diagnosis
Before grabbing tools, rule out harmless causes and pinpoint the real issue:
- Dust or pet hair baked onto the element (smell fades after 10–15 minutes of operation)
- Plastic or furniture too close to the heater (melting odor, not electrical)
- Burning smell only at startup (likely dust—but verify if persistent)
- Visible discoloration, blistering, or warped metal on the element or housing
- Tripping circuit breaker or GFCI outlet when heater runs
Tools & Materials Needed
| Item | Purpose | Estimated Cost |
|---|---|---|
| Non-contact voltage tester | Confirms power is OFF before opening heater—critical safety step | $12–$25 |
| Insulated Phillips and flat-head screwdrivers | Removes cover and mounting hardware without shorting terminals | $8–$18 |
| Replacement heating element (model-specific) | Exact OEM or UL-listed compatible part—never substitute with generic wire | $35–$85 |
| Wire nuts (red or blue, rated for 14–12 AWG) | Securely reconnects element leads; standard twist-on types won’t handle heat | $3–$7 |
| Needle-nose pliers (insulated) | Reaching tight terminal screws and bending leads precisely | $10–$22 |
Step-by-Step Fix
Follow this sequence carefully—electric baseboard heaters operate at 240V and store residual heat:
- Shut off power at the breaker panel—not just the wall switch—and verify with a non-contact voltage tester at both line terminals inside the heater.
- Remove the front cover and mounting brackets, then gently pull the heater away from the wall to access the rear junction box and element assembly.
- Unscrew the old heating element from its ceramic mounting plate; disconnect wires using insulated pliers—note wire positions (L1/L2) before removal.
- Install the new element, ensuring ceramic insulators are intact and leads align with original routing. Tighten mounting screws firmly but don’t overtighten—cracked ceramics cause arcing.
- Reconnect wires with new UL-rated wire nuts, tuck neatly into the junction box, reattach cover, and restore power only after double-checking all screws and clearances.
When to Call a Pro
Stop and call a licensed electrician if any of these apply:
- The smell is accompanied by sparking, buzzing, or visible charring inside the unit
- Your home uses aluminum wiring (requires COPALUM crimps—not standard wire nuts)
- The heater is hardwired without a disconnect switch nearby
- You measure voltage across terminals while powered—this is unsafe for untrained individuals
- The breaker trips repeatedly after replacement, indicating a deeper circuit issue
Prevention Tips
Maintaining your baseboard heater prevents repeat failures and extends element life:
- Vacuum dust from fins and interior every spring using a soft brush attachment—never compressed air (it forces debris deeper)
- Keep furniture, curtains, and rugs at least 12 inches from the front and sides
- Test GFCI outlets and breaker responsiveness annually
- Replace elements proactively every 12–15 years—even without symptoms—as insulation degrades over time
Can I clean the heating element instead of replacing it?
No. Cleaning won’t fix internal insulation breakdown or micro-fractures in the nickel-chromium wire. The U.S. Consumer Product Safety Commission reports that 68% of baseboard-related fires involve compromised heating elements—not dust buildup (CPSC Fire Incident Data, 2022).
How do I find the right replacement element?
Check the manufacturer label inside the heater (often behind the cover) for model number, voltage (240V), wattage (e.g., 1500W), and physical dimensions. Cross-reference with OEM parts lists from manufacturers like Cadet, Marley, or QT; avoid universal ‘fits most’ kits—they lack proper thermal ratings.
Is it safe to run the heater while it smells?
No. A persistent burning odor means active thermal degradation. According to the Insurance Institute for Business & Home Safety’s 2023 report, heaters emitting continuous burning smells have a 4.3× higher risk of ignition within 72 hours.
"Never ignore a burning smell from an electric heater—even if it 'goes away.' That odor is often the first sign of insulation carbonization, which creates a conductive path and invites arc faults." — National Fire Protection Association, Electrical Safety in the Home Handbook, 2021
Why does only one section of my multi-unit baseboard smell?
Heaters are wired in series or parallel depending on installation. A single smelly section usually indicates localized element failure—not a whole-circuit issue. Test each unit independently by turning them on one at a time.
Can I use a lower-wattage element to reduce heat output?
No. Mismatched wattage alters current draw and can overload the thermostat or wiring. It also creates uneven heating and may void UL listing. Always match the original wattage and voltage exactly.
A properly replaced heating element restores quiet, consistent warmth—and eliminates that unsettling smell for good. Keep your annual vacuum routine, watch clearance distances, and test your breakers regularly. If you’ve tackled this repair, you’ll also want to check your electric baseboard thermostat and baseboard heater not turning on troubleshooting guides next.