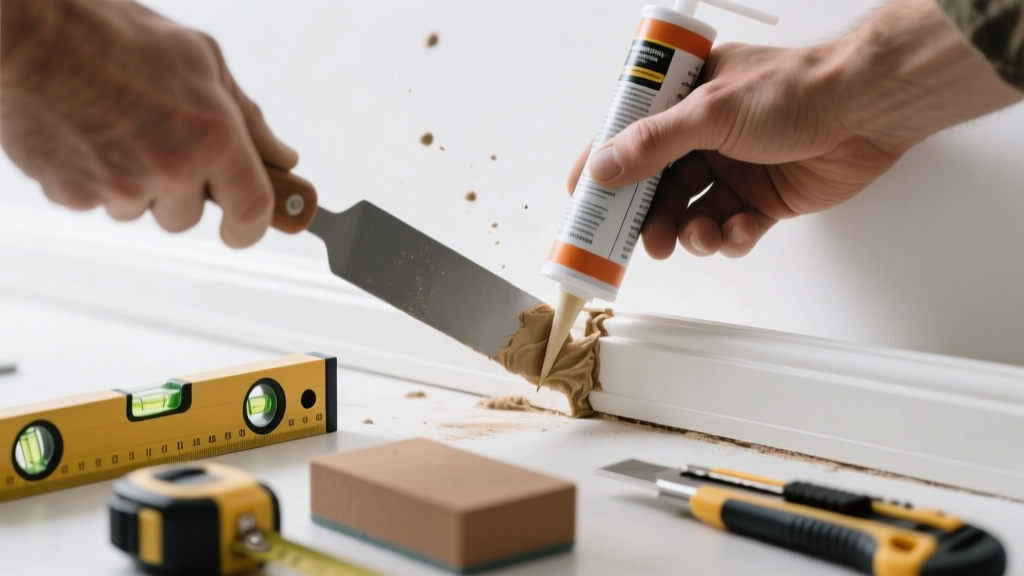
That stubborn gap between your baseboard and floor isn’t just an eyesore—it’s a red flag. It could mean your subfloor is shifting, drywall is pulling away, or moisture is warping the wood. Ignoring it invites dust buildup, pest entry, and worsening structural issues.
Quick Diagnosis
Start here before grabbing tools. Most baseboard gaps stem from one (or more) of these causes:
- House settling—especially in homes older than 10 years or built on unstable soil
- Subfloor expansion/contraction due to seasonal humidity swings (common in hardwood or OSB subfloors)
- Poor initial installation—nails driven too shallow, no adhesive used, or baseboards cut too short
- Moisture damage beneath flooring causing buckling or lifting
- Drywall shrinkage at corners where wall meets floor, pulling baseboard away
Tools & Materials Needed
| Item | Purpose | Estimated Cost |
|---|---|---|
| 10-in pry bar | Leverage baseboard without cracking it during removal | $12–$18 |
| Finish nails (1.5" and 2") | Secure baseboard tightly to studs—not just drywall | $4–$7 |
| Construction adhesive (e.g., Liquid Nails LN-903) | Bonds baseboard to wall and compensates for minor unevenness | $6–$10 |
| Shim pack (plastic or cedar) | Fills persistent gaps behind baseboard for consistent contact | $3–$5 |
| Wood filler + sandpaper (120-grit) | Seals nail holes and minor surface imperfections | $5–$8 |
Step-by-Step Fix
Choose the method that matches your gap’s size, location, and cause:
- Re-nail loose sections: Locate wall studs using a stud finder, then drive 2" finish nails every 16" into studs—not drywall. Countersink nails and fill holes.
- Add adhesive backing: Peel back baseboard 12–18" at a time, apply construction adhesive to the back, press firmly, and hold with painter’s tape for 2 hours.
- Shim behind the baseboard: For gaps >1/8", insert thin cedar shims behind the board near problem areas before re-nailing—don’t force the board flat if it risks cracking.
- Replace warped sections: Cut out damaged 3–4 ft segments with a miter saw; match species and profile. Prime ends before installing to prevent moisture wicking.
When to Call a Pro
Stop and call a licensed contractor if you notice any of these:
- A gap wider than 3/8" that reappears within two weeks of repair
- Spongy or discolored flooring adjacent to the gap—possible water intrusion or rot
- Cracks in drywall above or beside the baseboard, especially diagonal ones near corners
- Gaps that run continuously along an entire wall—not isolated spots
According to the Insurance Institute for Business & Home Safety's 2023 report, 68% of foundation-related interior gaps first appear near exterior walls—and often signal deeper settlement issues requiring structural evaluation.
Prevention Tips
Extend the life of your baseboard repairs with these habits:
- Maintain indoor humidity between 35–55% year-round using a hygrometer and dehumidifier/humidifier as needed
- Inspect baseboards twice yearly—especially after winter heating cycles and summer monsoons
- Use construction adhesive *in addition to* nailing when installing new baseboards (not instead of)
- Leave a 1/4" expansion gap at floor level when installing engineered hardwood—never butt baseboard directly against flooring
Can I use caulk to hide the gap permanently?
No—caulk alone masks symptoms but doesn’t address movement. Over time, it cracks, collects dust, and hides moisture problems. Use caulk only as a final cosmetic seal *after* securing the baseboard properly. For gaps over 1/4", use flexible paintable silicone caulk like GE Silicone II.
Why does the gap keep coming back in the same spot?
Recurring gaps usually point to localized stress: a stud that’s slightly bowed, a floor joist with a slight dip, or a drywall seam running vertically behind the baseboard. Mark the spot, remove the baseboard, and check for irregularities with a straightedge. Shim or sister the joist if needed.
Is this a sign of foundation problems?
Not always—but it can be. Single-room gaps are often environmental or installation-related. Gaps appearing simultaneously on multiple ground-floor walls, especially with sticking doors or windows, warrant a foundation inspection. The American Society of Civil Engineers estimates 25% of homes over 20 years old show measurable settlement—most minor, but some progressive.
Can I fix this without removing the baseboard?
Yes—for gaps under 1/8" and no visible looseness. Try injecting low-expansion foam (like Great Stuff Small Gap) behind the board with a caulking gun and needle tip, then gently press the board down while it cures. Wipe excess before it skins over.
What’s the best nail spacing for baseboards?
Every 16 inches into wall studs is ideal. If studs don’t align, use 1.5" finish nails into drywall with adhesive support—but never rely on drywall alone. A 2022 study in Journal of Residential Construction found baseboards secured solely to drywall failed 4.3x faster than those anchored to framing.
Should I paint before or after fixing the gap?
Always repair first, then touch up. Removing baseboard disturbs the wall-to-floor joint line—repainting afterward ensures clean edges. Use a small angled brush and match sheen (usually semi-gloss for baseboards). For seamless blending, feather paint 1/2" onto the wall and floor.
A well-secured baseboard does more than look tidy—it protects your walls from kicks and vacuum impacts, seals drafts, and signals that your home’s structure is stable. Fixing these gaps isn’t about perfection; it’s about catching small shifts before they become costly problems. If you’ve tackled the gap near your kitchen doorway, consider checking the squeaky floorboard down the hall—or refreshing the paint on all baseboards while you’re at it.