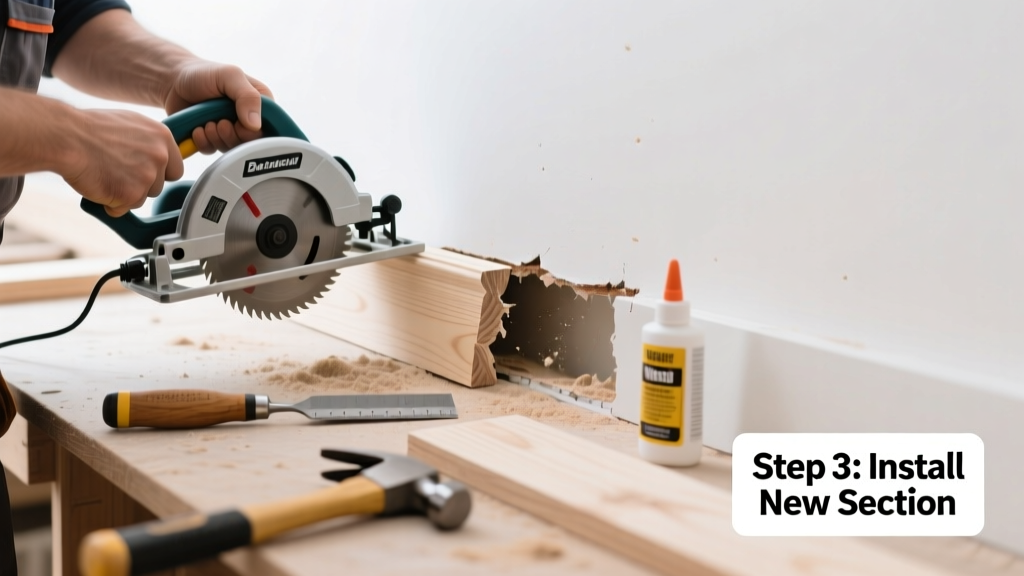
If your baseboard has a visible gap where a section is cracked, warped, or missing—especially near doorways, corners, or where walls settle—you’re not just dealing with aesthetics. That gap can let in drafts, collect dust, and signal underlying movement or moisture issues. Fixing it right means replacing only the damaged part—not the whole run.
Quick Diagnosis
Before grabbing tools, confirm what’s really wrong. Not all gaps need replacement: some are just loose nails or settling. Here are the most common causes:
- Localized water damage (swelling, dark stains, soft wood)
- Impact damage from furniture or vacuum cleaners
- Termite or carpenter ant activity (tiny holes, frass, hollow sound when tapped)
- Shrinkage cracks in MDF or particleboard baseboards due to low humidity
- Improper installation—nails driven too deep or boards cut too short at seams
Tools & Materials Needed
| Item | Purpose | Estimated Cost |
|---|---|---|
| 10-inch miter saw or coping saw | Cuts clean, precise replacement piece at correct angle | $25–$85 |
| Finishing nails (1½" or 2") | Secures new section without splitting thin baseboard | $4–$8 |
| Wood filler & putty knife | Fills nail holes and minor gaps before painting | $6–$12 |
| Painter’s caulk (painter’s grade acrylic) | Seals seam between old and new baseboard; paintable and flexible | $3–$7 |
| Orbital sander (120–220 grit) | Smooths edges and blends texture before priming | $35–$65 |
Step-by-Step Fix
Replacing just the damaged segment saves time, material, and matches existing wear better than full replacement. Follow these steps in order:
- Mark and cut out the damaged section: Use a utility knife to score along both edges of the gap area, then carefully pry out the compromised piece with a pry bar—avoid gouging adjacent boards.
- Measure and cut the replacement: Measure the exact length and note corner angles (typically 45° for inside/outside corners). Cut MDF or pine baseboard to match profile and thickness using a miter saw.
- Dry-fit and adjust: Hold the new piece in place. Check alignment with adjacent boards and wall contact. Sand edges if needed for seamless fit.
- Nail and seal: Apply construction adhesive to the back, then nail every 8–10 inches. Fill nail holes, caulk top and bottom seams, and sand smooth once dry.
When to Call a Pro
Some gaps aren’t about the baseboard—they’re symptoms. Call a licensed contractor or carpenter if you notice any of these:
- More than ⅛" gap that reappears within weeks after repair
- Gaps accompanied by sloping floors, sticking doors, or diagonal drywall cracks
- Signs of active termite infestation confirmed by a pest inspector (e.g., mud tubes, live swarmers)
- Baseboard pulling away from wall above plumbing or HVAC ducts—may indicate hidden leaks or condensation
According to the Insurance Institute for Business & Home Safety's 2023 report, 62% of foundation-related interior gaps first appear as baseboard separation—so don’t ignore persistent recurrence.
Prevention Tips
Extend the life of your baseboards—and avoid repeat repairs—with these proactive habits:
- Maintain indoor humidity between 35–55% year-round using a hygrometer and humidifier/dehumidifier
- Install floor transition strips at doorways to absorb expansion/contraction stress
- Use felt pads on furniture legs and vacuum cleaner bumpers to prevent impact damage
- Inspect baseboards quarterly for early signs of moisture (discoloration, musty odor) or insect activity
Can I glue the gap instead of replacing the section?
No—gluing won’t restore structural integrity or hide the gap long-term. Adhesive alone can’t compensate for missing material or warping. It may temporarily mask the issue but often fails within months, especially in high-traffic areas. Replacement is the only durable fix.
What type of baseboard material matches best for patching?
Match the species and profile: pine for painted pine, oak for stained oak, and MDF for pre-primed MDF. Avoid mixing materials—differential expansion rates cause new gaps. For help identifying your baseboard, see our how to identify baseboard material guide.
Do I need to repaint the entire wall after the repair?
Not necessarily. Spot-prime the patched area and feather caulk/filler into adjacent surfaces. With careful blending and matching sheen (e.g., eggshell over eggshell), you can often get away with just the baseboard and a 2-inch margin up the wall. See our touch-up paint techniques for pro-level results.
How long does the repair take from start to finish?
A typical 12-inch replacement takes 2–3 hours for an experienced DIYer—including prep, cutting, fitting, nailing, filling, and light sanding. Add 24 hours for caulk and filler to fully cure before final touch-up painting.
Can I use quarter-round to cover the gap instead of replacing?
You can—but it rarely looks intentional. Quarter-round hides gaps poorly unless installed across the entire run. It also traps dust and makes future cleaning harder. Replacement preserves your original design intent and avoids visual clutter. For alternatives, check our baseboard gap solutions comparison.
Is this repair covered by homeowners insurance?
Generally no—routine wear, accidental damage, or cosmetic gaps aren’t covered. However, if the gap resulted directly from a covered peril (e.g., burst pipe, storm-induced foundation shift), file a claim with documentation showing causation. Most insurers require proof of sudden, accidental origin per policy language.
A well-executed baseboard patch doesn’t just close a gap—it restores continuity, improves energy efficiency, and signals attention to detail. Take your time measuring, test-fit thoroughly, and don’t rush the caulk-and-sand step. That extra 15 minutes ensures the repair disappears into the room instead of drawing the eye.