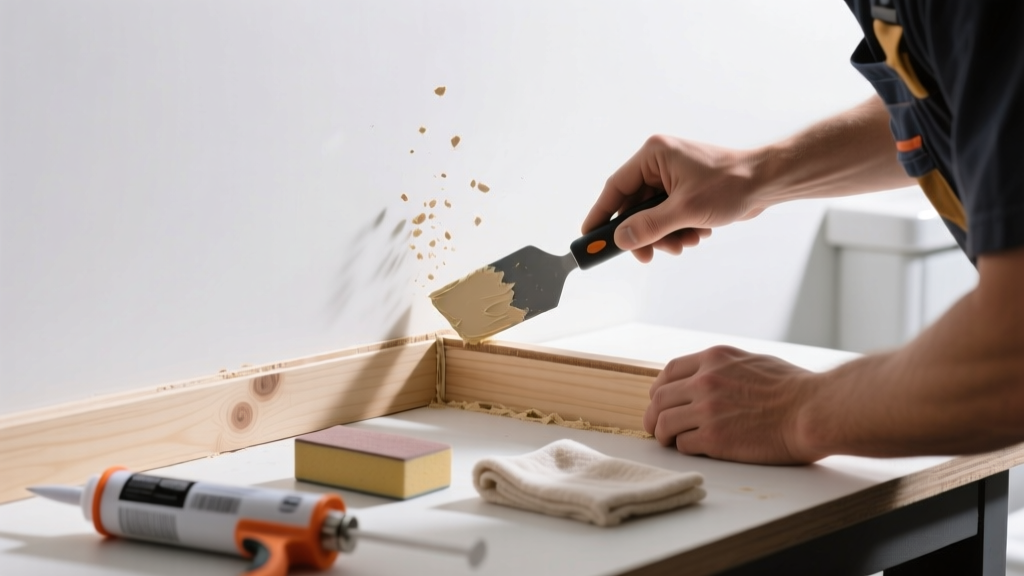
Bathroom baseboard gaps aren’t just an eyesore—they’re a red flag for moisture intrusion, subfloor movement, or improper installation. Left unaddressed, they invite mold behind walls and accelerate rot in framing. Most gaps under 1/4 inch are DIY-fixable; larger ones often point to deeper issues.
Quick Diagnosis
Start by identifying the root cause before grabbing tools. Common culprits include:
- Moisture swelling or warping of subfloor or drywall (especially near showers or tubs)
- House settling shifting wall-to-floor alignment
- Improper nail spacing or missing fasteners along the baseboard
- Shrinkage of green lumber or MDF baseboards in low-humidity winter months
- Missing or failed caulk seal between baseboard and floor
Tools & Materials Needed
| Item | Purpose | Estimated Cost |
|---|---|---|
| 100% silicone caulk (mold-resistant) | Seals gap while resisting bathroom humidity and mildew | $3.50–$6.00 |
| Painter’s tape (1.5" width) | Creates clean caulk lines and prevents smearing on tile or flooring | $4.00–$7.00 |
| Utility knife with snap-off blades | Cuts away old caulk, trims excess material, and cleans joints | $2.50–$5.00 |
| Small notched trowel or putty knife | Presses backer rod into deep gaps and smooths caulk | $4.00–$8.00 |
| Backer rod (1/4" or 3/8" diameter) | Provides flexible backing for caulk in gaps over 1/4" wide | $5.00–$9.00 |
Step-by-Step Fix
Choose the method that matches your gap size and cause:
- For hairline gaps (under 1/8"): Clean with isopropyl alcohol, apply painter’s tape 1/16" above and below gap, then run a thin bead of mold-resistant silicone. Smooth with a damp fingertip, remove tape immediately.
- For medium gaps (1/8"–1/4"): Insert compressible backer rod first, then top with silicone caulk. This prevents sinking and ensures long-term flexibility.
- For warped or loose baseboard: Remove nails/screws, reposition board against wall using shims at stud locations, and re-fasten with finish nails every 12". Fill nail holes with wood filler, then caulk base joint.
- If subfloor is spongy or uneven: Cut out damaged OSB or plywood section beneath baseboard, replace with pressure-treated subfloor, and reinstall baseboard—this requires opening drywall and should be done only if you’ve confirmed rot via probe test.
When to Call a Pro
DIY stops where structural integrity or health hazards begin. Call a licensed contractor or water damage specialist if:
- You detect soft, dark, or musty-smelling subfloor when probing behind baseboard
- The gap appears suddenly after a plumbing leak or flood event
- Adjacent tiles are cracked or lifting, suggesting slab movement or foundation shift
- Baseboard gaps recur within 3 months despite proper caulking and fastening
According to the Insurance Institute for Business & Home Safety's 2023 report, 68% of bathroom water damage claims involved undetected subfloor deterioration that began with unsealed baseboard gaps.
Prevention Tips
Stop gaps before they start with these proactive habits:
- Caulk baseboard-to-floor joints annually during bathroom deep cleaning
- Run bathroom exhaust fan for 20+ minutes post-shower to reduce humidity buildup
- Check for leaks under sinks and behind toilets quarterly—moisture wicks up walls and swells framing
- Use MDF baseboards only if sealed on all edges with oil-based primer; otherwise, choose PVC or primed finger-jointed pine
Can I use regular acrylic caulk instead of silicone?
No. Acrylic caulk shrinks, cracks, and mildews in high-moisture environments. The U.S. EPA estimates that 14% of household water usage is from leaks—and improperly sealed baseboards contribute to hidden evaporation pathways that accelerate decay. Only 100% silicone or polyurethane caulk labeled “bathroom-safe” and “mold-resistant” belongs here.
Why does my baseboard gap keep coming back after caulking?
Recurring gaps signal movement—not bad caulk. Either the wall is shifting (common in homes built on expansive clay soils), the subfloor is flexing due to undersized joists, or the baseboard wasn’t secured to studs. If gaps reopen within 6 weeks, inspect fastener placement with a stud finder and add screws at each stud location.
Should I remove the baseboard entirely to fix this?
Only if it’s warped, rotted, or installed over uneven drywall. Removing baseboard risks damaging drywall corners or tile grout lines. For most gaps under 3/8", targeted repair preserves aesthetics and avoids unnecessary demo.
Can I paint over silicone caulk?
Standard silicone caulk isn’t paintable—but there are paintable silicone hybrids (e.g., GE Advanced Silicone 2). Always check the tube label. If using standard silicone, match caulk color to baseboard or floor: white for light tile, almond for beige walls, clear for natural wood.
Is this gap a sign of foundation problems?
Sometimes—but rarely in isolation. Foundation-related gaps usually appear as diagonal drywall cracks near doors, sticking windows, or stair-step cracks in brick veneer. A single bathroom baseboard gap is more likely tied to localized moisture or poor installation. Monitor for additional signs over 3 months before calling a structural engineer.
How long does bathroom caulk need to cure before showering?
Mold-resistant silicone needs full 72-hour cure time before heavy moisture exposure—even if the surface feels dry in 2 hours. Rushing this invites premature failure. Use a fan to improve airflow during curing, but avoid directing it straight onto the bead.
A well-sealed bathroom baseboard doesn’t just look finished—it acts as the last line of defense against moisture migration into wall cavities. Re-caulk every 18–24 months, inspect fasteners annually, and treat any gap wider than a credit card edge as a potential entry point for trouble. For related help, see our guide on bathroom subfloor repair or how to test for mold behind baseboard.