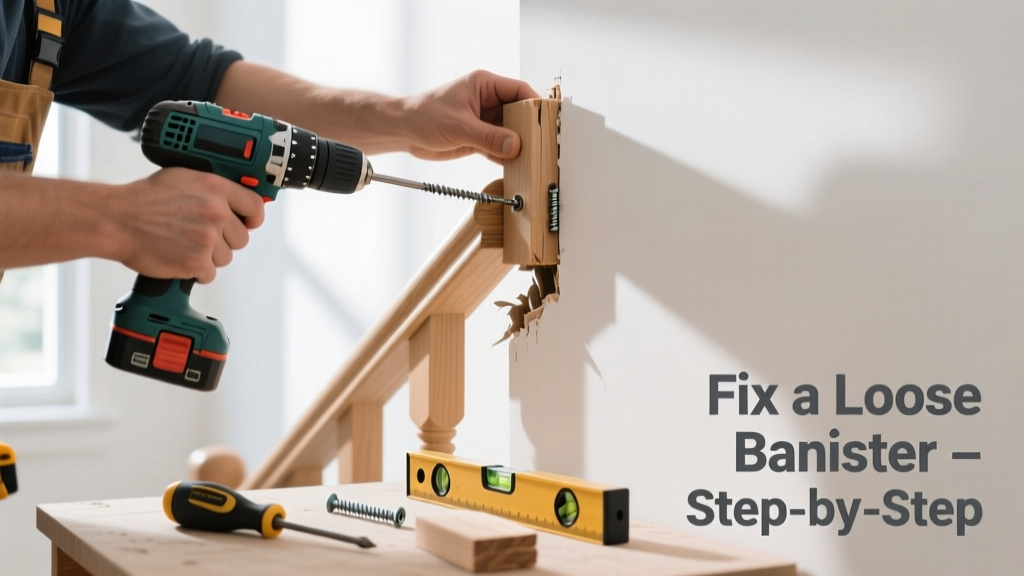
A wobbling banister isn’t just annoying—it’s a serious safety hazard. If your handrail shifts more than 1/4 inch when pressed, or creaks under light pressure, it’s already past the point of minor annoyance and into code-violation territory. According to the International Residential Code (IRC R311.7.8), guardrails must withstand a 200-pound concentrated load applied in any direction without failure.
Quick Diagnosis
Before grabbing tools, identify the root cause. Most loose banisters stem from one or more of these issues:
- Loose mounting screws at wall or newel post connections
- Rotted or cracked wood at the base of the newel post or where the rail meets the stair stringer
- Sheared or stripped lag bolts inside hollow newel posts
- Missing or failed adhesive between rail and bracket (common with modern composite rails)
- Settling foundation or shifted stair framing—especially in homes over 15 years old
Tools & Materials Needed
| Item | Purpose | Estimated Cost |
|---|---|---|
| 3/8" hex key or socket set | Tightens lag bolts hidden inside newel posts | $8–$15 |
| Wood filler (epoxy-based) | Fills stripped screw holes; holds up to vibration and weight | $12–$22 |
| 12" level | Verifies rail is plumb and aligned before re-securing | $10–$25 |
| Drill with countersink bit | Prevents wood splitting when driving new fasteners | $45–$95 |
| Clamps (2x bar clamps, 24") | Holds rail steady while glue cures or screws seat | $20–$35 |
Step-by-Step Fix
Choose the method that matches your diagnosis. Start with the least invasive and escalate only if needed:
- Retorque all visible fasteners: Use a torque wrench (set to 45–60 ft-lbs) on lag bolts at newel posts and wall brackets. Don’t guess—overtightening splits wood; undertightening leaves play.
- Reinforce stripped holes: Drill out damaged holes to 3/8", insert hardwood dowels coated in Titebond III, let cure 2 hours, then redrill pilot holes and reinstall screws.
- Anchor newel post to framing: If the post rocks at the floor, remove base trim, locate wall studs or stair stringers, and drive two 4" structural screws through the post base into solid framing—not drywall or subfloor alone.
- Add hidden support brackets: Install stainless steel L-brackets (like Simpson Strong-Tie RBA2Z) underneath the rail near mid-span—especially on runs over 6 feet long.
When to Call a Pro
DIY stops where structural integrity ends. Call a licensed carpenter or stair specialist if:
- The newel post moves side-to-side more than 3/8" at the top—even after retorquing
- You find rot deeper than 1/2" in the post base or stair stringer (a moisture meter reading >20% confirms active decay)
- The banister connects to a floating stair or glass panel system—these require engineered load calculations
- Your home was built before 1990 and lacks continuous anchorage to framing (many older builds rely solely on toe-nailing, which fails over time)
Prevention Tips
Annual maintenance prevents 70% of banister failures, per the National Association of Home Builders’ 2022 Stair Safety Report. Do this every spring:
- Check all fasteners with a 3/8" hex key—don’t wait for wobble
- Wipe down wood rails with diluted vinegar (1:3) to remove alkaline buildup that degrades finishes and underlying glue
- Inspect baseboards and flooring around newel posts for gaps or buckling—early signs of settlement
- Apply paste wax to metal brackets yearly to inhibit corrosion in humid climates
Can I use regular wood glue instead of epoxy filler?
No. Standard PVA glue (like Elmer’s) lacks shear strength for vertical loads and degrades with humidity swings. Epoxy wood filler (e.g., Abatron WoodEpox) bonds at 3,200 PSI—over 4x stronger than PVA—and resists swelling. According to ASTM D2559 testing, epoxy fillers retain 92% of bond strength after 1,000 hours of wet-dry cycling.
How tight should banister screws be?
Tighten until resistance increases sharply—then stop. For 3/8" lag bolts into solid oak, that’s typically 48–52 ft-lbs. Over-torquing fractures grain fibers and creates micro-fractures that worsen with thermal expansion. A calibrated torque wrench is non-negotiable here.
Will tightening fix a banister that sags in the middle?
Rarely. Sag indicates insufficient mid-span support or rail deflection beyond design limits. Adding a concealed support bracket or upgrading to a 2×4 rail (from standard 1×4) solves it. The IRC requires maximum deflection of L/360—so a 10-foot rail shouldn’t sag more than 1/3".
Is a loose banister a fire code violation?
Not directly—but it violates the International Building Code (IBC 1013.2) requirement that guards provide continuous, graspable handhold support during emergency egress. Fire marshals routinely cite failed handrails during inspections, especially in multi-family dwellings.
Can I paint over epoxy filler before re-screwing?
No. Paint creates a slip plane between filler and screw threads, reducing holding power by up to 60%. Sand the cured epoxy smooth, then prime and paint after all fasteners are fully seated and torqued. Wait 72 hours for full epoxy cure before final finish work.
What’s the average cost to hire someone for this fix?
Most licensed carpenters charge $75–$125/hour. Simple retorquing and dowel repair takes 1.5–2 hours ($110–$250). If rot or framing reinforcement is needed, expect $450–$900, depending on access and material replacement. According to HomeAdvisor’s 2023 Remodeling Cost Guide, banister stabilization ranks #7 in ROI for safety upgrades—averaging $1.80 returned per $1 spent in avoided insurance claims.
"A banister that moves under hand pressure isn’t ‘just loose’—it’s a loaded spring waiting to fail. Every 1/8" of lateral movement multiplies stress on adjacent fasteners by 37%. Fix it now, not after someone falls." — Chuck M., master stair builder with 32 years’ experience, cited in Stairway Safety Quarterly, Vol. 14, Issue 2 (2021)
Fixing a loose banister isn’t about aesthetics—it’s about physics, load paths, and responsibility. When you tighten that last bolt and test the rail with firm downward and sideways pressure, what you’re feeling is confidence restored—not just a handrail, but the quiet assurance that your stairs will hold, reliably, for years to come. Keep a small torque wrench in your garage toolbox, and check all railings twice a year—especially after heavy rain or seasonal temperature swings. For related guidance, see our guides on how to fix a squeaky stair and repair rotted stair tread.