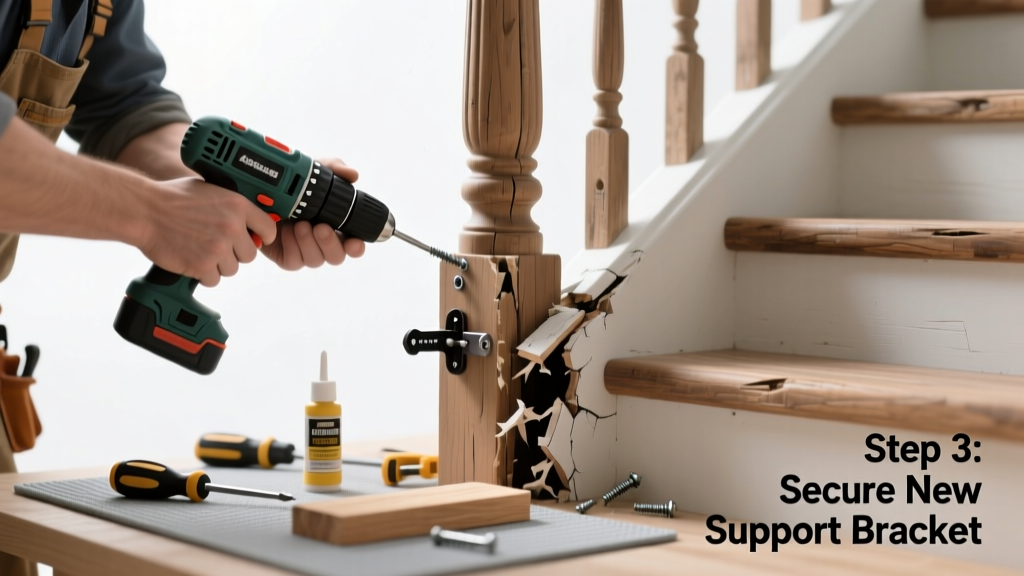
A loose banister isn’t just annoying—it’s a safety hazard. If you hear creaking, feel movement when gripping the rail, or notice visible gaps at joints or posts, a critical part has likely failed: a mounting bracket, dowel pin, rosette, or mortise wedge. Don’t ignore it—loose handrails contribute to over 20% of stair-related falls in homes with older woodwork, according to the National Safety Council’s 2022 Home Injury Report.
Quick Diagnosis
Before grabbing tools, isolate the source of the looseness. Most failures occur at one of these points:
- Post-to-floor connection: Wobbling base where newel post meets stairs or landing
- Rail-to-post joint: Gaps or play where handrail inserts into newel or intermediate post
- Bracket failure: Wall-mounted brackets pulling away from drywall or studs
- Dowel or screw shear: Visible cracks in wood around fasteners or snapped metal pins
Tools & Materials Needed
| Item | Purpose | Estimated Cost |
|---|---|---|
| 3/8" drill bit & pilot bits | Drilling clean holes for new dowels or lag screws without splitting wood | $8–$15 |
| Wood epoxy (e.g., Abatron WoodEpox) | Fills stripped screw holes and bonds broken tenons or mortises | $22–$34 |
| Stainless steel lag screws (1/4" × 3") | Re-anchoring newel posts or reinforcing rail joints—resists corrosion and shear | $6–$12 |
| Replacement dowel pins (3/8" × 2") | Replaces broken or missing hardwood pins that secure rail to post | $4–$9 |
| Clamp set (bar & F-clamps) | Holds rail and post in precise alignment while epoxy cures or glue sets | $18–$45 |
Step-by-Step Fix
Choose the method based on where the failure occurred. Always shut off power if working near electrical boxes behind wall brackets.
- For a stripped newel post base: Remove the post, clean out old adhesive and debris, drill out damaged wood 1/8" deeper than original hole, inject wood epoxy into the cavity, insert a 3/8" hardwood dowel plug, let cure 2 hours, then redrill pilot holes and reattach with two 1/4" × 3" lag screws into solid framing—not just subfloor.
- For a loose rail-to-post joint: Tap out the existing dowel pin with a brass punch and mallet. Clean the mortise with compressed air. Apply Titebond III wood glue to a new 3/8" × 2" maple dowel, tap in flush, clamp rail to post for 90 minutes, then reinforce with a hidden 1/4" lag screw angled through the post into the rail end.
- For failing wall brackets: Locate studs using a magnetic stud finder (not electronic—older plaster walls fool them). Remove old anchors, drill 3/16" pilot holes into center of each stud, install 3" #12 stainless pan-head screws with washers, and re-mount bracket with rail aligned using a 4-ft level.
When to Call a Pro
DIY is unsafe or ineffective in these cases:
- The entire newel post rotates freely—even after tightening all visible hardware
- You find evidence of rot, termite damage, or structural separation in the stair stringer beneath the post
- The banister is part of a code-required guardrail system (e.g., balcony over 30" high) and lacks stamped engineering approval
- Your home was built before 1975 and uses balloon framing—hidden load paths may be compromised
"A handrail must withstand a 200-pound concentrated load applied in any direction without displacement exceeding 1 inch—per ICC IRC R311.7.8. If your repair doesn’t meet that, it’s not safe, even if it feels tight." — International Code Council, 2021 Residential Code Commentary
Prevention Tips
Maintain stability year-round with these simple habits:
- Tighten all visible screws and bolts every 6 months—especially after seasonal humidity shifts
- Apply a bead of silicone caulk where wall brackets meet drywall to prevent vibration-induced loosening
- Use a moisture meter to check newel post base wood—keep readings below 12% to avoid rot-related failure
- Replace zinc-plated fasteners with stainless steel during any repair; galvanic corrosion accelerates wear in humid areas like basements or porches
Can I reuse the old dowel pin if it’s not cracked?
No—dowel pins lose compression integrity after being removed, even if they look intact. Reusing one creates micro-gaps that worsen over time. Always install new hardwood or stainless-steel replacement pins sized to match the original mortise diameter.
What type of glue works best for banister wood repairs?
Use exterior-grade polyurethane glue (like Gorilla Wood Glue) for joints exposed to humidity, or slow-cure epoxy (Abatron) for filling voids and bonding degraded wood. Avoid standard PVA glue—it lacks gap-filling ability and fails under sustained shear stress.
How do I know if my banister meets current building code?
Check local amendments to the 2021 IRC: handrails must be 34–38 inches high measured vertically from stair nosing, graspable with a 1.5–2.5-inch diameter, and continuous. For verification, compare against stair handrail height code requirements.
Is wood filler strong enough to fix a stripped screw hole?
No—standard wood filler crumbles under lateral force. Use structural wood epoxy instead, which achieves 3,500 psi compressive strength once cured. See our full guide on how to repair stripped screw holes in wood.
Can I replace just one baluster without disturbing the whole rail?
Yes—if the rail is secured with individual dowels or screws per baluster. Remove the cap or shoe molding, extract the failed baluster by cutting its top and bottom tenons, then glue and clamp a matching replacement. Confirm fit with a digital caliper before final glue-up.
Do I need a permit to replace a banister part?
Generally no—for like-for-like replacement of non-structural components. But if you’re altering height, material, spacing, or anchoring method—or repairing a guardrail on a deck or balcony—you likely need a permit. Contact your local building department before starting; fines for unpermitted work average $420+ in metro counties (ICC Permitting Survey, 2023).
A properly repaired banister should feel rock-solid—not springy, silent, and aligned. If you’ve followed these steps and still sense movement, revisit your diagnosis: sometimes what looks like a part failure is actually a shifted stair tread or settling foundation. When in doubt, consult a certified stair specialist—your safety is worth more than the cost of an hour’s labor. For related help, see our guides on how to tighten a wobbly stair railing and how to install a newel post correctly.