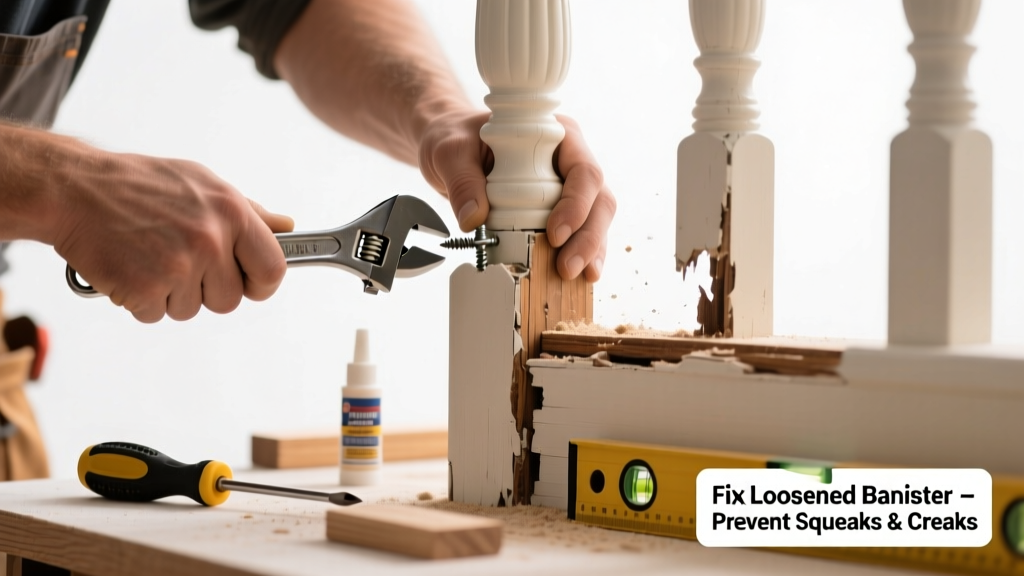
If your banister groans when you lean on it, squeaks with every step, or rattles like a loose tooth—don’t ignore it. A noisy railing isn’t just annoying; it’s often the first warning sign of structural weakness that could compromise safety. According to the U.S. Consumer Product Safety Commission, over 120,000 stair-related injuries annually involve railings failing under load (2022 data).
Quick Diagnosis
Before grabbing tools, identify what’s really wrong. Most unusual noises come from one or more of these root causes:
- Loose mounting screws at wall or newel post connections
- Worn or compressed wood fibers where the handrail meets the balusters
- Rotted or cracked wood in the newel post base or stair stringer
- Metal bracket corrosion or stripped threads in older installations
- Expansion/contraction gaps in hardwood due to seasonal humidity shifts
Tools & Materials Needed
| Item | Purpose | Estimated Cost |
|---|---|---|
| 3/16" hex key or Phillips #2 screwdriver | Tightens most common railing fasteners without stripping heads | $5–$12 |
| Wood shims (1/16"–1/8") | Fills micro-gaps between rail and post to eliminate vibration | $3–$8 |
| Construction adhesive (e.g., PL Premium) | Bonds wood-to-wood joints permanently where screws alone fail | $7–$14 |
| 16d finish nails + nail set | Secures balusters without visible hardware; countersinks cleanly | $4–$9 |
| Digital torque wrench (optional but recommended) | Prevents over-tightening—critical for avoiding split wood or stripped anchors | $45–$85 |
Step-by-Step Fix
Start with the least invasive method and escalate only if noise persists.
- Retighten all visible fasteners: Use a torque-limited driver or hand tool to snug—not crank—every screw at the newel post, wall brackets, and baluster connections. Over-torquing cracks aged pine or splits dry oak.
- Add shims behind loose balusters: Slide thin cedar shims into gaps where balusters meet the rail or shoe block. Tap gently with a rubber mallet, then secure with a dab of construction adhesive.
- Re-anchor the newel post: If the main post wobbles, remove base trim, inspect for rot, drill pilot holes, and install two 6" lag screws angled into the stair stringer. Fill old holes with epoxy wood filler before re-drilling.
- Reinforce with hidden bracing: For mid-rail flex, attach a 1×2 oak cleat inside the skirt board, running parallel to the rail underside, secured with 2" pocket-hole screws.
When to Call a Pro
Don’t risk it if you encounter any of these red flags:
- The entire newel post rotates or lifts more than 1/8" when pushed sideways
- You see black mold, soft wood, or insect tunnels near anchoring points
- Your staircase is attached to load-bearing walls with embedded steel brackets (common in 1950s–70s homes)
- Local building code requires certified inspection after repairs—check your municipality’s stair railing code requirements
Prevention Tips
Extend your repair’s lifespan with proactive care:
- Inspect all railing connections twice yearly—especially after winter humidity swings
- Apply paste wax to metal brackets annually to slow corrosion
- Keep indoor relative humidity between 35–55% using a hygrometer and dehumidifier/humidifier as needed
- Replace original drywall anchors with toggle bolts or Molly bolts during any re-mounting
Can I use regular wood glue instead of construction adhesive?
No. Standard PVA wood glue lacks shear strength and flexibility needed for dynamic loads. Construction adhesive like PL Premium maintains bond integrity through temperature shifts and repeated lateral stress—critical for railings. The National Association of Home Builders recommends polyurethane-based adhesives for structural wood joins (NAHB Residential Construction Performance Guidelines, 2021).
Why does my banister only squeak in the morning?
This points to humidity-driven wood contraction. Overnight cooling drops indoor moisture, shrinking wood slightly and creating micro-gaps that rub when loaded. A consistent 40–45% RH level eliminates this cycle—see our guide on fixing squeaky stairs for humidity control tactics.
Is duct tape a safe temporary fix?
Absolutely not. Duct tape adds zero structural support and its adhesive breaks down under UV exposure and heat, leaving sticky residue that interferes with proper repairs. It also masks worsening issues—like hidden rot—that escalate rapidly. As one veteran carpenter told us:
"Tape on a railing is like a bandage on a broken bone—it feels better for five minutes and makes everything worse by noon." — Mike R., 32-year stair specialist, Chicago
How tight should railing screws be?
Tighten until resistance increases sharply—then stop. For softwoods like pine, aim for 5–7 ft-lbs torque; hardwoods like oak can handle 8–10 ft-lbs. Exceeding 12 ft-lbs risks splitting grain or stripping threads. Use a calibrated torque screwdriver—our torque screwdriver buying guide explains why cheap models misread by up to 30%.
Will tightening screws fix a hollow-sounding rattle?
Not always. Hollow rattles usually mean internal baluster movement or loose infill panels—not just loose screws. Remove a cap or access panel to inspect for detached dowels or missing glue joints. Reinforce with 10-gauge wire threaded through pre-drilled holes and epoxied at both ends.
Can I paint over construction adhesive once it dries?
Yes—but only after full cure (72 hours minimum). PL Premium accepts latex and oil-based paints once skin-formed and tack-free. Never paint before curing: trapped solvents cause bubbling and poor adhesion. Sand lightly with 220-grit before priming.
A quiet, solid banister isn’t just about comfort—it’s a daily affirmation that your home supports you safely. Do the repair right the first time, use materials rated for structural loads, and revisit connections every season. Small attention now prevents costly corrections—and dangerous surprises—down the line.