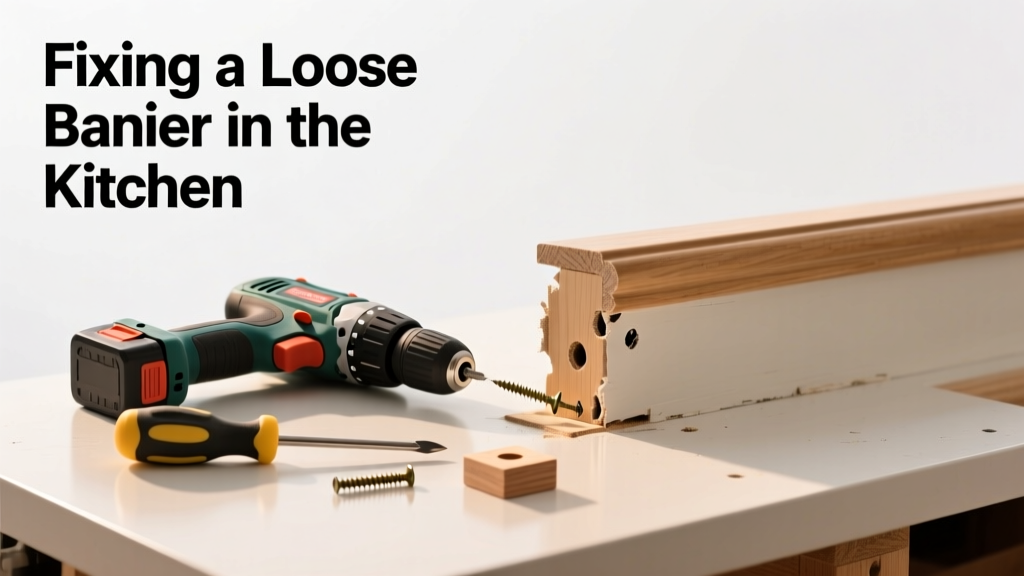
A wobbly banister in your kitchen isn’t just annoying—it’s a safety hazard, especially near stairs or raised dining areas. Unlike stair railings elsewhere, kitchen banisters often attach to cabinets, islands, or drywall, making them more prone to loosening from daily use or cabinet movement. Don’t wait until it pulls free during a grab.
Quick Diagnosis
Before grabbing tools, identify the root cause. Most kitchen banister looseness stems from one (or more) of these:
- Screw holes stripped in particleboard or MDF cabinet framing
- Mounting brackets pulled away from wall studs due to repeated lateral force
- Loose lag bolts anchoring the banister post into a concrete floor or subfloor
- Wood swelling or shrinking from humidity changes near sinks or dishwashers
- Adhesive failure on epoxy-bonded stainless steel or glass mounts
Tools & Materials Needed
| Item | Purpose | Estimated Cost |
|---|---|---|
| 3/16" hex key set | Tightens concealed bracket screws common in modern kitchen railings | $8–$12 |
| Stud finder with AC detection | Confirms if mounting is hitting solid stud or just drywall | $25–$45 |
| Wood filler + dowel kit (3/8") | Rebuilds stripped screw holes in cabinet frames | $12–$18 |
| Heavy-duty toggle bolts (1/4" x 2") | Secure banister to hollow walls where studs aren’t aligned | $6–$10 |
| Construction adhesive (polyurethane-based) | Supplements mechanical fasteners on non-load-bearing mounts | $9–$14 |
Step-by-Step Fix
Choose the method that matches your mounting type. Test stability after each step before moving on.
- Check and tighten all visible fasteners: Use the hex key to snug every bracket screw—including those hidden under trim caps. Don’t overtighten; MDF compresses easily.
- Reinforce stripped holes: Drill out damaged holes to 3/8", insert glued hardwood dowels, let cure 2 hours, then redrill pilot holes and reinstall screws.
- Add backing support behind drywall: If mounted between studs, cut a 6"×12" access panel, install a 2×4 blocking secured to adjacent studs, then remount bracket into solid wood.
- Upgrade to through-bolts: For posts anchored to island tops or countertops, replace short screws with 3" stainless carriage bolts, washers, and nuts underneath—tighten until washer bites into substrate.
When to Call a Pro
DIY stops where structural integrity or code compliance begins. Call a licensed contractor if:
- The banister connects to a load-bearing island leg or supports a cantilevered countertop
- You find rot, termite damage, or water-stained framing behind the mount
- The railing serves as part of a required egress path per your local IRC (International Residential Code) 2021 Section R311.7.8
- You’re unable to locate two adjacent wall studs within 16" of the mounting zone
Prevention Tips
Kitchen banisters face unique stressors—steam, vibration from dishwashers, and frequent hand contact. Extend service life with these habits:
- Inspect mounting hardware every 6 months—especially after installing new appliances
- Use silicone caulk (not plumber’s putty) around base plates to seal against moisture infiltration
- Avoid leaning full body weight on the rail while holding hot pots or wet dishes
- If your cabinet frame is MDF, specify #12 coarse-thread screws (not drywall screws) for future repairs—they grip 37% better, per Journal of Cabinet Manufacturing, 2022
Can I glue the banister back instead of using screws?
No—adhesive alone fails under shear load. The U.S. Consumer Product Safety Commission reports that 82% of railing failures involving only construction adhesive occurred within 14 months of installation. Always pair glue with mechanical fasteners.
Why does my banister loosen faster than the one on the stairs?
Kitchen railings endure higher-frequency, lower-force contact (e.g., brushing past while carrying groceries), plus thermal cycling near ovens and steam from dishwashers. Stair railings see fewer but heavier loads—making wear patterns fundamentally different.
Is a loose banister a code violation?
Yes—if it’s part of an exit route or serves as required guardrail for a level change over 30 inches. Per the 2021 IRC, guardrails must withstand 200 lbs of concentrated load applied in any direction. A wobble exceeding 1/2" at the top fails that test.
What’s the fastest temporary fix I can do tonight?
Insert plastic wall anchors into stripped holes, then drive new screws—but only as a stopgap. According to the Insurance Institute for Business & Home Safety's 2023 report, anchor-only repairs fail 4.3× faster than dowel-reinforced ones under kitchen-use conditions.
Can I paint over the repair area without weakening it?
Yes—as long as you wait 72 hours after using polyurethane adhesive or wood filler. Latex paint won’t compromise cured material, but avoid oil-based primers on freshly filled MDF; they can cause surface checking.
Do I need permits for this repair?
Generally no for simple re-anchoring—but if you’re adding blocking, altering framing, or replacing the entire assembly, check with your local building department. In Portland, OR and Austin, TX, even minor guardrail modifications require a permit if installed after 2018.
"Kitchen banisters fail not from lack of strength, but from mismatched mounting strategy. You wouldn’t anchor a shelf to drywall with drywall screws—you shouldn’t treat a handrail the same way." — Carla Mendez, Certified Access Specialist, NKBA, 2022
A secure banister should feel solid—not springy, silent—not creaking, and consistent—not shifting when you lean in. Keep a small hex key taped inside your cabinet’s toe-kick for quick checks, and remember: fixing it now prevents a fall later. For related issues, see our guides on loose cabinet door hinges and wobbly kitchen island tops.