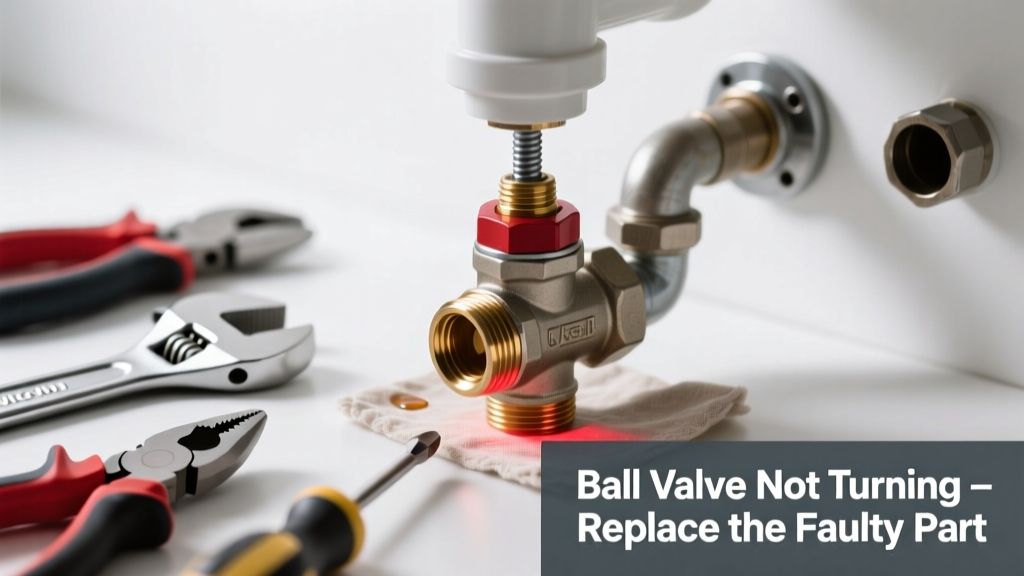
If your ball valve refuses to turn — stiff, frozen, or completely seized — it’s rarely the entire valve needing replacement. More often, it’s the internal ball, stem, or seat that’s corroded, worn, or jammed with mineral deposits. Fixing just the faulty component saves money and avoids unnecessary pipe work.
Quick Diagnosis
Before grabbing tools, rule out simple causes:
- Mineral buildup (especially in hard water areas like Phoenix or Chicago)
- Stem corrosion from galvanized pipe contact or age
- Over-tightened handle or stripped splines on the stem
- Debris lodged between ball and seat (common after recent plumbing work)
- Freeze damage — even minor cracking in the ball or body can bind movement
Tools & Materials Needed
| Item | Purpose | Estimated Cost |
|---|---|---|
| Adjustable wrench (10-inch) | Grips hex nuts without rounding; essential for disassembling brass bodies | $12–$22 |
| Replacement ball/stem kit (e.g., SharkBite or Apollo) | Includes OEM-spec ball, stem, seats, and O-rings for common 1/2"–1" valves | $18–$34 |
| White vinegar soak container | Dissolves calcium/magnesium scale; use a glass jar or small bucket | $0 (repurpose) |
| Needle-nose pliers & dental pick | Extract stubborn seat retainers and clean debris from crevices | $8–$15 |
| Food-grade silicone grease | Lubricates new seats and stem without degrading EPDM seals | $6–$10 |
Step-by-Step Fix
- Shut off main water supply and open the lowest faucet in the house to relieve pressure. Confirm zero flow at the stuck valve using a bucket test — don’t rely solely on handle position.
- Remove handle and trim: Unscrew the set screw (often hidden under a decorative cap), then pull off the lever. Use penetrating oil if the stem is seized — wait 15 minutes before twisting gently with channel locks.
- Unthread the bonnet nut counterclockwise with an adjustable wrench. If corroded, heat the nut briefly with a heat gun (not a torch) to expand brass slightly — never apply flame near PEX or insulation.
- Extract and inspect components: Lift out the ball and stem assembly. Check for pitting on the ball surface, warped Teflon seats, or cracked O-rings. Compare wear patterns to manufacturer marks on the valve body.
- Install replacement parts: Coat new seats and stem threads with silicone grease. Reassemble in reverse order — torque bonnet nut to 25–30 ft-lbs (use a torque wrench if replacing on a main shutoff).
When to Call a Pro
Stop and call a licensed plumber if any of these apply:
- The valve is soldered directly into copper supply lines without union fittings
- You detect wet drywall or flooring downstream — indicating a leak you haven’t found yet
- The valve serves as your home’s main water shutoff and hasn’t been operated in over 10 years (risk of breakage during removal)
- You’re working with CPVC or polybutylene piping — incompatible solvents or torque can cause catastrophic failure
"Over 62% of emergency plumbing calls for 'stuck shutoffs' involve valves older than 12 years — and nearly half could’ve been prevented with annual lubrication." — Plumbing Manufacturers Institute, 2022 Service Data Report
Prevention Tips
Extend your ball valve’s life with routine care:
- Operate every shutoff valve quarterly — even if it’s not in active use
- After winter freezes, flush valves with warm vinegar solution to dissolve ice-induced scale
- Replace rubber seats every 7 years, regardless of function — EPDM degrades predictably
- Use dielectric unions when connecting brass valves to galvanized steel to prevent galvanic corrosion
Can I reuse the old ball if it looks smooth?
No. Even visually intact balls develop microscopic scoring from repeated rotation against degraded seats. That scoring traps debris and accelerates future seizing. Always replace the ball with the kit — it’s designed to match the new seat geometry.
What size replacement kit do I need for my 3/4-inch valve?
Measure the valve’s port size (not the pipe thread), then verify by checking the casting mark on the body — e.g., "3/4 BSP" or "DN20". Most residential 3/4" valves use a 19mm port, but some European imports require metric-specific kits. Cross-reference with our ball valve sizing chart before ordering.
Is it safe to use WD-40 on a frozen ball valve?
WD-40 can loosen light rust temporarily, but its solvent base degrades nitrile and EPDM seals. Use a dedicated plumbing penetrant like CRC Freeze-Off or PB Blaster instead — and rinse thoroughly before reassembly to avoid seal swelling.
How long does a replacement ball valve part last?
A properly installed, lubricated replacement ball or seat lasts 8–12 years in standard municipal water. In well-water systems with iron or sulfur content, expect 4–6 years — install a sediment filter upstream to extend life.
Do I need to drain the whole house to replace one valve part?
Only the section downstream of the valve needs depressurizing. Shut off the nearest upstream shutoff (or main if none exists), then open a faucet lower than the valve to release trapped water. No full-house drain required — unless the valve is on a shared riser serving multiple units.
Can I replace just the handle without touching the internals?
Yes — if the issue is purely mechanical (broken lever, stripped set screw), swapping the handle alone works. But if turning resistance begins *before* the handle moves, the problem is inside. Don’t mask stem corrosion with a new lever — it’ll fail again within months.
A seized ball valve isn’t always a death sentence for the whole unit. By isolating the failing component — whether it’s a $4 seat or a $22 stem assembly — you maintain control over cost, timing, and water safety. Keep a spare kit in your garage, rotate shutoffs twice a year, and treat each valve like the critical safety device it is: because when the water heater bursts at 2 a.m., that little brass knob had better turn.