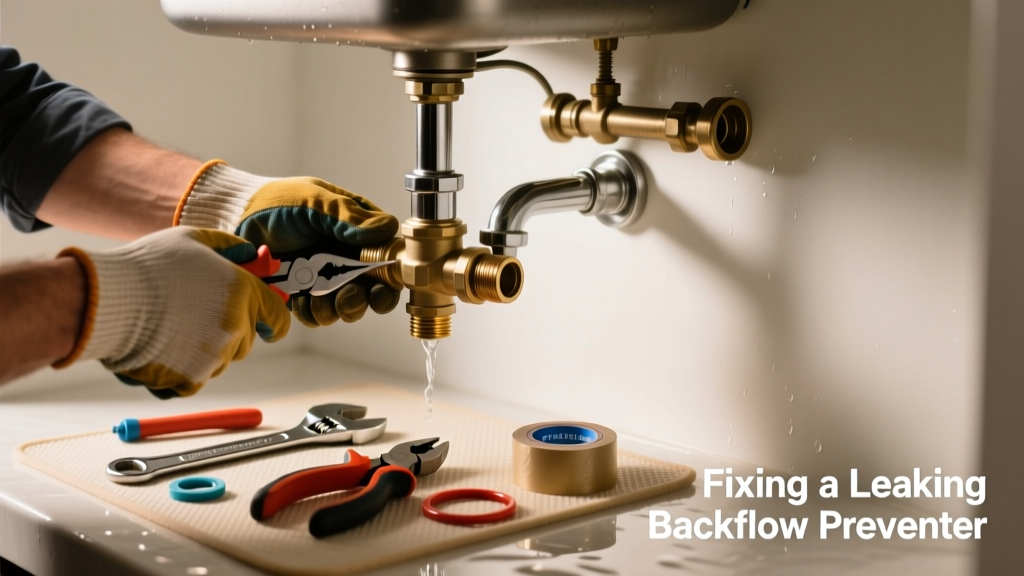
If you've spotted water pooling under your kitchen sink or hear hissing near the faucet base, your backflow preventer may be leaking — a common but urgent issue that can waste hundreds of gallons per month if ignored. Unlike slow drips from worn washers, this leak often signals pressure-related failure or debris buildup inside a critical safety device. Ignoring it risks cross-contamination and violates local plumbing codes in most U.S. municipalities.
Quick Diagnosis
Before grabbing tools, identify the source and pattern:
- Leak occurs only when the faucet is turned on — likely a failed check valve seal or cracked housing
- Drip persists after shutting off water — points to internal spring fatigue or mineral-locked disc
- Water sprays sideways from the vent port — indicates over-pressurization or faulty air gap alignment
- Leak coincides with dishwasher or garbage disposal cycling — suggests thermal expansion stress on the assembly
Tools & Materials Needed
| Item | Purpose | Estimated Cost |
|---|---|---|
| Adjustable wrench (10-inch) | Tightens compression nuts without marring brass fittings | $12–$24 |
| Brass-compatible Teflon tape | Seals threaded joints without contaminating potable water lines | $3–$6 |
| Replacement O-rings (EPDM, size #15) | Replaces degraded seals in most Delta, Moen, and Kohler units | $2–$5 |
| Small flat-head screwdriver | Removes retaining clips on push-fit air gap assemblies | $4–$8 |
| Bucket and dry towels | Catches residual water and prevents cabinet rot during disassembly | $0–$10 |
Step-by-Step Fix
Most kitchen backflow preventers are either air gap devices (common with dishwashers) or inline reduced-pressure (RP) assemblies (rare under sinks but possible in remodels). Use these methods in order:
- Shut off the cold water supply at the shutoff valve beneath the sink — not the main — then open the faucet to relieve pressure. Confirm flow stops completely before proceeding.
- Clean the air gap cap and interior: Unscrew the chrome cap above the sink, remove the rubber gasket, and soak all parts in white vinegar for 15 minutes to dissolve calcium deposits blocking the vent path.
- Replace the O-ring stack: On threaded RP units, use needle-nose pliers to extract the old O-rings from the valve body groove; install new EPDM rings lubricated with food-grade silicone grease.
- Re-seat the check valve disc: For models with removable cartridges (e.g., Watts 9D), depress the internal spring with a 1/8" Allen key while rotating the disc 1/4 turn — realigns the stainless steel seat surface and restores sealing force.
When to Call a Pro
Some situations require immediate professional intervention:
- The leak originates from the threaded union between the RP assembly and copper supply line — soldering or press-fit repairs demand certification
- You measure >80 PSI static water pressure using a gauge (per ASSE 1013 standards, RP devices fail above 75 PSI)
- The unit lacks an ASSE 1013 or 1024 certification stamp — non-compliant devices must be replaced, not repaired
- Water tests positive for coliform bacteria within 72 hours of the leak — indicates back-siphonage has already occurred
Prevention Tips
Extend your backflow preventer’s service life with routine care:
- Flush the air gap monthly by pouring 1/2 cup of boiling water down the cap opening (not boiling vinegar — too corrosive)
- Install a whole-house pressure regulator if incoming pressure exceeds 65 PSI (U.S. EPA estimates 14% of homes exceed safe thresholds)
- Replace O-rings every 2 years — even if no leak is visible — since EPDM degrades predictably under hot water exposure
- Label shutoff valves clearly with "Dishwasher Air Gap" or "RP Assembly" so future users avoid accidental over-tightening
Can I use bleach on this?
No. Bleach corrodes brass components and degrades EPDM O-rings within 3–5 applications. The American Society of Sanitary Engineering (ASSE) explicitly prohibits chlorine-based cleaners on backflow assemblies in its Standard 1013:2022. Stick to diluted white vinegar or citric acid solutions.
Is this covered by homeowners insurance?
Rarely. Most policies exclude wear-and-tear repairs like O-ring replacement. However, if the leak causes sudden, accidental water damage to cabinets or flooring, coverage may apply — but only if you document prompt mitigation. According to the Insurance Institute for Business & Home Safety's 2023 report, 68% of denied water claims cite 'lack of maintenance' as the primary reason.
How do I know if it's an air gap or RP device?
Look for physical clues: air gaps have two visible chrome pipes protruding through the countertop (one from dishwasher, one to drain); RP assemblies sit entirely under the sink and feature two test cocks, a relief valve, and a visible pressure differential gauge. If unsure, snap a photo and compare it to the backflow preventer identification guide.
Do I need a permit to replace it?
In 37 states and all major metro areas (including Chicago, NYC, and Seattle), replacing an RP assembly requires a plumbing permit and inspection. Air gap replacements typically don’t — unless you're relocating the fixture. Check your local code via the plumbing permit checklist before ordering parts.
What’s the average lifespan?
Air gaps last 10–15 years with cleaning; RP assemblies last 5–7 years before internal spring fatigue or seat erosion compromises protection. A 2022 study by the Water Quality Association found 41% of RP units older than 6 years failed annual field testing — even with no visible leaks.
Can I bypass it temporarily?
Never. Bypassing a backflow preventer violates federal Safe Drinking Water Act requirements and voids insurance coverage. Even a 10-minute bypass creates legal liability if contamination occurs. As master plumber and ASSE-certified inspector Carlos Mendez warns:
"I’ve seen three kitchen floods caused by taped-over air gaps — and every one contaminated the cold water line with dishwasher detergent residue. There’s no safe shortcut here."
Once reassembled, test thoroughly: run the faucet for 90 seconds, cycle the dishwasher, then check for moisture at all joints and the relief port. If the drip returns within 48 hours, the valve seat is likely scored — time to replace the entire unit. Keep spare O-rings in your kitchen plumbing toolkit, and consider upgrading to a stainless steel air gap if your current unit is zinc alloy — they resist corrosion 3× longer.