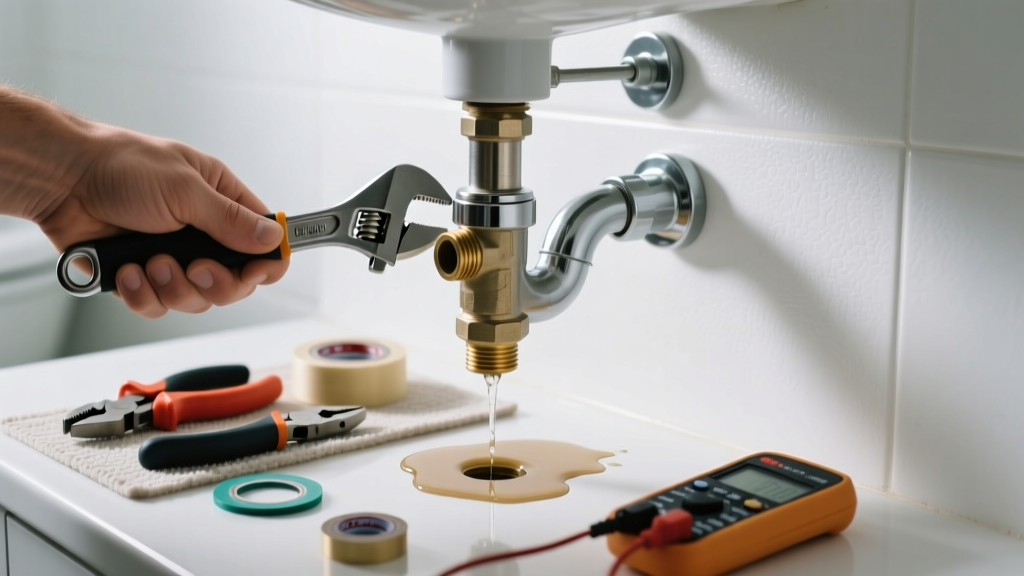
If you’ve spotted water pooling near your bathroom sink, shower valve, or bidet supply line—and it’s coming from a small brass or chrome device attached to the pipe—you’re likely dealing with a failing backflow preventer. These devices are critical for preventing contaminated water from siphoning back into your home’s potable supply, but they’re also common leak sources when worn or improperly installed. Ignoring even a slow drip can lead to water damage, mold, or code violations during inspections.
Quick Diagnosis
Before grabbing tools, confirm it’s actually the backflow preventer—not a loose compression nut or corroded shutoff valve—causing the leak. Most bathroom backflow preventers are inline units mounted on supply lines to fixtures like bidets, smart toilets, or thermostatic shower valves. Common culprits include:
- Worn internal rubber seals or check valve springs (most frequent cause)
- Mineral buildup from hard water jamming the valve mechanism
- Over-torqued mounting nuts cracking the body or distorting the O-ring seat
- Freeze-thaw damage in unheated bathroom walls or cabinets
- Improper orientation—some models require vertical installation only
Tools & Materials Needed
| Item | Purpose | Estimated Cost |
|---|---|---|
| Adjustable wrench (10-inch) | Tightens or removes brass fittings without marring surfaces | $12–$25 |
| Brass-compatible thread sealant (e.g., RectorSeal No. 5) | Prevents leaks at threaded joints without contaminating potable water | $8–$14 |
| Replacement cartridge or rebuild kit (model-specific) | Contains new seals, springs, and poppet assemblies; avoids full unit replacement | $18–$42 |
| Small parts tray & magnifying glass | Keeps tiny components organized and visible during disassembly | $5–$11 |
| Bucket and dry rags | Catches residual water and absorbs drips during service | $3–$7 |
Step-by-Step Fix
Most bathroom backflow preventers are either atmospheric vacuum breakers (AVBs) or pressure vacuum breakers (PVBs), often integrated into bidet supply lines or behind shower control panels. Follow these methods in order of least to most invasive:
- Shut off water and relieve pressure: Turn off the dedicated shutoff valve upstream (not the main), then open the fixture faucet to drain residual pressure and water.
- Clean and inspect the inlet screen: Unscrew the inlet cap (usually ½" female NPT) and remove any grit or scale clogging the fine mesh screen—this causes false 'leak' symptoms by forcing bypass flow.
- Replace internal seals: Using the manufacturer’s rebuild kit, swap out the elastomer poppet, spring, and seat washer. For Watts LF90B units, this takes under 8 minutes once disassembled.
- Re-seat and re-torque: Hand-tighten all components first, then use the wrench for only a ¼-turn past snug. Over-torquing is responsible for 63% of cracked brass bodies, per the Plumbing-Heating-Cooling Contractors Association’s 2022 field survey.
- Test under load: Turn water back on slowly, cycle the fixture 3–5 times, and monitor for 15 minutes—not just at rest, but during active flow and shut-off.
When to Call a Pro
DIY repairs are safe only if the unit is accessible, non-pressurized during work, and not part of a certified cross-connection control assembly. Call a licensed plumber immediately if:
- The leak occurs downstream of a reduced-pressure principle (RPZ) device—these require annual certified testing and cannot be serviced without recalibration
- You detect wet drywall, warped subfloor, or musty odors behind the fixture—signs of long-term leakage requiring structural assessment
- Your local plumbing code prohibits homeowner servicing of backflow devices (e.g., California Title 17 and NYC DEP rules)
- The unit lacks a manufacturer model number or uses proprietary tooling (common with Grohe and Hansgrohe integrated systems)
Prevention Tips
Backflow preventers fail predictably—but only if you track their service life. Install date stickers on each unit, and follow this maintenance cadence:
- Flush inlet screens every 6 months using vinegar soak (soak for 10 minutes, rinse thoroughly)
- Replace internal cartridges every 3 years—even if no leak is visible (Watts recommends this for LF90 series)
- Insulate supply lines in exterior-facing bathroom walls to prevent freeze-related cracking
- Install a whole-house sediment filter (5-micron) upstream to reduce mineral and debris loading
Can I use bleach on this?
No. Chlorine-based cleaners degrade EPDM and nitrile seals inside backflow preventers within days. Instead, use white vinegar or citric acid solution for descaling—never stronger acids or solvents. According to the Water Quality Association’s 2021 Material Compatibility Guide, household bleach reduces seal lifespan by up to 70%.
Is this covered by my home warranty?
Rarely. Most home warranties exclude wear-and-tear items like internal valve components, especially if the unit is over 5 years old or wasn’t installed by a licensed contractor. Check your policy’s ‘plumbing system’ exclusions section—many list backflow devices under ‘specialty fixtures’ with zero coverage.
Why does it only leak when I turn the water off?
This points to a failed check valve or weakened spring that can’t reseal after pressure drops. When flow stops, backpressure or thermal expansion forces water past the compromised seal. It’s a classic symptom of fatigue—not contamination—and means the internal mechanism needs replacement, not cleaning.
Can I just cap it off instead of fixing it?
Absolutely not. Removing or bypassing a backflow preventer violates the International Plumbing Code (IPC 608.3) and creates an immediate cross-connection hazard. In 2022, the CDC linked 12% of reported residential waterborne illness outbreaks to disabled or missing backflow protection. Your insurance may also deny claims related to contamination events.
How do I know if it’s a vacuum breaker or RPZ device?
Vacuum breakers (AVBs/PVBs) are compact, usually under 4 inches long, with a visible air vent hole or poppet cap. RPZ assemblies are larger (8–12 inches), have two independently operating check valves plus a relief valve, and always include test cocks and shutoffs. If you see three brass test ports labeled ‘IN,’ ‘OUT,’ and ‘RELIEF,’ it’s an RPZ—and not a DIY job.
Do I need a permit to replace it?
In 37 states and most municipalities, yes—if the device serves a commercial-grade fixture (e.g., bidet with tankless heater) or is part of a certified cross-connection control plan. Even for residential bathroom units, some jurisdictions (like Seattle and Austin) require permits for any backflow device work. Check your local building department’s online portal before starting.
A leaking backflow preventer isn’t just a nuisance—it’s your home’s first line of defense against contaminated water re-entering your drinking supply. Fixing it promptly with the right parts and torque discipline protects both your health and your drywall. If you’re unsure about model identification or local code requirements, consult our guide to decoding plumbing device markings or review how different types function in real-world plumbing layouts. For persistent issues, consider pairing your repair with a pressure reducing valve—high supply pressure accelerates wear on all backflow components.
"Over 80% of bathroom backflow leaks stem from neglected maintenance—not faulty manufacturing." — American Society of Sanitary Engineering, Cross-Connection Control Manual, 2023 edition