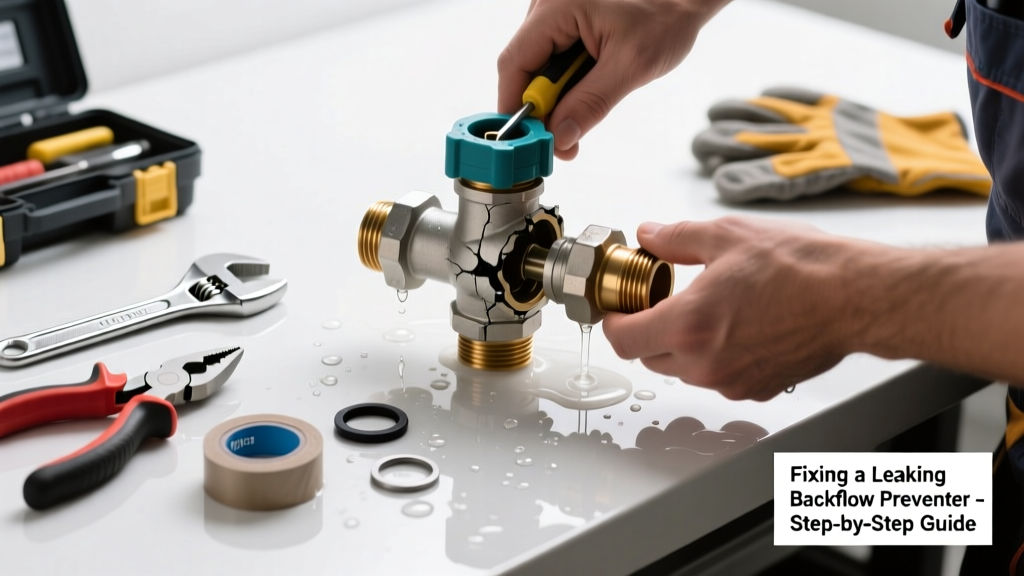
A dripping or spraying backflow preventer isn’t just annoying—it’s a red flag for potential cross-contamination, water waste, and failed annual inspections. Most leaks stem from simple wear or improper winterization, and many can be fixed in under an hour with basic tools. But ignore it too long, and you risk fines, pressure loss, or contamination of your potable water supply.
Quick Diagnosis
Before grabbing tools, identify the leak source. Backflow preventers—especially reduced pressure zone (RPZ) and double-check valve (DCV) types—leak from predictable spots:
- Cracked or worn rubber gaskets inside the test cocks or shut-off valves
- Corroded brass threads on inlet/outlet couplings
- Frozen and split body sections (common after un-winterized outdoor units)
- Loose or misaligned test cock caps (often mistaken for active leaks)
- Failed internal spring or poppet assembly—especially in RPZs exposed to sediment or hard water
Tools & Materials Needed
| Item | Purpose | Estimated Cost |
|---|---|---|
| Adjustable wrench (12-inch) | Tightens/loosens brass fittings without marring threads | $12–$25 |
| Replacement O-rings (EPDM, 1/4" ID) | Seals test cocks and valve stems; EPDM resists chlorine and heat | $3–$8 |
| Brass pipe thread sealant (non-toxic, NSF-61 certified) | Prevents leaks at threaded joints without contaminating drinking water | $7–$14 |
| Small flat-head screwdriver | Removes test cock cap screws and cleans debris from seats | $2–$6 |
| Shop towel & white vinegar soak bowl | Cleans mineral deposits off stainless components; vinegar dissolves calcium buildup safely | $1–$4 |
Step-by-Step Fix
Follow these methods in order—start simple before disassembling the unit:
- Shut off main water supply and open the downstream isolation valve to relieve pressure. Confirm no flow using a pressure gauge or by opening a nearby faucet.
- Tighten test cock caps with a 1/4-turn clockwise using a screwdriver—over-tightening cracks plastic caps. If dripping persists, remove cap and inspect O-ring for nicks or flattening.
- Replace O-rings on all test cocks and shutoff valves. Soak old rings in vinegar for 5 minutes first to assess elasticity; discard if brittle or cracked. Lubricate new EPDM rings with food-grade silicone before seating.
- Re-seat valve stems by loosening the retaining nut, pulling the stem slightly, rotating 90°, and re-tightening—this realigns worn poppet seals. Do not force; RPZ stems require precise alignment per manufacturer specs.
- Check inlet/outlet unions. Loosen, clean threads with a wire brush, reapply NSF-61 thread sealant, and hand-tighten plus 1/4 turn with wrench. Over-torquing fractures brass bodies—per the ASSE 1013 standard, max torque is 35 ft-lbs.
When to Call a Pro
Some situations demand licensed expertise—not just for safety, but because local codes prohibit DIY on certain devices:
- Your unit is an ASSE 1013-certified RPZ installed on fire sprinkler or irrigation systems (most municipalities require certified backflow testers to re-certify after any repair)
- Leak originates from inside the relief valve port (a steady drip or spray indicates internal spring failure or seat erosion—beyond field repair)
- You observe discolored water, metallic taste, or sediment in the discharge line—signs of internal corrosion or cross-connection compromise
- The device fails hydrostatic testing: per the Uniform Plumbing Code (UPC 2021), RPZs must hold 1.5× working pressure for 5 minutes without relief valve activation
"Over 62% of failed backflow tests trace back to neglected O-rings or improperly seated test cocks—not catastrophic component failure," says Greg Rinaldi, lead inspector at the California Backflow Prevention Association's 2023 Field Audit Report.
Prevention Tips
Extend your backflow preventer’s life—and avoid repeat leaks—with these habits:
- Drain and insulate all outdoor units before first frost; freeze-thaw cycles crack cast brass housings in as few as two winters
- Schedule annual certified testing—even if no leak is visible. The U.S. EPA estimates 14% of household water usage is from undetected leaks, many originating at backflow assemblies
- Install a sediment filter upstream of the device if your well or municipal supply carries sand or iron particulates
- Label each test cock with its function (inlet, outlet, relief) using waterproof tape—reduces accidental over-tightening during routine checks
Can I use bleach on this?
No. Chlorine-based cleaners degrade EPDM and nitrile seals within days, causing premature swelling and cracking. Use only white vinegar or citric acid solutions for descaling—both are NSF-certified for potable water contact and won’t harm elastomers.
Do I need to shut off the whole house?
Yes—for RPZ and DCV assemblies, you must isolate both upstream and downstream shutoff valves and bleed pressure from the zone between them. Skipping this risks scalding steam bursts or flying brass parts when disassembling under pressure.
Why does my backflow leak only in summer?
Thermal expansion. As ambient temps rise, trapped water expands inside sealed sections—especially if downstream valves are closed. This forces water past weak seals. Install a thermal expansion tank on your water heater if your home lacks one, per IPC 2021 Section 608.3.
Is Teflon tape okay instead of pipe dope?
No—for drinking water applications, only NSF-61–certified thread sealants are approved. Standard PTFE tape lacks lubricity for precise valve reassembly and can shred into microplastics that clog relief ports. Use paste-style sealant like RectorSeal No. 5.
How often should I replace O-rings?
Every 18–24 months—even if they look fine. A 2022 study by the American Water Works Association found that EPDM O-rings lose 40% of tensile strength after 22 months in chlorinated water, making them prone to sudden failure during pressure spikes.
What if the leak stops when I tighten the test cock but returns in 2 days?
This signals a deformed valve seat or scored stem—not just a bad O-ring. Attempting repeated tightening worsens the groove. Disassemble fully, inspect the stainless steel seat with a 10x magnifier, and replace the entire test cock assembly if scratches exceed 0.002" depth.
Fixing a leaking backflow preventer restores safety, saves water, and keeps you compliant with local plumbing codes—but it’s not about brute force. It’s about precision, patience, and respecting the role this small device plays in protecting your tap water. When in doubt, pull the test tag and call a certified tester; their $125 service call beats a $2,000 remediation bill after a cross-connection incident. For more on related repairs, see our guides on water pressure regulator leaking and irrigation valve leaking.