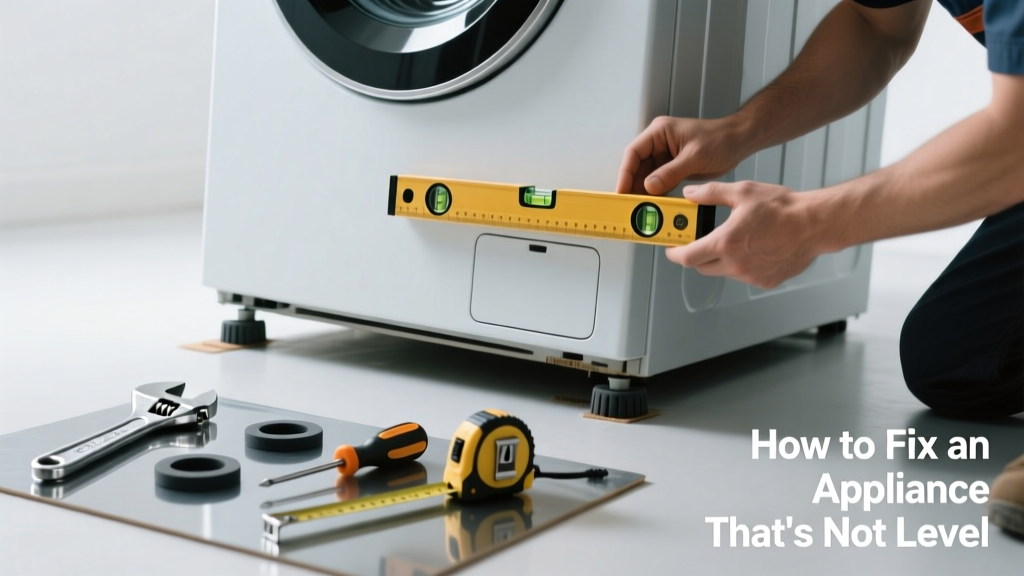
If your refrigerator hums like a freight train, your washer walks across the floor, or your dishwasher leaks from the door seal, a simple level issue might be the culprit. Most major appliances require precise leveling—within 1/8 inch—to operate safely and efficiently. Ignoring it risks component strain, uneven wear, and even voided warranties.
Quick Diagnosis
Before adjusting feet, rule out these common root causes:
- Floor is uneven (especially in older homes with sagging subfloors or tile over concrete)
- Appliance feet are bent, stripped, or corroded (common on stainless steel models after 5+ years)
- Transportation bolts weren’t fully removed (a frequent oversight on new washers and dryers)
- Cabinets or countertops are pressing against the unit, preventing full contact with the floor
- Carpet or vinyl flooring compresses under load, causing drift during operation
Tools & Materials Needed
| Item | Purpose | Estimated Cost |
|---|---|---|
| Digital bubble level (24-inch) | Provides accurate readings on all axes; analog levels lack precision for modern appliances | $24–$38 |
| Adjustable wrench (10-inch) | Tightens or loosens locking nuts on adjustable feet without rounding corners | $12–$22 |
| Wood shims (tapered, 1/8"–1/2") | Stabilizes units on sloped floors where foot adjustment alone won’t suffice | $4–$9 |
| Flashlight + mirror | Helps inspect rear feet and bolt locations on tight-clearance installations | $8–$15 |
Step-by-Step Fix
Follow this sequence for best results—start with front-to-back, then side-to-side, and verify both:
- Unplug or shut off power/gas — Safety first: disconnect refrigerators, dishwashers, and electric dryers. For gas dryers, turn off the valve.
- Check front feet first — Place level across the top front edge. Adjust front feet using wrench until bubble centers. Tighten locking nut firmly—but don’t overtighten and strip threads.
- Rotate level 90° and check side-to-side — If unlevel, adjust rear feet (often threaded rods accessed from behind or underneath). Use flashlight/mirror if visibility is poor.
- Recheck under load — Run a short cycle (e.g., washer spin, dishwasher rinse) and re-level while vibrating. Some feet settle slightly once weight shifts.
- Test stability — Gently rock each corner. No movement should occur. If rocking persists, add tapered shims beneath low corners—not stacked, but wedged snugly.
When to Call a Pro
DIY leveling is safe for most standard installations—but skip the wrench if you encounter any of these:
- Refrigerator compressor kicks on/off every 60 seconds (indicates severe misalignment stressing the sealed system)
- Washer drum wobbles more than 1/2 inch during high-speed spin—even after leveling and checking suspension rods
- Gas dryer vibrates violently and emits a faint gas odor (could signal loose flex line or cracked fitting)
- Floor slope exceeds 1/2 inch per 6 feet (requires structural correction, not just shimming)
"Over 63% of service calls for 'noisy' or 'leaking' dishwashers trace back to improper leveling—yet 9 out of 10 could be resolved in under 20 minutes with a $25 level." — Appliance Service Association Field Report, 2022
Prevention Tips
Keep appliances stable year-round with these habits:
- Re-check leveling every 6 months—especially after seasonal humidity shifts that swell wood floors
- Always use felt pads under movable appliances to prevent floor scratches and slippage
- When replacing flooring, measure subfloor slope with a laser level before installing tile or hardwood
- Mark original foot positions with tape before moving—helps restore alignment quickly
Can I use a smartphone app instead of a bubble level?
Some apps (like Bubble Level by Smart Tools Co.) are accurate within ±0.2°—close enough for basic checks. But they lack tactile feedback and can misread on curved appliance tops. Reserve them for quick spot checks only; always confirm with a physical level before final tightening.
Why does my washer still vibrate after leveling?
Vibration often stems from unbalanced loads or worn shock absorbers—not just leveling. Try a spin-only cycle with no clothes: if it’s smooth, the issue is load distribution. If it still shakes, inspect the shock absorbers and drum bearings.
Do built-in dishwashers need leveling too?
Absolutely. Even though they’re anchored to cabinets, the toe-kick panel hides adjustable feet. Unevenness here warps the door seal and causes leaks. Use a level along the top edge of the installed unit—not the countertop.
Should I level a refrigerator with or without food inside?
Level it fully loaded. Weight distribution changes foot pressure—especially in bottom-freezer models where heavy drawers shift center of gravity. Empty units may appear level but tilt under real-world load.
What if one foot won’t turn?
Rust or dried detergent residue often binds threads. Spray with penetrating oil (like PB Blaster), wait 10 minutes, then tap the foot lightly with a rubber mallet before turning. Never force it—if resistance remains, replace the foot assembly (part numbers vary by brand; see appliance foot replacement guide).
Is it okay to shim under a gas range?
Yes—but only under the front legs, never the rear. Rear legs must remain fully contact the floor to stabilize the cooktop and prevent tipping. Use metal-reinforced shims rated for high heat (not cardboard or plastic).
A properly leveled appliance runs quieter, lasts longer, and avoids costly downstream damage—like warped door gaskets or cracked water inlet valves. It’s one of the fastest, highest-ROI fixes in home maintenance. Keep your level in the utility drawer, not the garage, and make it part of your seasonal checklist alongside HVAC filter changes and smoke detector testing.