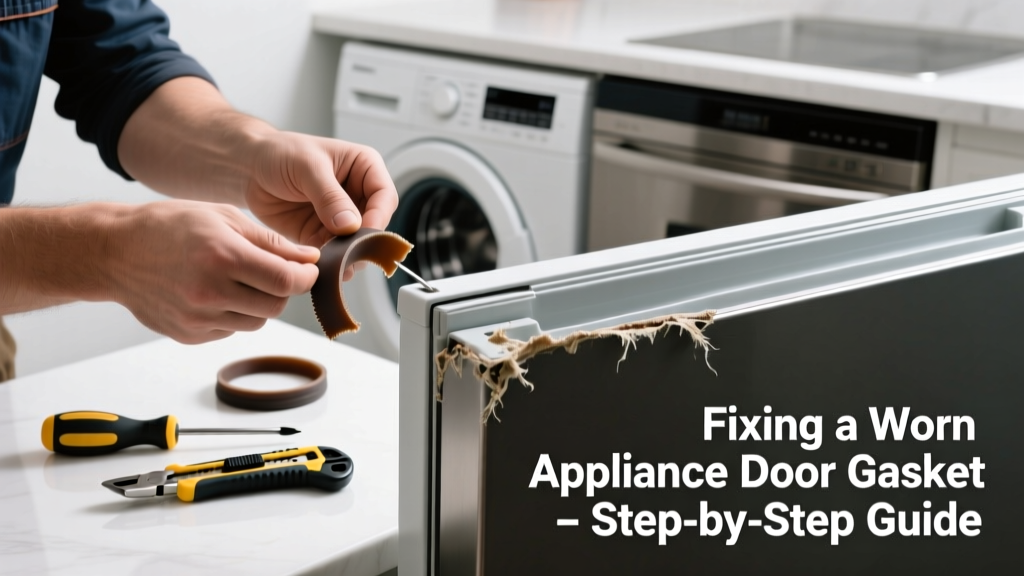
A cracked, brittle, or warped door gasket on your fridge, dishwasher, or front-load washer isn’t just annoying—it’s costing you money in energy bills and risking mold, leaks, or spoiled food. Most gaskets fail silently over 5–8 years, especially near hinges or where detergent or heat repeatedly degrades the rubber. The good news? This is one of the most DIY-friendly appliance repairs—if you know what to look for and when to stop.
Quick Diagnosis
- Visible cracks, splits, or missing chunks along the sealing edge
- Door doesn’t seal tightly—paper test fails (slip a dollar bill in the closed door; if it slides out easily, the seal is compromised)
- Condensation or frost buildup inside the fridge or freezer compartment
- Mold or mildew odor near the door frame, especially on dishwashers or washing machines
- Increased energy use—U.S. Department of Energy estimates faulty seals raise refrigerator energy consumption by up to 20%.
Tools & Materials Needed
| Item | Purpose | Estimated Cost |
|---|---|---|
| Replacement gasket (model-specific) | Must match OEM part number—generic fits often leak | $18–$45 |
| Plastic pry tool or flathead screwdriver (wrapped in tape) | Removes old gasket without scratching door frame | $5–$12 |
| Isopropyl alcohol (70%+) and lint-free cloth | Cleans groove before installing new gasket—removes grease, soap scum, and residue | $4–$8 |
| Small flashlight | Illuminates tight grooves during removal and inspection | $3–$15 |
| Heat gun or hair dryer (low setting) | Softens stubborn gasket sections for easier removal and improves new gasket adhesion | $15–$60 |
Step-by-Step Fix
- Unplug the appliance (or shut off water supply for dishwashers/washers) and remove any interior trim or screws securing the outer door panel—check your model’s service manual first.
- Remove the old gasket: Start at the top center and gently pry outward using a plastic tool. Work clockwise, applying low heat only where the gasket sticks. Never pull straight out—angle it toward the door’s inner cavity to avoid breaking mounting clips.
- Clean the groove thoroughly: Use isopropyl alcohol and a cotton swab to remove all grime, dried detergent, or mold. Let dry completely—any moisture will prevent proper adhesion.
- Install the new gasket: Align the gasket’s mounting ridge with the groove, starting at the top center. Press firmly into place, working down both sides and finishing at the bottom. Ensure no twists or overlaps—especially at corners.
- Test the seal: Close the door and perform the paper test at 4–6 points around the perimeter. If resistance feels uneven, gently reseat sections with fingertip pressure—not tools.
When to Call a Pro
- The gasket groove itself is cracked, warped, or missing mounting clips (common on older Whirlpool dishwashers and GE Profile refrigerators)
- You’re replacing a gasket on a built-in or panel-ready appliance where door alignment affects cabinet clearance
- After installation, the door binds, won’t latch, or triggers error codes (e.g., 'F21' on Samsung washers)—this suggests hinge or latch misalignment
- You notice persistent mold behind the gasket that extends into insulation or door panel—requires disassembly beyond gasket replacement
Prevention Tips
- Clean gaskets monthly with vinegar-water solution (1:1), not bleach or abrasive cleaners—bleach degrades EPDM rubber faster.
- Wipe gaskets dry after each dishwasher cycle or laundry load—moisture accelerates cracking.
- Avoid slamming doors, especially on front-load washers; repeated impact fatigues rubber mounts.
- Replace gaskets every 6 years—even if they look fine—especially in high-humidity kitchens or laundry rooms.
Can I use bleach on this?
No. According to the Rubber Manufacturers Association’s Seal Material Durability Guide (2022), sodium hypochlorite (bleach) reduces EPDM gasket lifespan by up to 40% due to oxidative degradation. Stick to white vinegar or diluted isopropyl alcohol.
How do I find the right replacement gasket?
Locate your appliance’s full model number (usually on a sticker inside the door frame or behind the kickplate), then search it on sites like RepairClinic.com or PartSelect.com. Cross-reference the OEM part number—not just the description—since identical-looking models sometimes use different gasket profiles. For example, LG WM3900HWA uses gasket #ADQ73134401, while the WM3900HWA2 uses #ADQ73134402.
Why does my new gasket feel stiff and not seal right away?
New gaskets need 24–48 hours to relax and conform to the door shape—especially in cool garages or basements. Gently warm the gasket with a hair dryer (low heat, 6 inches away) before closing the door, then leave it undisturbed overnight. As
“Most field failures in gasket replacements stem from impatience—not improper installation,” says appliance technician Maria Chen, who’s replaced over 1,200 seals since 2018.
Do I need to replace the whole door if the gasket is torn?
Rarely. Unless the door’s inner liner is cracked or the gasket channel is damaged (often visible as jagged plastic or missing retention ridges), replacing just the gasket solves >95% of seal issues. Check your model’s exploded diagram on exploded diagrams page to confirm mounting style.
My dishwasher gasket smells musty—can I clean it instead of replacing?
You can deep-clean it temporarily with baking soda paste and vinegar steam, but if the rubber is visibly cracked or squishes unevenly when pressed, cleaning won’t restore the seal. Musty odors often mean microbial growth has penetrated microfractures—a sign the gasket is past its functional life.
Will a worn gasket increase my electric bill?
Yes—significantly. According to the Insurance Institute for Business & Home Safety's 2023 report, a compromised refrigerator gasket raises compressor runtime by 15–25%, adding $30–$75 annually to electricity costs. In humid climates, it also forces the defrost system to run more often, accelerating wear on heating elements.
A properly sealed gasket doesn’t just keep cold air in—it protects your appliance’s long-term reliability and your home’s indoor air quality. Replacing it takes under an hour for most models, and the parts cost less than a single service call. If you’ve done the paper test and felt that telltale draft, now’s the time to act—before condensation starts warping cabinetry or triggering a compressor failure. And remember: when in doubt about door alignment or internal components, knowing when to call a pro is just as important as knowing how to fix it yourself.