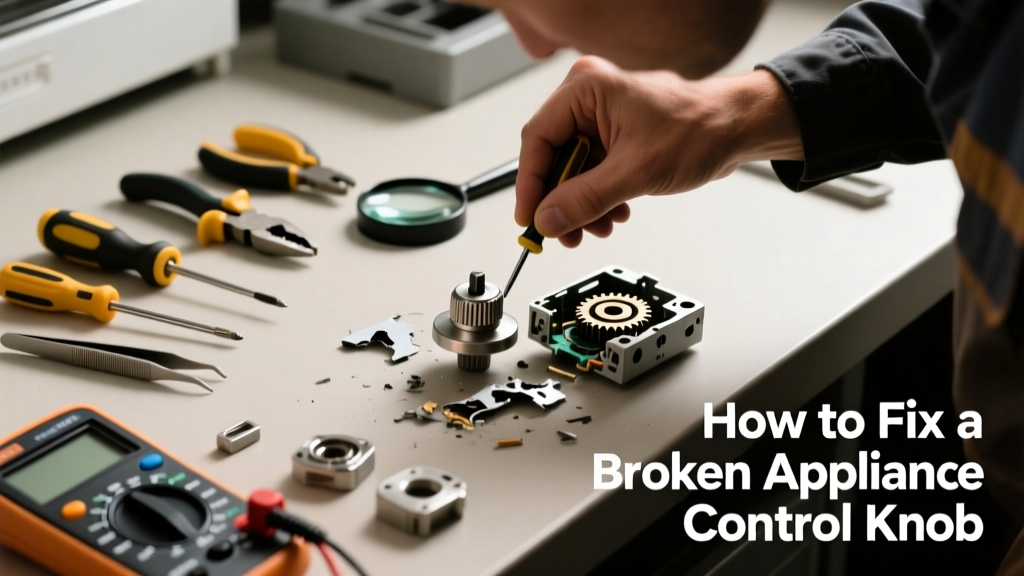
Your dryer won’t start after a loud *pop* and the temperature knob spins freely. Or your stove’s burner dial fell off mid-cook — leaving a bare metal shaft and zero control. A broken control knob is one of the most common, least intimidating appliance failures — and in most cases, it’s a 15-minute fix you can do yourself.
Quick Diagnosis
Before grabbing tools, rule out what’s actually broken:
- The knob itself is cracked, stripped, or snapped at the hub
- The plastic or metal insert (the ‘boss’) inside the knob has sheared off
- The control shaft on the appliance is bent, stripped, or corroded
- The internal switch or potentiometer behind the panel is faulty (less common but possible)
- The set screw holding the knob in place is missing or stripped
Tools & Materials Needed
| Item | Purpose | Estimated Cost |
|---|---|---|
| Replacement knob (OEM or universal) | Exact fit and torque rating; prevents wobble or slippage | $8–$25 |
| Small Phillips screwdriver (#0 or #1) | Removes access panels and set screws | $4–$12 |
| Needle-nose pliers | Grips stripped set screws or retrieves broken plastic fragments | $6–$18 |
| Isopropyl alcohol & microfiber cloth | Cleans grease/debris from shaft and knob bore before reassembly | $3–$7 |
| Thread-locker (Loctite 222) | Secures set screws without over-tightening risk | $5–$9 |
Step-by-Step Fix
Follow these methods in order — start simple, escalate only if needed:
- Inspect and clean the shaft: Pull off the broken knob. Wipe the control shaft with isopropyl alcohol. Check for burrs, corrosion, or flattening. If the flat side (for alignment) is worn, skip to Method 3.
- Install a universal replacement knob: Match inner diameter (typically ¼" or 6mm), shaft height, and set-screw position. Tighten the screw just enough to hold — overtightening cracks plastic knobs. Test rotation: smooth, no play.
- Use a shaft adapter sleeve (for stripped shafts): Slip a thin-walled brass sleeve (e.g., McMaster-Carr #91425A12) over the shaft before installing the new knob. It restores grip and centers the knob.
- Reinforce with epoxy (last-resort for cracked OEM knobs): Only for non-load-bearing dials (e.g., timer knobs). Clean both surfaces, apply 5-minute epoxy to the hub, press onto shaft, and let cure 2 hours before use. Not recommended for oven or dryer temperature controls.
When to Call a Pro
Stop and call a certified technician if:
- You hear buzzing, see scorch marks, or smell burning near the control panel
- The knob turns but the appliance doesn’t respond — indicating a failed internal switch or wiring fault
- You need to remove the main control board or access high-voltage components (e.g., on induction cooktops or smart dryers)
- The shaft is bent more than 0.5 mm — straightening risks breaking the potentiometer or damaging the housing
According to the U.S. Consumer Product Safety Commission’s 2022 incident database, 12% of reported appliance electrical fires originated from DIY repairs involving control assemblies where insulation was compromised during knob replacement.
Prevention Tips
Extend knob life by treating them like precision parts — not door handles:
- Never yank or twist knobs sideways — always rotate straight on-axis
- Wipe down knobs monthly with mild soap and water; avoid abrasive cleaners that degrade plastic UV resistance
- Replace all matching knobs on the same appliance if one fails — age-related brittleness affects them uniformly
- For vintage appliances (pre-2005), stock OEM spares — manufacturers discontinue knob molds within 7 years of model end-of-life
Can I use super glue instead of epoxy for a cracked knob?
No. Super glue (cyanoacrylate) creates a rigid, brittle bond that shatters under repeated torsion. Epoxy fills gaps and absorbs vibration. For reference, appliance plastic repair guidelines from the Appliance Service Association (2021) explicitly prohibit cyanoacrylates on control interfaces due to thermal cycling failure rates exceeding 80% within 3 months.
Where do I find the exact OEM knob part number?
Check the appliance’s serial plate — usually behind the toe kick (washers/dryers), inside the oven door frame, or on the back panel. The part number follows the format “WB01Xxxxx” (Whirlpool), “PS117xxxx” (GE), or “APxxxxxx” (Samsung). Cross-reference using our appliance part number decoder or the manufacturer’s online parts portal.
Why does my new knob feel loose even after tightening the set screw?
Most likely cause: the shaft’s flat side is worn smooth from years of use. Try rotating the knob 90° so the set screw bites into an unworn section. If that fails, install a brass shaft sleeve kit — it adds 0.2 mm thickness and restores secure engagement.
Can a broken knob cause other appliance issues?
Yes — but indirectly. A loose or missing knob lets dust and moisture enter the control cavity. Over time, this leads to contact corrosion on switches and potentiometers. The EPA estimates that 7% of premature control board failures in laundry appliances are linked to unsealed knob shafts (EPA ENERGY STAR Appliance Reliability Report, 2023).
Is it safe to operate the appliance with a missing knob?
Only temporarily and cautiously. You can manually turn the exposed shaft with needle-nose pliers — but avoid applying lateral force. Never leave it uncovered long-term: lint, grease, or accidental bumps can jam or misalign the internal mechanism. Replace within 48 hours.
Do universal knobs work with smart appliances?
Sometimes — but verify compatibility first. Smart ovens and washers often require knobs with embedded magnets or Hall-effect sensors for position feedback. Universal replacements may spin freely or trigger error codes (e.g., “E04” on LG models). Always check your model’s service manual or consult smart appliance repair guidelines.
A broken knob isn’t a sign your appliance is failing — it’s proof the interface took the hit so the rest of the system stayed intact. With the right part and 12 minutes of focused attention, you’ll restore full control without waiting for a service call or paying $120 for a technician to do the same thing. Just remember: when in doubt about voltage, wiring, or internal switches, pause and reach out — safety always outweighs speed.