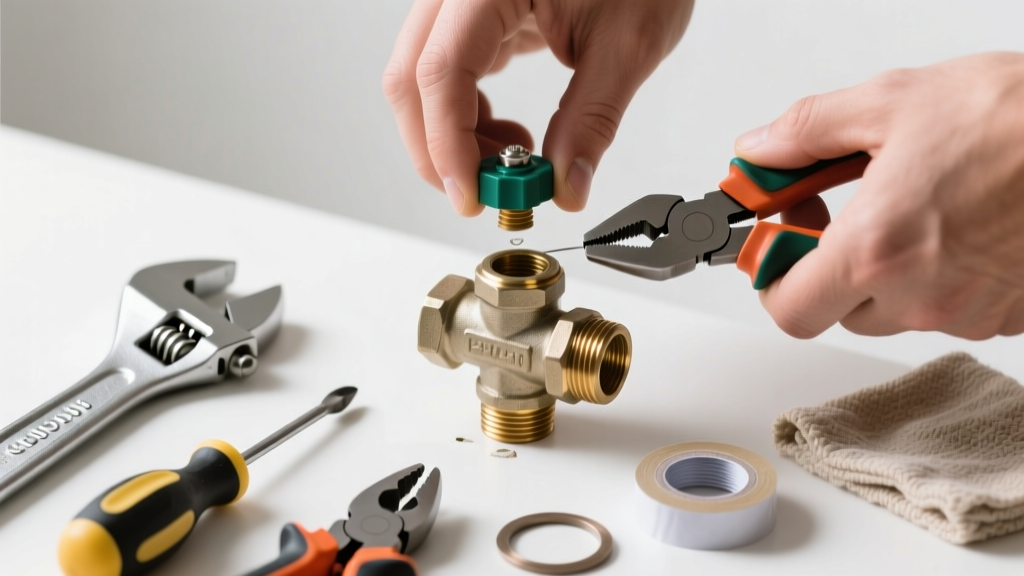
Your kitchen sink sprays water when you turn off the faucet—or your toilet keeps running even after you shut off the supply. That’s often a failing angle stop valve: small, critical, and easy to overlook until it’s dripping, weeping, or refusing to shut off completely. Don’t ignore it—leaks here can waste hundreds of gallons yearly and risk water damage behind walls.
Quick Diagnosis
Before grabbing tools, rule out the obvious. A leaking angle stop isn’t always the valve itself—it could be the connection, the stem packing, or age-related corrosion. Here are the most common culprits:
- Loose compression nut (most frequent cause of drip at handle base)
- Worn-out rubber washer or O-ring inside the valve body
- Mineral buildup jamming the valve seat or stem
- Cracked brass body from freeze damage or overtightening
- Failed cartridge in newer quarter-turn ball-type valves
Tools & Materials Needed
| Item | Purpose | Estimated Cost |
|---|---|---|
| Adjustable wrench (10-inch) | Tightens compression nuts without rounding flats | $12–$22 |
| Replacement angle stop valve (1/2" FIP x 3/8" compression) | Direct swap for corroded or cracked units | $6–$18 |
| Seat wrench (e.g., Ridgid 107) | Removes and reseats worn valve seats without disassembling pipe | $14–$28 |
| Teflon tape & pipe dope | Seals threaded connections; avoid on compression fittings | $3–$7 |
| Needle-nose pliers & utility knife | Extract old washers, trim excess ferrules, cut tubing cleanly | $5–$15 |
Step-by-Step Fix
Most leaks fall into three categories: drips at the handle, leaks at the outlet, or failure to shut off. Try these methods in order—start simple, escalate only if needed.
- Tighten the packing nut: Turn off main water supply first. Use an adjustable wrench to snug (not crank) the hex nut just below the handle—¼ turn max. Test. If dripping stops, you’re done.
- Replace the washer/O-ring: Remove handle, unscrew stem assembly, pull out rubber washer (often flat or beveled). Match size at hardware store—standard sizes are 1/4" or 5/16". Replace O-rings on stem threads too.
- Re-seat the valve seat: If water still leaks *past* the closed handle, mineral deposits likely pitted the brass seat. Use a seat wrench to cut a fresh surface—this works 70% of the time on older gate-style valves (per Plumbing Business Magazine, 2022).
- Swap the entire valve: Shut off main water, drain lines, cut supply line with tubing cutter (not hacksaw), and install new valve using proper compression fitting technique. This is safest for valves over 15 years old or showing green corrosion.
When to Call a Pro
DIY has limits—and plumbing mistakes can cost thousands in water damage. Call a licensed plumber if:
- You’re working behind a wall where access is limited or drywall must be opened
- The valve is soldered (not compression or threaded) and you lack torch experience
- Multiple fixtures share one shutoff and shutting off the main affects tenants or neighbors
- You see bulging PEX tubing, white powder (chloride stress cracking), or evidence of past freeze damage
"Over 40% of emergency plumbing calls involving supply line failures trace back to neglected angle stops installed before 2005." — American Society of Home Inspectors (ASHI) Field Report, 2023
Prevention Tips
Angle stops fail silently—until they don’t. Extend their life with these habits:
- Exercise each valve twice yearly: turn fully on, then fully off, then back ¼ turn (prevents seizing)
- Label valves clearly with permanent marker—especially in basements or utility closets
- Install flood alarms like WaterCop sensors near vulnerable shutoffs
- Replace all angle stops every 12–15 years—even if they seem fine. Brass fatigue is invisible.
Can I use vinegar to clean mineral buildup in the valve?
Vinegar works for light scale on accessible parts—soak the disassembled stem and washer overnight—but never pour it into an installed valve. Residue can degrade rubber seals and corrode brass over time. For stubborn deposits, use a dedicated brass-safe descaler like CLR Metal Cleaner.
Why does my angle stop leak only when I turn the faucet on?
This points to pressure-related failure: either a cracked valve body (common after freezing) or a compromised compression ring that seals only under zero pressure. Turn off water and inspect the outlet side for hairline cracks—especially near the ferrule. If found, replacement is mandatory.
Is Teflon tape safe on compression fittings?
No. Compression fittings seal via metal-to-metal contact between the ferrule, tube, and valve body. Teflon tape or pipe dope here creates false security and can cause leaks or stripped threads. Reserve tape for NPT-threaded connections only—like the valve’s inlet side if it screws into a galvanized nipple.
How tight should I make the compression nut?
Tighten until resistance increases sharply—then stop. Over-tightening cracks brass bodies and deforms brass ferrules, causing immediate or delayed leaks. A good rule: hand-tight plus ¾ turn with a wrench. If it still leaks, the problem is elsewhere—don’t crank harder.
What’s the difference between a 1/4-turn and multi-turn angle stop?
Multi-turn (gate or globe style) uses a screw mechanism and offers precise flow control but wears faster. 1/4-turn (ball or ceramic-disk) gives quick shutoff and better longevity but fails catastrophically if the cartridge cracks. Choose 1/4-turn for toilets and dishwashers; multi-turn for sinks where fine adjustment matters.
Can I replace just the handle instead of the whole valve?
Only if the leak is isolated to the handle stem and the valve body shows no corrosion, pitting, or play. Most modern replacement handles require matching stems and cartridges—so unless you have the exact OEM part number, you’ll likely need the full valve. Generic handles rarely seal reliably.
A leaking angle stop valve isn’t just an annoyance—it’s a warning sign. Fixing it promptly avoids bigger headaches, higher water bills, and unexpected flooding. Keep your tools organized, test valves regularly, and remember: when in doubt about copper sweating or PEX crimping, call someone with a license and insurance. Your home—and your insurance deductible—will thank you.