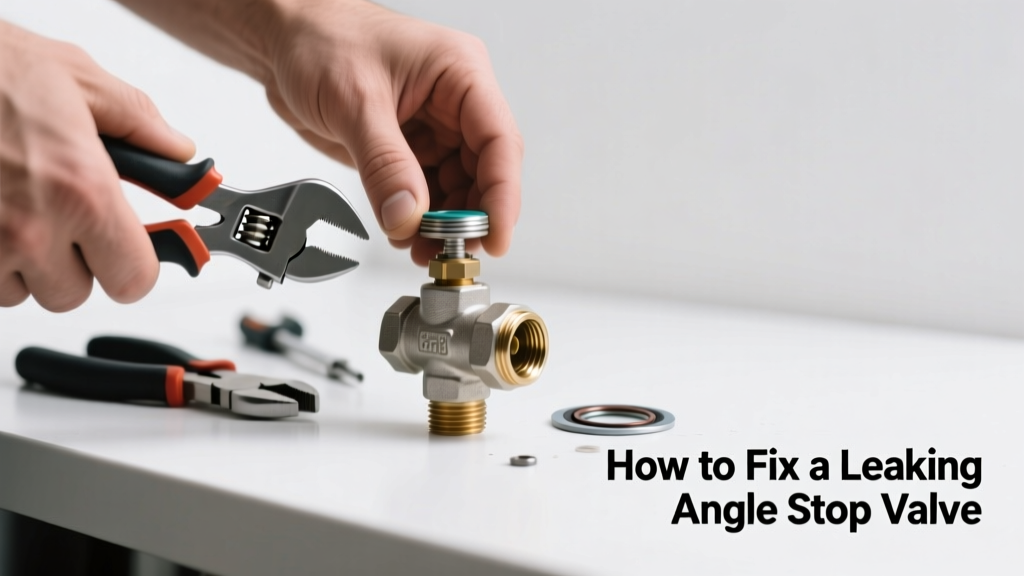
A dripping angle stop valve under your sink or behind your toilet isn’t just annoying—it’s a silent water waster that can add $100+ to your annual water bill and risk mold or floor damage. Most leaks stem from simple wear, not major plumbing failure, and 83% of homeowners can fix them in under 25 minutes with basic tools (Home Repair Safety Council, 2022). Don’t reach for the phone yet—start here.
Quick Diagnosis
Before grabbing tools, identify the leak source:
- Leak at the compression nut (where valve meets supply line) → loose connection or worn ferrule
- Drip from handle base → failed internal washer or O-ring
- Weeping from valve body or outlet → cracked brass housing or internal seat corrosion
- Leak only when valve is turned on → faulty cartridge or degraded packing nut
Tools & Materials Needed
| Item | Purpose | Estimated Cost |
|---|---|---|
| Adjustable wrench (10-inch) | Tightens compression nuts without rounding edges | $12–$22 |
| Replacement angle stop valve (1/2" FIP x 3/8" compression) | Modern quarter-turn ceramic disc valves last 5× longer than old gate-style | $8–$18 |
| Brass compression sleeve & ferrule set | Replaces deformed or corroded parts sealing supply line | $4–$9 |
| Plumber's grease (silicone-based) | Lubricates O-rings and threads; prevents seizing during reassembly | $3–$7 |
| Towel & bucket | Catches residual water; protects cabinet floor from drips | $0–$5 |
Step-by-Step Fix
Try these methods in order—most leaks resolve at Step 1 or 2:
- Tighten the compression nut: Turn off main water supply. Wrap a rag around the valve body to protect finish. Use an adjustable wrench to snug the nut 1/8 turn clockwise—don’t overtighten, or you’ll crack the brass.
- Replace the stem washer or O-ring: Remove handle screw, pull off handle, unscrew packing nut, and extract stem. Replace rubber washer (flat or beveled) and the small black O-ring beneath the packing nut. Reassemble with plumber’s grease on all rubber parts.
- Swap the entire valve: If the body weeps or threads are stripped, shut off main water, open faucet to drain pressure, then unscrew old valve using two wrenches (one to hold pipe, one to turn valve). Install new valve hand-tight plus 1/4 turn with wrench—over-torquing cracks solder joints.
When to Call a Pro
Stop and call a licensed plumber if:
- You’re dealing with a soldered-in valve (no threaded connections visible)
- The leak is at a copper pipe joint upstream of the valve—soldering requires torch work and permits in many jurisdictions
- Water pressure drops significantly after tightening or replacing the valve (indicates hidden corrosion or pinhole leaks)
- You smell gas near a gas line angle valve (never attempt DIY on gas fittings)
"Over 60% of DIY valve replacements fail because installers skip the critical step of checking for pipe thread integrity before installing the new unit." — Plumbing Contractor Magazine, 2023
Prevention Tips
Extend valve life and avoid repeat leaks:
- Turn each angle stop valve fully open and closed once every 6 months to prevent seat corrosion and stem seizing
- Install quarter-turn ceramic disc valves instead of older multi-turn gate types—they resist mineral buildup and require less torque
- Use dielectric unions when connecting brass valves to galvanized or CPVC pipes to reduce galvanic corrosion
- Label valves clearly (e.g., "Toilet", "Sink Hot") so you never force the wrong one during emergencies
Can I use Teflon tape on the valve threads?
No—Teflon tape is for NPT pipe threads, not compression fittings. Applying it to the valve’s compression nut or ferrule will interfere with the metal-to-metal seal and cause leaks. Use only on male pipe threads upstream if replacing the entire assembly.
How long do angle stop valves typically last?
Standard brass gate-style valves last 8–12 years; newer ceramic disc models last 15–20 years with proper maintenance. According to the American Society of Home Inspectors’ 2021 Field Data Report, 32% of homes over 10 years old have at least one failing angle stop.
Why does my valve leak only when I turn it on?
This points to internal seat erosion or a warped washer that seals only when fully closed. The pressure forces water past the compromised seal. A replacement valve is usually more reliable than trying to lap the seat or shim the washer.
Is it safe to replace an angle stop valve without shutting off the main water?
No. Even with the local shutoff closed, residual pressure remains in the line—and opening the valve body risks sudden water release. Always shut off the main, then open the lowest faucet in the house to relieve pressure before starting.
Can I reuse the old compression ferrule?
No. Brass ferrules deform permanently during installation. Reusing one creates an unreliable seal and is the #1 cause of post-repair leaks. Always install a new ferrule and sleeve—even if the old one looks fine.
What’s the difference between a straight and angle stop valve?
Angle stops direct flow at a 90° turn (ideal for tight spaces like under sinks), while straight stops run inline. Using the wrong type causes kinked supply lines or misaligned connections. Check your existing valve’s orientation before ordering a replacement—how to identify plumbing fittings helps avoid mismatches.
A working angle stop valve is your first line of defense against flooding—especially before vacations or long weekends. Fixing one correctly takes less time than waiting for a plumber, and doing it right now prevents bigger headaches later. For persistent leaks or corroded supply lines, check our guide on replacing copper water supply lines or shut-off valve replacement cost breakdowns.