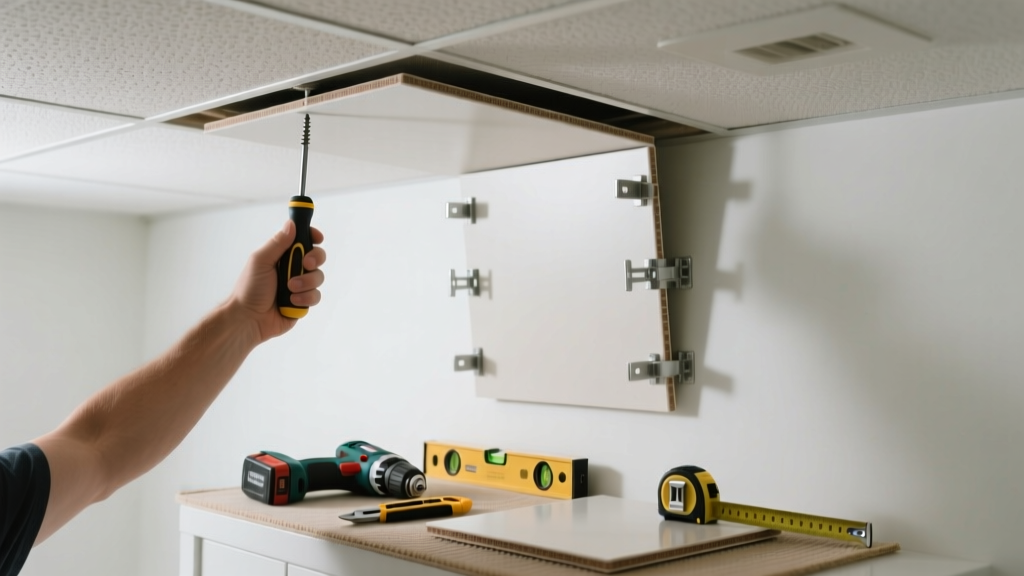
That soft, drooping corner of your bathroom ceiling isn’t just an eyesore—it’s a red flag. Acoustic tiles sag when moisture infiltrates their porous core, weakening the backing and loosening adhesive or suspension points. Left unaddressed, it can lead to tile collapse, hidden mold growth behind the grid, or even structural compromise in older homes.
Quick Diagnosis
Before grabbing tools, identify the root cause. Most bathroom acoustic tile sagging stems from one (or more) of these:
- Chronic high humidity without adequate ventilation (e.g., no working exhaust fan or insufficient runtime)
- Undetected roof or plumbing leaks above the ceiling
- Aged or water-damaged ceiling grid rails losing tension or rusting
- Improper installation—tiles forced into warped or misaligned grids
- Using non-moisture-resistant tiles (standard mineral fiber, not FRP or vinyl-faced)
Tools & Materials Needed
| Item | Purpose | Estimated Cost |
|---|---|---|
| 100 CFM+ bathroom exhaust fan (UL-listed, humidity-sensing) | Reduces ambient moisture at the source—critical for long-term prevention | $85–$195 |
| Moisture meter (pin-type, 0–60% range) | Confirms tile and grid saturation level before repair | $45–$120 |
| Replacement tiles (vinyl-faced or fiberglass, ASTM E84 Class A) | Resists humidity; matches fire rating and acoustics of original | $3.50–$8.25/tile |
| Galvanized ceiling grid reinforcement clips | Stabilizes sagging main tees without full grid replacement | $12–$28/pack |
| 12-oz spray bottle with 3% hydrogen peroxide + 1 tsp baking soda | Safe, non-corrosive mold inhibitor for tile backs before reinstallation | $4–$7 |
Step-by-Step Fix
Choose the method that matches your diagnosis and scope:
- Surface-Damp Tile Only (no visible water stains): Turn off power to bathroom lights/fan. Gently lift tile, wipe back with hydrogen peroxide solution, let air-dry 48 hrs on a wire rack. Reinstall only if moisture meter reads <12% MC.
- Sagging Grid Rail (tile intact but drooping): Locate the affected main tee. Insert galvanized reinforcement clips every 24" along its length, securing to joists above using 2" corrosion-resistant screws. Tighten grid cross-tees with needle-nose pliers.
- Water-Damaged Tile (discolored, soft, crumbling): Remove tile carefully. Inspect grid for rust or warping—replace damaged sections. Check attic or above-ceiling space for active leaks. Install new vinyl-faced tile after verifying substructure is dry (<10% MC).
- Mold Behind Tile (musty odor, black specks): Wear N95 mask and nitrile gloves. Bag and discard tile. Spray exposed grid and joists with EPA-registered mold inhibitor (e.g., Concrobium Mold Control). Let dry 2 hrs before reinstalling moisture-resistant tile.
When to Call a Pro
Don’t risk it if you see any of these signs:
- More than three consecutive tiles sagging across multiple grid bays
- Visible water staining extending beyond the tile—especially brown “halos” indicating chronic leakage
- Rust-through on grid rails or evidence of corroded hanger wires
- Electrical junction boxes or wiring exposed or damp above the ceiling
- Tile collapse occurred during shower use—suggests load-bearing failure in support system
According to the Insurance Institute for Business & Home Safety's 2023 report, 68% of bathroom ceiling failures linked to acoustic tile were tied to undiagnosed plumbing leaks behind walls or above ceilings—issues requiring licensed plumbers and inspectors.
Prevention Tips
Fixing sag once isn’t enough—humidity control is non-negotiable in bathrooms:
- Run your exhaust fan for at least 20 minutes after every shower (use a timer switch if yours lacks one)
- Replace standard acoustic tiles with ASTM E84 Class A vinyl-faced or fiberglass panels—they absorb <70% less moisture than standard mineral fiber (ASHRAE Handbook, HVAC Applications 2022)
- Seal all ceiling penetrations (light fixtures, vents) with silicone caulk rated for wet locations
- Check fan duct termination outside—not into attic or soffit—every 6 months
- Install a hygrometer; keep relative humidity below 60% during peak use
Can I glue sagging tiles back in place?
No. Standard construction adhesive won’t bond reliably to damp, dusty tile backs—and won’t address underlying moisture or grid instability. Gluing masks the real problem and risks sudden detachment later.
Will painting acoustic tiles stop sagging?
Painting seals surface pores but traps moisture inside, accelerating deterioration. It also voids fire ratings and reduces sound absorption by up to 40% (National Fire Protection Association, NFPA 255-2021).
How do I know if my tiles contain asbestos?
Homes built before 1980 may have asbestos-laden acoustic tiles. Don’t sand, drill, or break them. Contact a certified asbestos inspector for sampling—asbestos testing costs $200–$400 and is required before removal.
Can I replace just one tile, or do I need a full ceiling redo?
You can replace individual tiles—if the grid is sound and adjacent tiles aren’t bowed. But if more than 20% of tiles show edge curling or discoloration, consider upgrading the entire grid to corrosion-resistant aluminum and switching to moisture-rated tiles. See our guide on best bathroom ceiling materials.
Why do acoustic tiles sag faster in bathrooms than kitchens?
Bathrooms generate concentrated, repeated steam loads—up to 1.5 gallons of moisture per shower (U.S. EPA WaterSense Program, 2022). Kitchens vent intermittently and produce less sustained humidity. That’s why bathroom-specific tile specs matter more than general acoustic performance.
Is it safe to walk on the ceiling grid to reach sagging tiles?
No. Standard 15/16" suspended grids aren’t designed for foot traffic. Use a sturdy step ladder with stabilizer arms, and never stand on cross-tees. If access requires removing large sections, hire a contractor trained in ceiling grid load management.
Acoustic tile sagging in the bathroom is rarely just cosmetic—it’s your ceiling’s way of begging for better moisture management. Address the humidity first, reinforce the structure second, and choose materials engineered for wet spaces—not just quiet ones. With the right tools and timing, most cases stabilize in under four hours, and a properly upgraded ceiling will stay taut for 10+ years—even through daily steam showers.