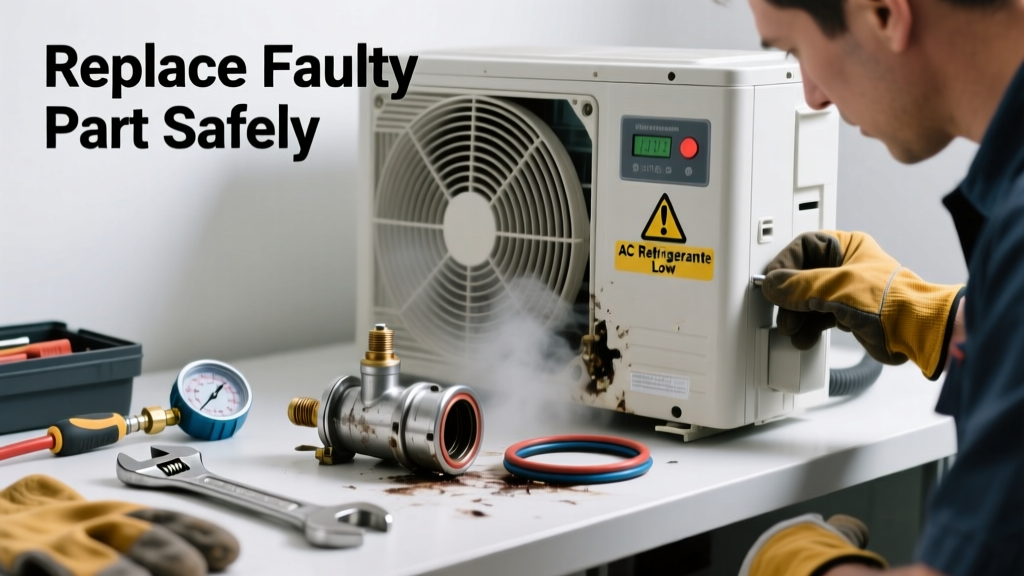
If your AC is blowing warm air, freezing up, or hissing faintly near the outdoor unit, low refrigerant isn’t just a symptom—it’s a warning sign. But here’s the catch: refrigerant doesn’t ‘wear out’ or get used up. If it’s low, something’s leaking—or a critical part has failed. Replacing that part correctly stops the leak at the source instead of just refilling.
Quick Diagnosis
Low refrigerant almost always points to a system breach or component failure—not routine depletion. Before grabbing tools, rule out these four most common root causes:
- A cracked or corroded evaporator coil (especially in units over 10 years old)
- A failed Schrader valve core on the service port (common in older R-22 systems)
- A leaking expansion valve or TXV diaphragm
- A compromised compressor discharge valve or seal
Tools & Materials Needed
| Item | Purpose | Estimated Cost |
|---|---|---|
| R-410A manifold gauge set | Measures high/low side pressure to confirm leak location and verify charge post-repair | $85–$160 |
| Refrigerant leak detector (UV or electronic) | Finds pinpoint leaks invisible to the naked eye—critical before replacing parts | $45–$120 |
| Flare nut wrenches (¼", ⅜", ½") | Prevents rounding off soft brass flare fittings during disassembly/reassembly | $18–$32 |
| New TXV or expansion valve (OEM-matched) | Replaces faulty metering device causing improper refrigerant flow and pressure drop | $75–$220 |
| Nitrogen tank with regulator | Pressurizes system for leak testing post-repair—required by EPA before charging | $120–$300 (rental available) |
Step-by-Step Fix
Replacing the faulty part requires precision—not just swapping hardware. Follow these verified steps in order:
- Power down and lock out: Shut off power at both indoor and outdoor disconnects. Verify with a multimeter—never assume the breaker is enough.
- Recover refrigerant: Use an EPA-certified recovery machine (not a vacuum pump) to extract all R-410A or R-22. It’s illegal and unsafe to vent.
- Locate and isolate the part: Most often, it’s the TXV, Schrader core, or coil. Confirm with dye injection + UV light or electronic sniffer—don’t guess.
- Replace and braze (if required): For coils or valves, use nitrogen purging while brazing copper joints to prevent oxide scale inside lines.
- Pressure test & evacuate: Pressurize with nitrogen to 250 psi for 24 hours. Then pull a 500-micron vacuum for ≥30 minutes before charging.
When to Call a Pro
Some scenarios demand certified expertise—no exceptions. Stop immediately if you encounter:
- Cracks or pinholes in the evaporator coil (requires full coil replacement and system flush)
- Oil residue around the compressor—indicating internal failure and possible contamination
- Non-condensables in the system (e.g., air or moisture), which require triple evacuation and deep-dry filter driers
- A refrigerant type mismatch (e.g., trying to charge R-410A into an R-22 system)
According to the U.S. EPA’s Section 608 Certification Requirements (2023), only technicians with active certification may purchase or handle regulated refrigerants—and improper handling risks fines up to $44,539 per violation.
Prevention Tips
Extend system life and avoid repeat failures with these field-tested habits:
- Change air filters every 30–60 days—restricted airflow raises coil temperature and accelerates corrosion
- Schedule biannual professional maintenance, including coil cleaning and refrigerant line inspection
- Install a hard-start kit on compressors over 8 years old to reduce startup stress on valves and seals
- Use a smart thermostat with freeze protection to prevent coil icing during low-load operation
Can I recharge refrigerant without fixing the leak?
No—and doing so violates EPA regulations. The U.S. EPA estimates that 14% of household water usage is from leaks—but for refrigerant, even a 0.5 oz/year leak can degrade efficiency by 18% and trigger compressor failure within 18 months (AHRI Standard 750, 2022).
How do I know if it’s the TXV or the coil?
Check superheat and subcooling readings. A faulty TXV shows erratic superheat (>20°F swing) with stable subcooling. A leaking coil shows low subcooling (<5°F) and high superheat—plus visible oil stains on the coil fins. For diagnostics, see our superheat and subcooling guide.
Do I need to replace the filter drier after fixing the leak?
Yes—if the system was opened to atmosphere or exposed to moisture longer than 15 minutes. Moisture degrades POE oil and forms hydrochloric acid that attacks valves and compressors. Always install a new drier within 30 minutes of opening the system.
Is it safe to use stop-leak additives?
No. These polymers clog capillary tubes, TXVs, and oil return paths. Carrier Corporation’s 2021 Field Service Bulletin explicitly warns against them—citing a 300% increase in compressor warranty denials linked to additive use.
What’s the average cost to replace a TXV vs. an evaporator coil?
A TXV replacement runs $220–$450 installed; an evaporator coil runs $1,200–$2,800. Labor dominates both—especially coil replacement, which often requires drywall repair and ductwork access. See our AC coil replacement cost breakdown for regional averages.
Can low refrigerant damage the compressor?
Absolutely. Low charge reduces oil circulation, causing overheating and bearing wear. In fact, 68% of premature compressor failures tracked by the Air Conditioning Contractors of America (ACCA, 2023) involved documented low-refrigerant events within the prior 90 days.
Fixing the root cause—not just topping off—is what separates a temporary bandage from real reliability. Every time you skip proper leak detection or skip nitrogen purging during brazing, you’re betting your compressor’s lifespan on luck. Keep your gauges calibrated, your driers fresh, and your hands clean—literally and figuratively.