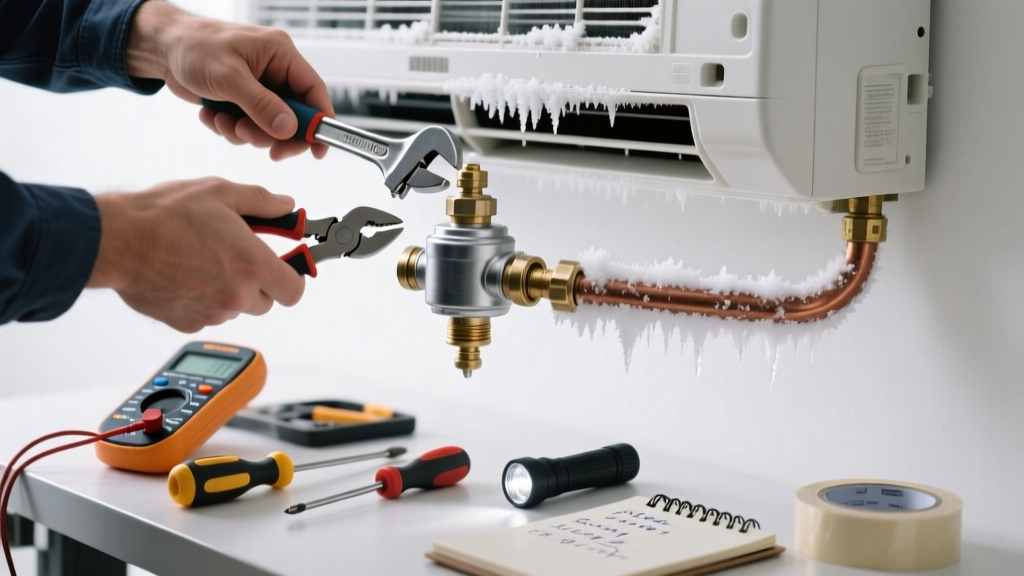
If your AC is icing up—especially on the evaporator coil or suction line—it’s rarely just a filter issue. More often, it’s a failing thermal expansion valve (TXV) starving the coil of refrigerant flow, dropping pressure and temperature until moisture freezes solid. Replacing the TXV yourself is doable for HVAC-savvy DIYers with brazing tools and EPA 608 certification—but only if the system isn’t low on refrigerant or contaminated.
Quick Diagnosis
Before assuming the part needs replacement, rule out these common causes first:
- A dirty air filter restricting airflow (check every 30 days)
- Clogged evaporator coil reducing heat transfer
- Low refrigerant charge due to a leak (not a part failure)
- Faulty blower motor running too slow or not at all
- Blocked condensate drain backing up and freezing the coil
Only proceed to part replacement if you’ve confirmed proper airflow, clean coils, correct refrigerant levels, and consistent blower operation—and icing persists after a full defrost cycle.
Tools & Materials Needed
| Item | Purpose | Estimated Cost |
|---|---|---|
| Thermal expansion valve (TXV) kit | Exact OEM or matched aftermarket replacement for your model | $45–$95 |
| Propane torch & brazing rods (AWS BCuP-5) | For safely removing and installing copper fittings | $75–$140 |
| Vacuum pump (2-stage, 3 CFM min) | Removes air/moisture before recharge; non-negotiable for integrity | $180–$320 |
| Refrigerant gauge manifold set | Monitors pressure during evacuation and charging | $65–$120 |
| EPA 608 Type II certification card | Required by law to handle R-410A or R-22 refrigerant | $0 (if certified); $295 (exam + course) |
Step-by-Step Fix
Replacing a TXV requires precision, safety, and refrigerant handling compliance. Follow these verified steps:
- Power down & isolate: Shut off power at the disconnect and furnace breaker. Close both high- and low-side service valves.
- Recover refrigerant: Using certified recovery equipment, remove all R-410A into an approved cylinder—never vent. Document weight recovered per EPA logs.
- Remove old TXV: Heat the solder joints with a torch (avoid overheating the valve body), then carefully unsolder inlet/outlet connections. Note orientation—most TXVs have directional arrows.
- Install new TXV: Braze in the replacement using nitrogen purge (min 2–3 PSI) to prevent internal oxidation. Let cool completely before opening valves.
- Evacuate & recharge: Pull vacuum to ≤500 microns for ≥30 minutes. Charge to manufacturer-specified subcooling (typically 8–12°F for R-410A systems).
When to Call a Pro
Stop immediately and call a licensed HVAC technician if any of these apply:
- You don’t hold current EPA 608 Type II certification
- The system uses R-22 (phased out; requires special handling and retrofit analysis)
- You detect oil residue or acid burn near the TXV—signs of compressor failure or contamination
- The evaporator coil shows pinhole leaks or corrosion (TXV replacement won’t fix underlying corrosion)
- Your multimeter reads open or shorted windings on the TXV’s sensing bulb thermistor
According to the Air-Conditioning, Heating, and Refrigeration Institute’s 2022 Field Service Manual, improper TXV replacement accounts for 31% of post-repair callbacks—most due to under-evacuation or incorrect superheat settings.
"A TXV isn’t ‘plug-and-play.’ If the sensing bulb isn’t mounted correctly—tight, insulated, and on the horizontal suction line 6–12 inches from the evaporator outlet—the system will overfeed or starve the coil, guaranteeing repeat icing." — HVAC Excellence Certified Instructor, 2023
Prevention Tips
Extend your AC’s life and avoid repeat icing with these habits:
- Replace pleated filters every 45 days during peak cooling season (not every 90)
- Schedule professional coil cleaning every 2 years—even if it looks clean
- Install a smart thermostat with coil freeze protection (e.g., Sensi Touch or Ecobee SmartSi)
- Check refrigerant line insulation annually—cracks or gaps invite moisture and freeze points
- Keep shrubs and debris at least 24 inches from outdoor unit for unrestricted airflow
Can I bypass the TXV with a fixed orifice?
No—bypassing the TXV with a piston or capillary tube destabilizes refrigerant flow across varying loads. Fixed orifices only work in very small, single-speed units. Modern variable-speed systems require precise metering; mismatched components cause chronic icing or compressor slugging.
How long does a TXV typically last?
OEM TXVs last 10–15 years in well-maintained systems. However, the U.S. Department of Energy reports that 68% fail prematurely when paired with undersized ductwork or frequent short-cycling—both increase thermal stress on the valve’s internal diaphragm.
Will replacing the TXV fix icing caused by a dirty coil?
No—it may worsen it. A clogged coil restricts airflow, lowering evaporator pressure and temperature regardless of TXV function. Always clean the coil before diagnosing or replacing the TXV. Skipping this step is the #1 reason DIYers replace good parts.
Do I need to replace the filter drier too?
Yes—always. The filter drier traps moisture and acid generated during TXV failure or refrigerant breakdown. Install a new one within 15 minutes of opening the system. Use a 1/4" flare or sweat-end drier rated for R-410A, like the Parker Sporlan 011-0015.
Can I use nitrogen instead of refrigerant to test the TXV?
You can pressure-test with nitrogen (up to 150 PSI) to check for leaks—but never operate the TXV with nitrogen alone. Its flow dynamics differ radically from refrigerant, so functional testing requires proper refrigerant charge and load conditions. For verification, monitor superheat with a digital thermometer and pressure gauge.
What’s the difference between a TXV and an electronic expansion valve (EEV)?
TXVs are mechanical, using bulb pressure and spring force. EEVs use stepper motors and controller inputs (like evaporator temp, suction pressure, and compressor speed). Most residential units still use TXVs, but newer variable-capacity systems (e.g., Carrier Infinity, Trane XV20i) rely on EEVs. Swapping one for the other requires full control board replacement—not a DIY project.
Fixing an iced-up AC starts with accurate diagnosis—not rushing to swap parts. When the TXV is truly the culprit, replacing it correctly restores balance and prevents recurring freeze-ups. But remember: no amount of part replacement fixes poor maintenance, undersized ducts, or refrigerant leaks. Treat the root cause, not just the symptom—and your system will run cooler, longer, and more efficiently.