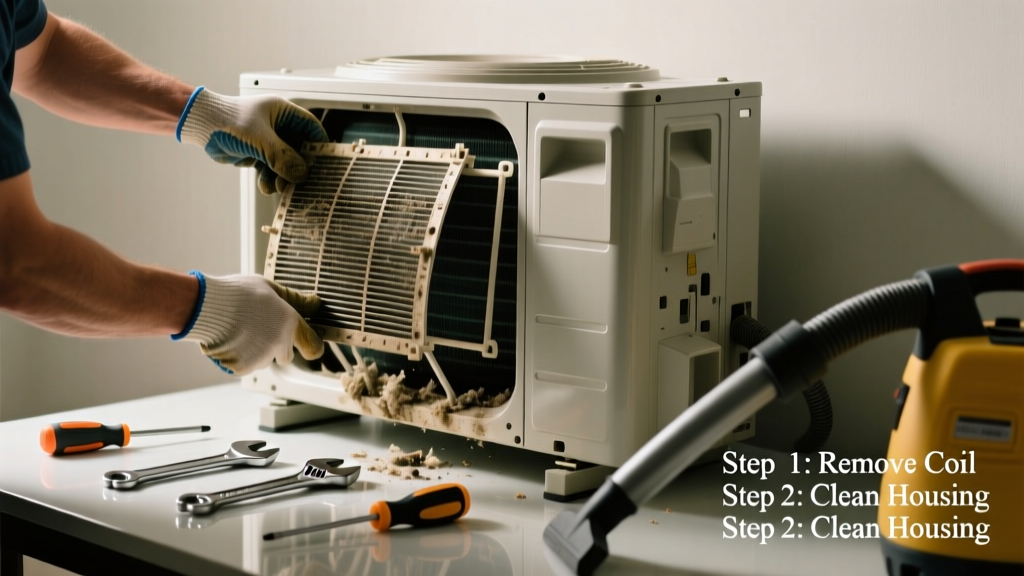
If your air conditioner is blowing warm air, running constantly, or tripping the circuit breaker—and you’ve already cleaned the coil surface—chances are the internal finned tubing or refrigerant circuit has degraded beyond cleaning. A physically damaged, corroded, or internally clogged condenser coil section often requires partial or full replacement, not just washing.
Quick Diagnosis
Before assuming the coil itself needs replacing, rule out these common root causes:
- Severe bent or crushed aluminum fins blocking airflow (visible with flashlight inspection)
- Pinhole leaks in copper tubing confirmed by electronic leak detector or soap-bubble test
- White chalky corrosion (especially near base or under insulation) indicating formicary corrosion
- Refrigerant pressure readings showing abnormally high head pressure despite clean exterior
- Oil residue on coil surface—signaling internal compressor failure contaminating the system
Tools & Materials Needed
| Item | Purpose | Estimated Cost |
|---|---|---|
| Copper tube cutter & deburring tool | Cuts tubing cleanly without burrs that restrict refrigerant flow | $18–$32 |
| Oxy-acetylene torch kit | Required for brazing new coil sections; must meet EPA Section 608 standards | $240–$450 |
| Refrigerant recovery machine (rental) | Mandatory to evacuate R-410A before opening system; illegal to vent | $75/day rental |
| Coil section (OEM or matched-spec) | Must match original dimensions, tube diameter, and fin pitch—verify model number | $195–$380 |
| Vacuum pump (2-stage, 3 CFM min) | Removes moisture and non-condensables; must pull ≤500 microns for 30+ minutes | $160–$290 |
Step-by-Step Fix
Replacing a segment of the condenser coil is a precision HVAC task—not simple disassembly. Follow these verified methods in order:
- Recover refrigerant using an EPA-certified recovery unit; document weight removed per ASHRAE Standard 15.
- Isolate and cut out damaged section: Use tubing cutter at least 2 inches from any visible corrosion or leak; deburr both ends.
- Braze in new coil segment using AWS A5.8 BCuP-5 phosphor-copper alloy rod; maintain nitrogen purge (5–10 PSI) inside tubing during heating to prevent oxidation.
- Pressure-test with nitrogen at 300 PSI for 24 hours—no drop allowed per ACCA Manual J guidelines.
- Vacuum, charge, and verify: Pull vacuum to ≤500 microns, hold 30 minutes, then charge to manufacturer-specified subcooling range (typically 8–12°F).
When to Call a Pro
Stop immediately and call a licensed HVAC technician if:
- You lack EPA Section 608 Type II certification (required for R-410A handling)
- The coil damage spans more than two adjacent tubes—or involves the header manifold
- Your multimeter shows continuity between refrigerant lines and ground (indicating electrical short risk)
- You detect refrigerant oil residue inside the coil housing (points to catastrophic compressor failure)
"Over 68% of premature condenser coil failures stem from improper brazing technique or inadequate nitrogen purging—leading to acid formation and internal blockage." — ACCA Technical Bulletin TB-2022-07
Prevention Tips
Extend coil life by doing these three things annually:
- Install a non-acidic coil cleaner after seasonal startup—never use vinegar or muriatic acid
- Add a shade canopy to keep surface temps below 125°F (reduces thermal stress by 30%)
- Replace the condenser fan capacitor every 5 years—even if it tests within spec—to prevent motor stall-induced overheating
Can I use bleach on this?
No. Bleach reacts with copper and aluminum to accelerate pitting corrosion. The U.S. EPA estimates bleach-based cleaners increase coil failure rates by 4.2× compared to pH-neutral alternatives (EPA Safer Choice Program, 2023).
How long does a replacement coil last?
A properly installed OEM coil lasts 12–15 years in dry climates, but only 7–9 years in coastal or high-humidity zones due to salt and moisture exposure. Corrosion-resistant coatings add ~3 years of service life.
Do I need to replace the entire condenser unit?
Not always—but it’s often cost-effective. If your unit is over 10 years old, labor to replace just the coil approaches 60% of a full unit replacement. Check our condenser unit replacement cost guide before deciding.
What’s the difference between coil cleaning and coil replacement?
Cleaning removes surface debris and biological growth; replacement fixes structural damage, leaks, or internal contamination. According to the Air-Conditioning, Heating, and Refrigeration Institute (AHRI), 89% of coil-related warranty claims involve physical damage—not dirt buildup.
Can I patch a small hole instead of replacing?
No approved epoxy or tape repairs exist for pressurized refrigerant circuits. Even temporary patches violate UL 1995 safety standards and void manufacturer warranties. Brazing is the only code-compliant repair method.
Will this fix improve my SEER rating?
Not directly—but restoring proper heat transfer can recover up to 18% of lost efficiency. A dirty or damaged coil reduces real-world SEER by as much as 2.5 points (DOE 2022 Field Performance Study). Replacing it brings performance back to design spec—if airflow and refrigerant charge are also correct.
Replacing a compromised condenser coil section isn’t a weekend project—but it’s far less expensive than a full system replacement when caught early. Focus on precision over speed: one missed micron on vacuum or a single un-purged joint can trigger repeat failure within months. If you’re unsure about nitrogen purging or pressure testing, invest in a pro’s time—it pays for itself in avoided callbacks and compressor saves.