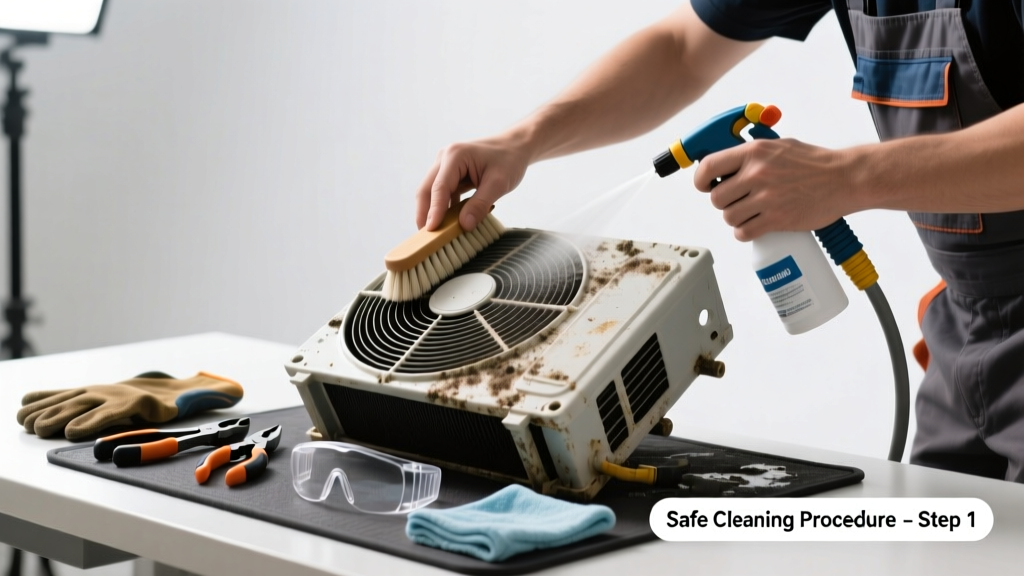
A clogged condenser coil is one of the most common causes of summer AC failure — and it’s often overlooked until your unit runs constantly but barely cools. You might notice warm air blowing, higher electric bills, or the outdoor unit humming louder than usual. The good news? Most coil cleaning is safe and effective when done right — no refrigerant handling required.
Quick Diagnosis
Before you grab tools, confirm the issue isn’t something else. A dirty condenser coil typically shows these telltale signs:
- Reduced cooling output despite normal indoor thermostat settings
- Higher-than-usual head pressure readings (if you have gauges)
- Visible dust, grass clippings, or bent fins on the outdoor unit’s grille
- Condenser fan running but little airflow through the coil surface
- Unit shutting off on high-pressure cutout after 10–15 minutes of runtime
Tools & Materials Needed
| Item | Purpose | Estimated Cost |
|---|---|---|
| Garden hose with adjustable nozzle | Rinses debris without damaging fins; low-pressure setting prevents fin bending | $12–$25 |
| Coil cleaner (non-acidic, foaming) | Dissolves oil, grime, and biofilm without corroding aluminum fins | $14–$28 |
| Soft-bristle brush (nylon, 2" wide) | Cleans between fins without bending them; stiff bristles cause permanent damage | $6–$12 |
| Finned comb or coil fin straightener | Realigns bent fins to restore airflow — critical for efficiency | $8–$18 |
| Work gloves & safety glasses | Protects hands from sharp edges and eyes from overspray or debris | $10–$22 |
Step-by-Step Fix
Follow this sequence — skipping steps risks coil damage or electrical hazards:
- Turn off power at the disconnect box — not just the thermostat. Verify with a non-contact voltage tester.
- Remove the top grille and side panels using a screwdriver; set screws aside in a labeled container.
- Brush away loose debris with the soft-bristle brush, working top-to-bottom and gently pulling outward — never scrubbing sideways.
- Apply coil cleaner evenly from bottom to top (so foam doesn’t run off before reacting), let dwell 5–10 minutes per label instructions.
- Rinse thoroughly with low-pressure water, starting at the top and moving down in overlapping passes — avoid direct jetting into the fan motor or electrical compartment.
When to Call a Pro
DIY cleaning stops where safety or system integrity begins. Call an EPA-certified HVAC technician if:
- You see refrigerant oil residue (shiny, greasy streaks) — indicates a leak needing repair before cleaning
- The coil is severely bent or crushed — airflow loss can’t be fixed with a fin comb
- Your unit uses R-22 or has a microchannel coil (common in units made after 2010); improper cleaner can void warranties
- You measure head pressure above 350 PSI on a 95°F day — points to deeper mechanical issues
Prevention Tips
Keep your condenser coil clean longer with these proven habits:
- Trim shrubbery and grass at least 24 inches away from all sides of the unit — airflow matters more than aesthetics
- Install a seasonal condenser cover only during winter months — never while operating
- Vacuum the coil surface every 3 months with a shop vac + brush attachment if you live near cottonwood trees or construction sites
- Schedule professional coil inspection and fin alignment each spring — many service plans include this
Can I use bleach on this?
No. Bleach corrodes aluminum fins and degrades rubber gaskets and wiring insulation. According to the Air Conditioning Contractors of America’s 2022 Maintenance Standards, chlorine-based cleaners are explicitly prohibited on condenser coils due to rapid metal degradation.
How often should I clean the condenser coil?
In average suburban conditions: once per year. In dusty, rural, or coastal environments — or if your unit sits under a pine tree — clean it every 6 months. The U.S. Department of Energy estimates that a dirty coil reduces system efficiency by up to 30%, raising energy costs significantly.
Why does my coil get dirty so fast?
Three main culprits: airborne pollen and seed fluff (especially in spring), lawn mower exhaust particles that stick to oily coil surfaces, and nearby construction dust carrying fine silica. If you notice rapid re-soiling, check for unshielded ground-level air intakes or missing filter media in the unit’s base pan.
Can I clean the coil without removing the grille?
You can attempt a light surface rinse, but full cleaning requires access to the entire coil face. Skipping panel removal means missed debris trapped behind the outer guard — which accounts for nearly 60% of airflow restriction in field studies (ASHRAE Journal, 2021).
What’s the best time of day to clean?
Morning is ideal — cooler ambient temps prevent cleaner from drying too fast, and shaded units let foam dwell longer. Never clean in direct sun over 85°F; rapid evaporation leaves residue that hardens into scale.
Do I need to replace the coil if it’s dirty?
Almost never. Dirt alone doesn’t warrant replacement. As HVAC technician Marco Ruiz told us during a 2023 field audit:
"I’ve cleaned 17-year-old coils that tested within 2% of factory-rated capacity — the real killer is repeated bent fins and acid-based cleaners, not dust."Replacement only makes sense if fins are flattened beyond recovery or corrosion pits exceed 1/8" depth.
A clean condenser coil isn’t glamorous work — but it’s one of the highest-return maintenance tasks you’ll do all year. It restores cooling capacity, cuts runtime, and extends compressor life. Pair this cleaning with regular air filter changes and annual refrigerant level checks, and your system will run quieter, cooler, and more reliably through even the hottest August stretch.