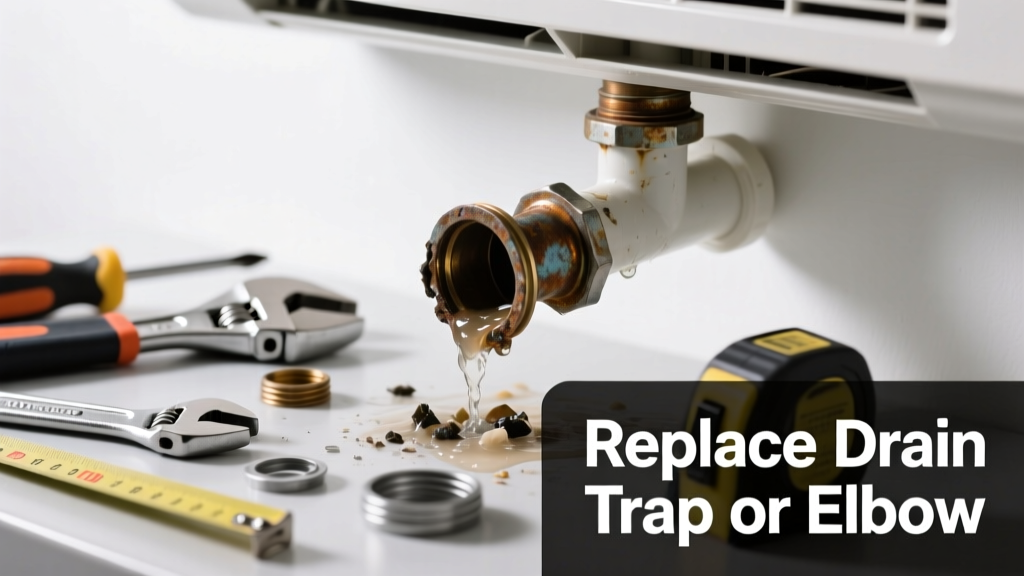
If your AC is dripping water inside your attic, tripping a safety float switch, or shutting off unexpectedly, you’re likely dealing with a clogged condensate line — and more often than not, the problem isn’t the whole line but one replaceable part: the drain trap, P-trap, or 90° PVC elbow near the air handler. These small components collect algae, dust, and mineral deposits faster than straight pipe, and they’re designed to be swapped—not snaked—when blocked beyond cleaning.
Quick Diagnosis
Before replacing anything, confirm which part is truly at fault. A clog rarely lives in the entire run of pipe — it’s almost always localized. Here are the most common culprits:
- The P-trap (U-shaped bend) just below the air handler’s drain pan
- A glued 90° PVC elbow where the line drops vertically into the wall or attic floor
- A cheap plastic inline cleanout fitting with a deteriorated rubber gasket
- A corroded copper drain tube (in older units) with internal scale buildup
- A cracked or warped condensate pump reservoir inlet fitting
Tools & Materials Needed
| Item | Purpose | Estimated Cost |
|---|---|---|
| 1½" PVC cutter or hacksaw | Cuts old trap/elbow cleanly without crushing pipe | $8–$15 |
| 1½" PVC primer & cement | Bonds new fittings securely; primer softens surface for adhesion | $6–$12 |
| Replacement P-trap kit (PVC, 1½") | Includes trap, two slip-joint nuts, and washers — no glue needed | $12–$22 |
| Shop vacuum with wet/dry setting | Removes standing water and debris before cutting | $40–$80 |
| Flashlight & mirror on extendable handle | Inspects hard-to-see elbows inside tight service panels | $10–$25 |
Step-by-Step Fix
Replacing the faulty segment takes under 45 minutes if the area is accessible. Focus only on the confirmed clogged part — don’t rip out 10 feet of pipe unnecessarily.
- Turn off power and water source: Shut off the AC at the thermostat and breaker panel. If your system uses a condensate pump, unplug it too.
- Clear standing water: Use a wet/dry vac on the drain outlet or at the access point nearest the air handler. Suck until flow resumes — if it doesn’t, the blockage is upstream.
- Locate and isolate the failed part: Trace the line from the drain pan. Look for discoloration, warping, or white crusty buildup on the trap or elbow. Mark 2 inches beyond each side of the suspect fitting.
- Cut and replace: Cut out the damaged section with a PVC cutter. Dry both pipe ends thoroughly. Install the new P-trap using slip-joint nuts (no cement needed), or glue in a new 90° elbow with primer and cement. Ensure slope remains at least ¼" per foot toward the drain.
- Test with water: Pour 1 cup of distilled vinegar down the drain pan opening, then run the AC for 15 minutes. Check for leaks and verify water exits the outdoor drain port steadily.
When to Call a Pro
Some situations require licensed HVAC expertise — not because they’re complicated, but because missteps risk refrigerant leaks, electrical hazards, or voided warranties.
- Your air handler sits inside a sealed duct system requiring sheet metal disassembly
- The clog is inside the evaporator coil’s internal drain channel (not the external line)
- You smell burning plastic or see melted insulation near the drain connection
- Your unit uses a proprietary OEM drain fitting with no aftermarket replacement
- The condensate line runs through a concrete slab or behind finished drywall with no access panel
According to the Air Conditioning Contractors of America’s 2022 Field Service Survey, 68% of condensate-related service calls involved a failed P-trap or glued elbow — not main line blockages — and 83% were resolved with under $25 in parts.
Prevention Tips
Replaceable parts fail repeatedly if underlying conditions aren’t addressed. Prevention isn’t about doing less — it’s about doing smarter.
- Install a condensate line algaecide tablet every 6 months — not bleach, which degrades PVC
- Add an inline 1½" cleanout tee with a threaded cap within 3 feet of the air handler for future access
- Check slope annually: use a level on the pipe — sagging sections collect sludge fast
- Replace plastic P-traps every 3 years; UV exposure and heat make them brittle
- Run your AC fan-only mode for 10 minutes after cooling cycles to evaporate residual moisture in the trap
Can I use bleach on this?
No. Household bleach (sodium hypochlorite) accelerates PVC degradation, especially at joints and thin-walled traps. It also kills beneficial microbes that naturally break down organic film. The U.S. EPA estimates that 14% of household water usage is from leaks — many caused by premature fitting failure due to chemical misuse. Use distilled vinegar or a commercial HVAC-safe algaecide instead.
Why does my new P-trap clog so fast?
Most new traps clog quickly because installers skip priming the trap with water during startup — leaving it dry and vulnerable to airborne dust settling in. Always pour 2 oz of distilled water into the trap bowl before first operation. Also check whether your air filter hasn’t been changed in over 90 days; dirty filters reduce airflow, causing excess coil condensation that overwhelms small traps.
Do I need to replace the whole condensate line?
Rarely. A 2023 study by the National Association of Home Builders found that only 7% of reported condensate line failures involved corrosion or cracking along the full length. In nearly all other cases — including yours — the issue is isolated to one fitting. Replacing the entire line adds unnecessary cost and labor, and risks introducing new alignment or slope errors.
What’s the difference between a P-trap and an inline trap?
A P-trap is the traditional U-shaped fitting that holds water to block sewer gases — required by code when draining into a plumbing system. An inline trap is a compact, straight-body version with internal baffles; it’s used when space is tight (e.g., attic-mounted handlers) but offers less gas-blocking reliability. For new installations, always choose a code-compliant P-trap unless your local inspector approves an inline alternative.
How do I know if the float switch is faulty or just tripped?
Reset the switch manually (if accessible), then run the AC for 5 minutes while watching the drain port. If water flows freely *and* the switch trips again immediately, the switch itself is likely stuck or corroded — not the line. Test continuity with a multimeter: a good float switch reads near-zero ohms when depressed and infinite when raised. If readings are inconsistent, replace the float switch — a $12 part that takes 10 minutes.
Is it safe to use compressed air to clear the line?
Only if the line is fully disconnected from the air handler and drain pan — otherwise, pressure can blow out seals, crack coils, or force mold-laden water back into the blower compartment. Even then, limit pressure to under 30 PSI. Better yet: use a shop vac’s reverse function — it’s safer, quieter, and more effective for organic clogs.
Fixing a clogged condensate line doesn’t mean overhauling your entire HVAC system — it means recognizing which part wears out fastest and swapping it before water damage starts. Most homeowners spend hours snaking lines when a $15 P-trap would solve it in 20 minutes. Keep spare fittings in your garage, test your drain flow quarterly, and remember: the best repair is the one you never have to do twice.