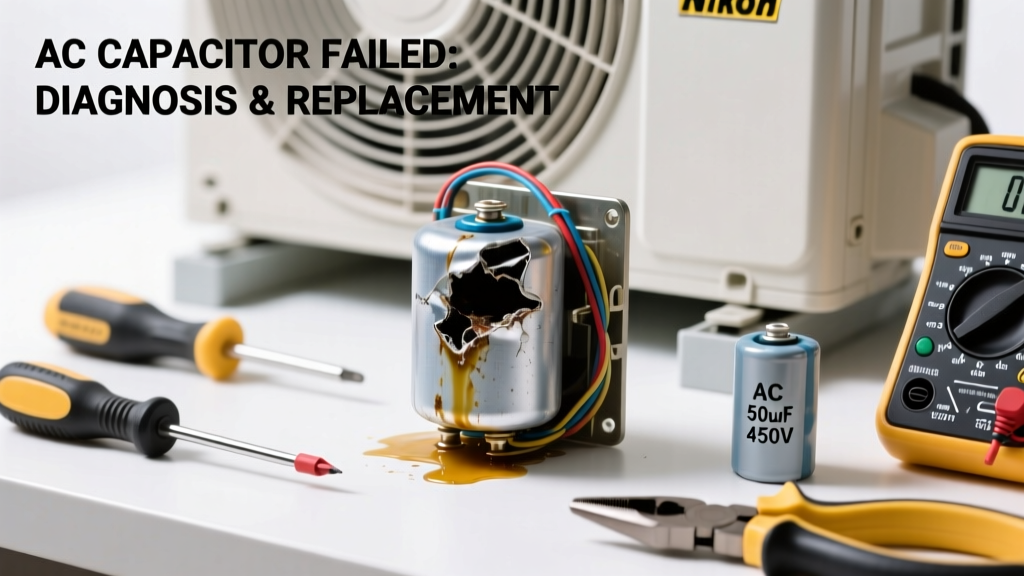
Your AC unit runs but won’t cool—or worse, won’t start at all. You hear a faint hum from the outdoor unit, then silence. That’s often the classic sign of a failed capacitor, one of the most common yet overlooked causes of AC failure. Replacing it takes under 30 minutes and costs less than $25—but only if you know what to look for and how to do it safely.
Quick Diagnosis
Before grabbing tools, confirm the capacitor is truly the culprit. These are the top signs—and what they mean:
- A humming outdoor unit that won’t start (capacitor can’t provide startup torque)
- AC turns on briefly then shuts off (weak capacitor overheats and trips safety)
- Bulging, leaking, or burnt-smelling capacitor casing (visual failure)
- Blower motor runs indoors but condenser fan/compressor stays silent (dual-run capacitor failure)
- Voltage drop below 85% of rated microfarads (measured with multimeter)
Tools & Materials Needed
| Item | Purpose | Estimated Cost |
|---|---|---|
| Capacitor tester or multimeter with capacitance mode | Verifies actual µF output vs. label rating (±6% tolerance) | $15–$65 |
| Insulated screwdrivers (VDE-rated) | Prevents accidental shorting while working near live terminals | $12–$28 |
| New capacitor (match voltage, µF, and type) | Must match original specs exactly—e.g., 45+5 µF, 370V AC dual-run | $10–$22 |
| Non-contact voltage tester | Confirms power is fully disconnected before touching terminals | $18–$32 |
| Work gloves and safety glasses | Protects against arc flash or capacitor discharge during handling | $8–$15 |
Step-by-Step Fix
Follow these steps in order—skipping safety checks risks shock or equipment damage:
- Shut off power at both the thermostat and the main disconnect switch—not just the breaker. Verify with a non-contact tester at the capacitor terminals.
- Discharge the capacitor using an insulated screwdriver across terminals (C-Herm, C-Com, C-Fan) while wearing gloves. Hold for 5 seconds per pair. Never skip this—even powered-off capacitors store lethal charge.
- Label and photograph wiring before disconnecting. Dual-run capacitors have three terminals (C, Herm, Fan); single-run have two (C, Herm). Miswiring causes immediate compressor damage.
- Remove mounting bracket screws and old capacitor. Note orientation—some mount vertically; others horizontally. Match physical size to avoid clearance issues.
- Install new capacitor, reconnect wires using your photo as reference, tighten terminals firmly (but don’t over-torque), and reattach bracket. Restore power and test operation for 5 full minutes.
When to Call a Pro
Some situations demand licensed HVAC expertise—not DIY:
- You measure voltage at the capacitor terminals while power is off (indicates wiring fault or contactor issue)
- The compressor clicks but won’t engage after capacitor replacement (possible seized compressor or low refrigerant)
- You smell burning insulation or see charring on contactor or wiring
- Your system uses a variable-speed inverter or scroll compressor—these require specialized diagnostics
- Local code requires licensed techs for refrigerant-side work (even if capacitor is electrical-only)
According to the U.S. EPA, 14% of household HVAC service calls involve misdiagnosed capacitor failures—often masking deeper issues like failing contactors or dirty coils (EPA Refrigerant Management Report, 2022).
Prevention Tips
Capacitors degrade faster in hot, humid climates and under frequent cycling. Extend life with these habits:
- Clean condenser coils twice yearly—dirt forces longer run times and higher heat buildup
- Trim shrubbery and debris within 2 feet of outdoor unit for proper airflow
- Replace capacitors every 5–7 years proactively—especially in units over 10 years old
- Install a hard-start kit only if recommended by manufacturer; improper use stresses compressors
- Use a whole-house surge protector—voltage spikes from lightning or grid switching kill capacitors instantly
How do I know if my capacitor is a dual-run or single-run type?
Check the label: dual-run capacitors show two µF values separated by a plus sign (e.g., “45+5 µF”) and three terminals labeled C, Herm, and Fan. Single-run units show one value (e.g., “35 µF”) and two terminals (C and Herm). If unsure, compare your old unit to photos on AC capacitor types explained.
Can I replace a 370V capacitor with a 440V one?
Yes—voltage rating indicates maximum tolerance, not operating voltage. A 440V capacitor works safely in place of 370V, but never go lower. However, µF rating must match exactly (±6%). Using a 45+5 µF capacitor where 40+5 µF is specified risks compressor burnout.
Why does my new capacitor fail within weeks?
This almost always points to an underlying issue: a failing contactor sending inconsistent voltage, high head pressure from a dirty coil or refrigerant overcharge, or repeated power surges. Test contactor coil resistance (should be 10–30 ohms) and check for coil pitting or welding. Also verify indoor blower speed and filter condition—restricted airflow overheats the entire system.
Is it safe to touch capacitor terminals after discharging?
Only after verifying zero voltage with a multimeter set to AC volts—never rely solely on a screwdriver discharge. Residual charge can linger in high-quality film capacitors. The HVAC electrical safety basics guide shows how to validate discharge with a meter across each terminal pair.
What happens if I wire the capacitor backward?
Capacitors aren’t polarized—so there’s no “backward” in terms of polarity—but misconnecting terminals (e.g., Fan wire to Herm) will cause the fan motor to run backward or not at all, and may overheat the compressor windings. Always match wire colors or labels to the original configuration shown in your unit’s wiring diagram.
Do I need to evacuate refrigerant to replace the capacitor?
No—capacitors are external electrical components. No refrigerant lines are opened or disturbed. This is strictly an electrical repair. However, if you notice oil residue near the capacitor or compressor connections, that’s a red flag for refrigerant leak—call a pro immediately.
A failed capacitor isn’t a death sentence for your AC—it’s one of the most straightforward fixes in HVAC. But rushing it without verifying power, discharging properly, or matching specs can turn a $20 part into a $1,200 compressor replacement. Take your time, double-check every connection, and remember: when in doubt about voltage, grounding, or refrigerant, when to call an HVAC pro is always the smarter move.