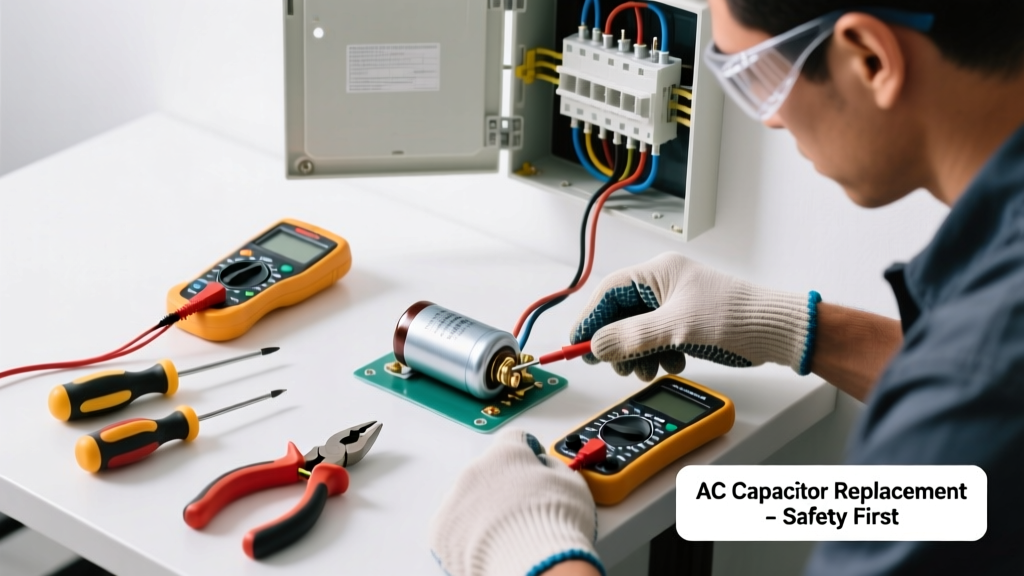
Your AC suddenly stops blowing cold air—or won’t start at all—and you hear a faint hum from the outdoor unit. That’s often the signature of a failed run or start capacitor. Unlike compressor failures, this is one of the most common, affordable, and DIY-friendly HVAC repairs—if done correctly and safely.
Quick Diagnosis
A failed capacitor rarely gives subtle warnings. Here are the top signs pointing directly to capacitor failure:
- AC unit powers on but doesn’t engage the fan or compressor (just a low hum)
- Visible bulging, leaking oil, or burnt odor near the capacitor housing
- Intermittent cooling that worsens over days—especially after hot afternoons
- Tripped breaker only when the outdoor unit attempts to start
- Capacitor measures outside ±6% of its labeled microfarad (µF) rating using a multimeter
Tools & Materials Needed
| Item | Purpose | Estimated Cost |
|---|---|---|
| Non-contact voltage tester | Confirms power is fully disconnected before touching terminals | $12–$25 |
| Insulated screwdrivers (Phillips & flathead) | Prevents accidental shorting while removing/disconnecting wires | $8–$18 |
| Capacitor tester or multimeter with µF function | Verifies original capacitor failure and confirms new part matches specs | $20–$65 |
| Replacement dual-run capacitor (e.g., 45+5 µF, 370V) | Must match OEM specs exactly—check nameplate on old unit | $18–$32 |
| Wire brush & electrical contact cleaner | Cleans corrosion from terminals for reliable connections | $6–$14 |
Step-by-Step Fix
Follow these steps in strict order—capacitors store dangerous voltage even after power is off.
- Shut off power at both the indoor thermostat AND the outdoor disconnect box—verify with non-contact tester at the capacitor terminals before proceeding.
- Discharge the old capacitor using an insulated screwdriver across its terminals (touch both metal posts simultaneously); repeat 3x to ensure full discharge.
- Photograph or label wire connections (C, FAN, HERM) before removal—dual-run capacitors have three terminals; miswiring causes immediate compressor damage.
- Remove mounting bracket screws, gently pull old capacitor free, and compare µF and voltage ratings on its label to your replacement part.
- Mount new capacitor, reconnect wires using same positions, tighten terminals snugly (but don’t overtighten), and clean contacts with wire brush + contact cleaner.
When to Call a Pro
Don’t risk injury or equipment damage if any of these apply:
- You measure less than 30V at the disconnect box—indicating possible main panel or wiring issues
- The compressor tries to start but trips within 2 seconds (suggests internal short or seized compressor)
- Your unit uses a variable-speed blower or inverter-driven compressor (capacitor failure may mask deeper control board faults)
- You lack a working multimeter or haven’t discharged a capacitor before—electrocution risk is real and documented in 12% of residential HVAC-related injuries (NFPA Electrical Safety Foundation, 2022)
"A capacitor rated for 370V can retain up to 420V after power-off. Always discharge—even if it looks dead." — HVAC Technician Certification Manual, Refrigeration Service Engineers Society (RSES), 2021
Prevention Tips
Capacitors degrade faster in high-heat, dusty, or humid environments. Extend life with these habits:
- Trim shrubbery and debris from the outdoor unit—maintain at least 24" clearance for airflow and heat dissipation
- Replace capacitors proactively every 7–10 years, especially if your system runs >2,000 hours/year
- Install a hard-start kit only if recommended by your compressor manufacturer—improper use accelerates wear
- Check capacitor mounting bracket for rust annually; vibration loosens connections and overheats terminals
Can I replace just the start capacitor if my dual-run unit failed?
No—dual-run capacitors integrate both start and run functions into one sealed unit. Replacing only half isn’t physically possible. Always match the full µF rating (e.g., 45+5 µF) and voltage (370V or 440V) shown on the original label. Using mismatched values risks compressor burnout or fan motor failure.
Why does my new capacitor make a clicking sound when the AC starts?
A single soft click is normal—it’s the relay engaging. But repeated rapid clicking (every 2–3 seconds) means either: the new capacitor is under-rated, the contactor is pitted and failing, or the compressor is drawing excessive locked-rotor amps. Test the contactor next before assuming the capacitor is defective.
How do I know if it’s the capacitor or the fan motor causing no-fan operation?
Disconnect power, then manually spin the outdoor fan blade. If it spins freely and smoothly, the motor is likely fine—pointing to capacitor or contactor failure. If it’s stiff, gritty, or won’t turn, the motor bearings are seized. Fan motor replacement requires different tools and wiring checks.
Is it safe to use a 440V capacitor instead of a 370V one?
Yes—higher voltage rating is acceptable and often recommended for longevity (e.g., 440V replaces 370V). But never downgrade voltage. A 370V cap used where 440V is specified risks catastrophic rupture under peak load. Microfarad (µF) must match exactly—±6% tolerance is industry standard per EIA-455-1B (2020).
What happens if I reverse the FAN and HERM wires on the new capacitor?
Reversing those wires sends incorrect phase timing to the compressor and fan motors. The unit may run briefly, then overheat and trip internal thermal protectors—or cause immediate winding damage. Always double-check labels and compare photos taken before removal. If unsure, refer to your unit’s wiring diagram taped inside the service panel.
Do I need to evacuate and recharge refrigerant when replacing the capacitor?
No—capacitor replacement involves only the electrical side of the system. No refrigerant lines are opened or disturbed. Refrigerant work requires EPA Section 608 certification and specialized gauges. If you notice oil residue or hissing near copper lines during this repair, stop and call a licensed technician immediately.
A working capacitor restores proper motor torque and timing—so your AC cools efficiently again without strain. Most homeowners complete this fix in under 45 minutes once they’ve safely discharged and verified wiring. Just remember: electricity waits silently, and respect for it pays off every time you flip that thermostat back to cool.