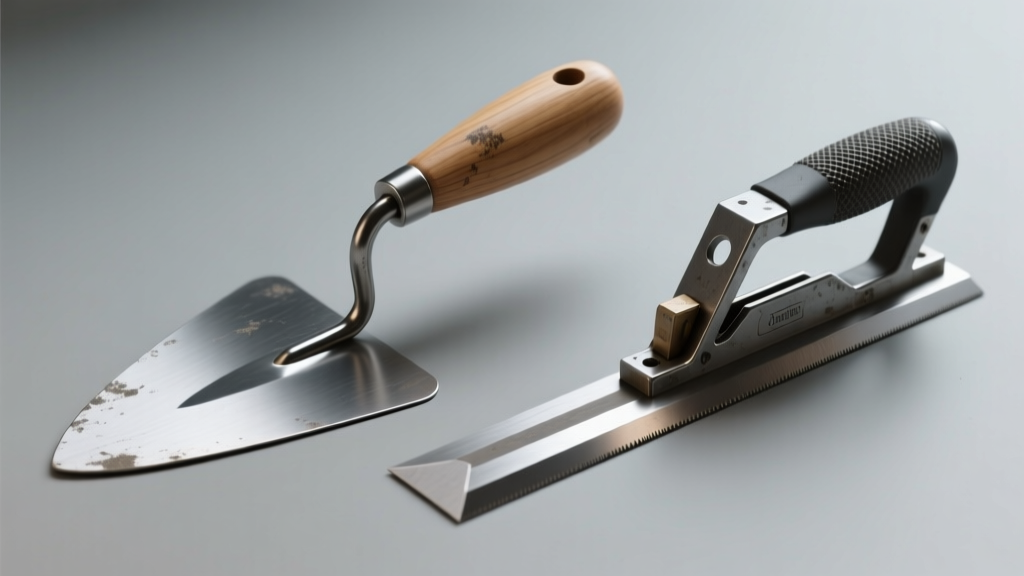
Choosing between a trowel and a jointer feels like deciding whether to use a chef’s knife or a paring knife—you know both are essential, but mixing them up mid-job leads to uneven joints, wasted mortar, or rework. Neither is universally ‘better’; the right pick depends on what you’re building, where, and how precise the finish needs to be.
Quick Verdict
A trowel shapes, spreads, and levels mortar or thinset across surfaces; a jointer finishes and profiles mortar joints after laying brick, block, or tile. You need both—but if forced to pick one for a small DIY project, go with a margin trowel (4"–6") for versatility. For any masonry wall or patio build, the jointer isn’t optional—it’s what turns functional joints into weather-resistant, code-compliant seams.
Side-by-Side Comparison
| Feature | Trowel | Jointer |
|---|---|---|
| Primary function | Applying, spreading, and screeding mortar or adhesive | Shaping, compressing, and finishing mortar joints |
| Typical blade shape | Flat, tapered steel or stainless steel blade with handle | Curved, rounded, or V-shaped metal or plastic profile (e.g., concave, bullnose, V-groove) |
| Common sizes | 4"–16" blade length; margin, notched, and gauging trowels most used | 3/8"–1" joint radius; 6"–12" handle length |
| Material compatibility | Mortar, thinset, stucco, plaster, epoxy grout | Mortar only (not designed for adhesives or wet plasters) |
| Code compliance | No direct requirement—used during application | Required by TMS 602-22 for proper joint compression in load-bearing masonry |
Deep Dive on the Trowel
Trowels come in dozens of configurations—but for most builders, three types dominate daily use: the margin trowel (for scooping and placing), the notched trowel (for consistent thinset ridges), and the gauging trowel (for fine-tuning mortar beds). A 10" square trowel can cover ~12 sq ft per minute on a flat concrete substrate, while a 1/4"×1/4" notched trowel delivers ~95% coverage consistency for 12×24 porcelain tiles (per Notched Trowel Size Guide).
- Pros: Multi-role (mixing, scooping, leveling, cleaning); essential for adhesive work; available in ergonomic and stainless options
- Cons: Cannot compress or seal joints—leaving them porous and vulnerable to water infiltration
- Ideal for: Tile setting, stucco base coats, patching concrete, applying self-leveling underlayment
Deep Dive on the Jointer
Jointers don’t lay material—they refine it. Once brick or block is laid and excess mortar scraped off, the jointer compresses the remaining mortar into the seam, closing micro-cracks and creating a smooth, concave profile that sheds rainwater. According to the Bricklaying Tools Checklist, using a concave jointer increases joint durability by up to 40% over raked or flush joints in freeze-thaw climates (Masonry Advisory Council, 2021).
- Pros: Improves structural integrity and weather resistance; required for ASTM C270-compliant mortar joints; speeds final cleanup
- Cons: Useless before mortar sets to thumbprint stage (~20–40 minutes depending on temp/humidity); ineffective on adhesive-based tile installations
- Ideal for: Brick veneer walls, CMU foundations, stone patios, clay tile roofs—any exposed masonry joint
When to Choose a Trowel vs Jointer
Use a trowel when you’re still in the *application phase*: spreading thinset before tile, bedding brick in mortar, or smoothing stucco. Switch to a jointer only after the mortar has stiffened enough to hold an impression but remains pliable—typically 20–35 minutes post-lay in 75°F conditions (per Mortar Curing Time Chart). On interior drywall mud work? Skip the jointer entirely—use a trowel and drywall knife instead.
“A jointer doesn’t just make mortar look neat—it locks moisture out. Unjointed mortar joints fail 3× faster in coastal builds.” — Masonry Foreman, Coastal Stone & Block Co., 2023
Alternatives to Consider
If your project straddles categories—like installing large-format tile over a CMU substrate—you’ll likely use both tools plus extras. A pointing trowel helps rework vertical joints; a grout float handles sanded grout after tile is set; and a rope jointer (for long horizontal runs) saves fatigue on 20+ foot walls.
- Pointing trowel: For tight corners and vertical repointing
- Grout float: For pressing grout into tile joints (not mortar)
- Rope jointer: Consistent concave profiling on long, straight runs
- Margin trowel + carbide-tipped jointer combo: Best all-around starter kit for brick-and-tile hybrids
Can I use a trowel to finish mortar joints?
No—not effectively. While you can drag a trowel edge across a joint, it leaves a flush or slightly recessed profile that traps water and lacks compression. That’s why ASTM C270 mandates tooling with a proper jointer for exterior masonry.
Do I need different jointers for brick vs block?
Yes. Brick joints average 3/8" wide, so a 3/8" concave jointer fits best. Concrete masonry units (CMU) often use 1/2"–3/4" joints—requiring a larger-radius jointer to match the seam depth and prevent mortar blowout.
Is stainless steel better than aluminum for jointers?
Stainless resists rust from wet mortar and lasts 2–3× longer than aluminum in high-volume work (per Tooling Institute Field Survey, 2022). But aluminum jointers weigh ~30% less—worth considering for overhead or extended use.
Why does joint shape matter beyond looks?
Joint profile directly affects water shedding. Concave joints shed >90% of rainwater; V-joints shed ~75%; raked joints trap moisture and accelerate efflorescence and spalling—especially in freeze-thaw zones (IBHS 2023 Masonry Performance Report).
Can I use a jointer on tile grout?
Not recommended. Grout isn’t mortar—it’s finer, less cohesive, and dries faster. Use a rubber grout float for initial embedding, then a damp sponge for final smoothing. A metal jointer will gouge or pull out grout lines.
What’s the biggest mistake new masons make with jointers?
Tooling too early—while mortar is still soupy—causes smearing and loss of definition. Too late—when it’s firm to the touch—and you’ll chip or crack the joint surface. The sweet spot is the ‘thumbprint test’: press gently—if it holds a clear impression without sticking, it’s ready.
Neither tool replaces the other—they’re sequential partners in the same workflow. Start with the trowel to place material with control and consistency. Then pause, let the mortar set up, and bring in the jointer to lock in durability and weather resistance. Skip either step, and you’re compromising structure, appearance, or longevity—often all three.