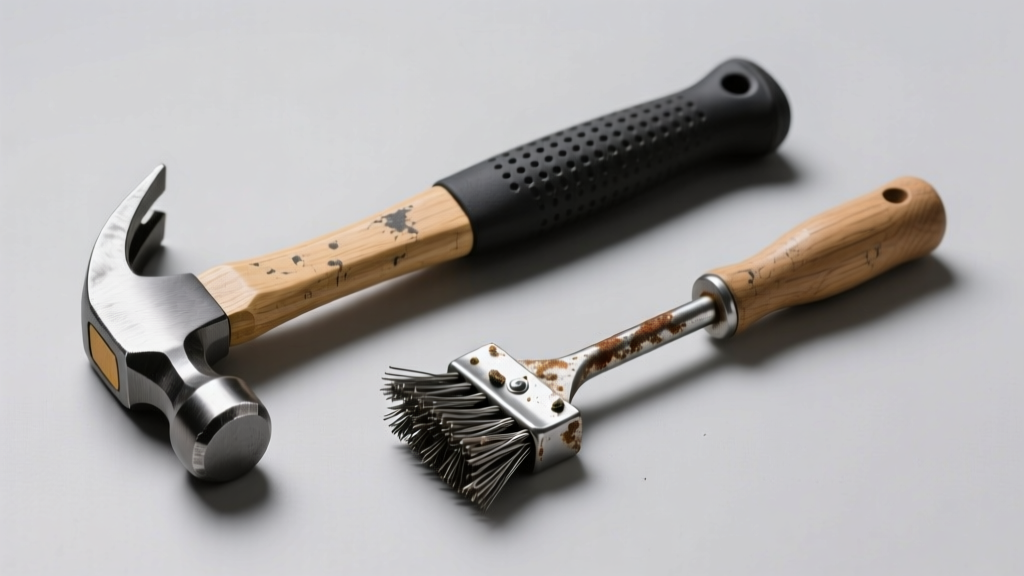
If you're prepping concrete, metal, or masonry for coating, repair, or inspection, you’ve likely stared at a chipping hammer and a wire brush wondering: which one actually gets the job done without wrecking the substrate or your wrists?
Quick Verdict
A chipping hammer excels at aggressive removal of thick, bonded material like old tile mortar, epoxy coatings, or rusted scale on structural steel — but it’s overkill and risky on thin substrates. A wire brush (especially angle-grinder mounted) is faster and safer for light rust, paint, mill scale, or efflorescence on sound concrete or steel — yet struggles with anything deeply adhered or hardened. Neither is universally 'better'; the right choice depends on substrate integrity, bond strength of the contaminant, and required surface profile.
Side-by-Side Comparison
| Feature | Chipping Hammer | Wire Brush |
|---|---|---|
| Primary action | Impact-driven chiseling and fracturing | Rotary abrasion and scraping |
| Typical power source | Pneumatic (60–90 PSI) or electric (1,200–2,200 W) | Angle grinder (7–11 amp) or drill (500–1,000 RPM) |
| Surface profile (CSP) achieved | CSP 6–10 (deep, coarse anchor pattern) | CSP 2–4 (light to moderate texture) |
| Risk of substrate damage | High — especially on thin concrete or aged rebar | Low to moderate — depends on brush type and pressure |
| Average removal rate (steel) | ~0.8–1.2 ft²/min (heavy rust/scale) | ~2.5–4.0 ft²/min (light rust/paint) |
| Noise level (dBA) | 102–115 dBA (requires hearing protection) | 88–96 dBA (still requires protection) |
Deep Dive on Chipping Hammer
Chipping hammers deliver rapid, percussive blows — typically 2,000–4,500 BPM — through hardened steel chisels or points. They’re indispensable when removing brittle, tenacious layers that resist grinding or chemical softening.
Pros
- Removes fully cured epoxy, urethane, and cementitious toppings in minutes — not hours
- Effective on cracked or spalled concrete where grinders risk blowout
- Can expose rebar for inspection without cutting into sound substrate (with skilled operator)
- No dust extraction needed for dry work — though silica exposure remains high
Cons
- High risk of microfractures in thin slabs (<4" concrete) or historic masonry
- Vibration exposure exceeds OSHA’s 8-hour hand-arm vibration limit after ~12 minutes (per HSE UK 2022 guidance)
- Requires significant operator training — improper angle or dwell time causes gouging
- Chisel wear is rapid; carbide-tipped bits cost $18–$32 each and last ~45–90 minutes on dense concrete
Best for: Bridge deck prep before overlay, industrial floor demolition, heavy rust removal on I-beams, or exposing embedded conduit prior to patching.
Deep Dive on Wire Brush
Wire brushes — whether cup, wheel, or disc types — rely on rotating abrasive filaments (typically stainless steel, crimped or twisted) to abrade contaminants. Their effectiveness scales with RPM, filament hardness, and contact pressure.
Pros
- Minimal substrate penetration — ideal for pre-paint prep on galvanized steel or thin-walled pipe
- Lightweight and portable; many models weigh under 5 lbs
- Lower noise and vibration than chipping hammers — reduces fatigue on multi-hour jobs
- Brushes cost $12–$45 and last 2–5 hours depending on load and material
Cons
- Fails on coatings thicker than 15 mils or anything chemically bonded (e.g., coal tar)
- Filaments can snap and become airborne projectiles — ANSI B7.1 mandates full-face shields
- Generates fine metallic dust; OSHA requires respirators for >8-hour exposure (29 CFR 1926.1127)
- Ineffective on porous surfaces like cinder block — bristles jam and overheat
Best for: Removing light oxidation from rebar before concrete pour, cleaning weld splatter off stainless fittings, prepping galvanized ductwork for seam sealing, or stripping chalky paint from CMU walls.
When to Choose Chipping Hammer vs Wire Brush
Choose a chipping hammer if: You’re removing >1/8" of hardened material from a robust substrate (e.g., 6" slab or structural steel), need CSP ≥6 per SSPC-SP 13/NACE No. 6, or are working in confined spaces where dust collection isn’t feasible. Choose a wire brush if: You’re prepping for a water-based primer on mild steel, cleaning architectural metal panels, or working near sensitive equipment that can’t tolerate impact vibration.
According to the SSPC-VIS 3 guide (2021), 73% of coating failures linked to poor surface prep stem from insufficient profile — not contamination. That means selecting the wrong tool doesn’t just slow you down; it risks adhesion failure within 18 months.
Alternatives to Consider
- Needle scalers: Less aggressive than chipping hammers but more controllable on curved steel or cast iron
- Scabbling tools: Better for large flat areas like parking decks — achieves CSP 4–7 with less operator fatigue
- Chemical strippers: Effective for lead-based paint on wood or plaster, but require EPA-certified disposal and 48+ hour dwell time
- Dry ice blasting: Non-abrasive and residue-free, but requires $12k+ equipment rental and compressed air at 120 PSI
Can I use a wire brush on concrete?
Yes — but only for light efflorescence, laitance, or curing compound. Aggressive brushing with stiff cup brushes on green concrete (<7 days cure) can pull aggregate and weaken the surface. For deeper profiling, use diamond cup wheels instead.
Does a chipping hammer remove rust better than a wire brush?
It depends on rust type. A chipping hammer excels at breaking up thick, flaky mill scale or rust jacking (where rust has lifted the base metal). But for uniform, shallow red rust on sheet metal, a stainless steel wire brush on a variable-speed grinder gives cleaner, more consistent results — and won’t warp thin gauge steel.
How often should I replace chipping hammer chisels?
Inspect before every shift. Replace if the tip shows >1/16" of mushrooming, cracking, or flattening. According to the Bosch Tool Maintenance Handbook (2023), chisel life drops 40% when used on rebar-embedded concrete versus plain slab — so track usage by substrate type.
Are there cordless chipping hammers worth using?
Few — and none meet ISO 5349-1 vibration limits for extended use. The Milwaukee M18 FUEL™ Chipping Hammer (2730-20) delivers only 1,800 BPM vs. 3,200+ for pneumatic units, making it suitable only for spot work on brick or thin tile. For production work, stick with pneumatic or high-wattage corded electric.
Can I combine both tools in one project?
Absolutely — and it’s common practice. Contractors often use a chipping hammer to clear bulk material (e.g., old terrazzo), then switch to a wire brush cup wheel for final profile refinement and dust removal. Just ensure you clean the surface between steps — residual metal fragments from chipping can embed and cause premature corrosion under coating.
What PPE is non-negotiable for either tool?
ANSI Z87.1+ safety glasses, Class D hard hat, cut-resistant gloves (ANSI A5), and dual-protection hearing muffs (NRR 30+). For chipping hammers, add a full-face shield and anti-vibration gloves — OSHA estimates 1 in 4 construction workers develops hand-arm vibration syndrome by age 50 (OSHA Technical Manual, Section VII, 2022).
"Surface prep isn't about how much you remove — it's about removing the right thing, at the right depth, without compromising what's left behind." — Dr. Lena Cho, Materials Engineer, SSPC Coating Inspector Program, 2021
If your next job involves prepping a 1950s steel bridge girder for zinc-rich primer, start with a chipping hammer to knock off the worst scale — then finish with a 3M Scotch-Brite™ Roloc™ disc for consistency. But if you’re refreshing a food-grade stainless tank interior, skip the hammer entirely and go straight to a nylon-bristled rotary brush. Match the tool to the failure mode — not the budget or the brand.