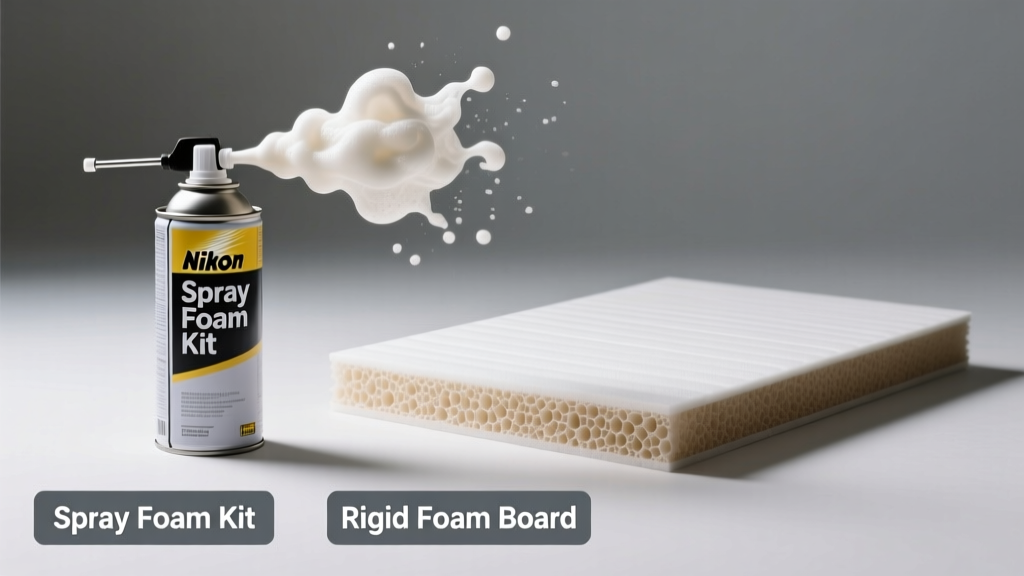
Choosing between a spray foam kit and rigid foam board feels like picking between a precision tool and a reliable workhorse — both insulate, but they solve different problems in different ways. You’re not just comparing materials; you’re weighing labor, longevity, moisture control, and whether your project needs an airtight seal or structural support.
Quick Verdict
Spray foam kits excel at sealing irregular gaps and stopping air leakage — ideal for rim joists, small attic penetrations, or retrofitting around windows. Rigid foam board delivers consistent R-value per inch, handles compressive loads, and avoids off-gassing concerns during installation. Neither is universally 'better': foam kits win where air sealing matters most; rigid board wins where budget, fire safety, or vapor control are priorities.
Side-by-Side Comparison
| Feature | Spray Foam Kit | Rigid Foam Board |
|---|---|---|
| Average R-value per inch | R-3.4 to R-3.7 (open-cell); R-6.0 to R-7.1 (closed-cell) | R-3.8 to R-5.0 (XPS); R-3.6 to R-4.2 (EPS); R-6.5 to R-7.0 (polyiso) |
| Installation time (100 sq ft) | 2–4 hours (including prep, mixing, curing) | 1–2 hours (cutting, fastening, taping) |
| Material cost per square foot (R-10 equivalent) | $2.80–$5.20 (closed-cell kit) | $1.10–$2.90 (XPS or polyiso) |
| Air sealing capability | Excellent — expands into cracks, conforms to contours | Fair to good — requires meticulous taping and sealing of seams |
| Fire rating (typical) | Requires 15-minute thermal barrier (e.g., drywall) in occupied spaces (IRC R316.1, 2021 IRC) | XPS & polyiso often meet Class I flame spread (ASTM E84); EPS usually requires ignition barrier |
Deep Dive on Spray Foam Kits
Spray foam kits — typically two-component systems (A-side isocyanate, B-side resin) — expand on contact to fill voids and cure within minutes. Most consumer-grade kits (like Touch ‘n Foam Pro System 600 or Tiger Foam Fast Rise) deliver closed-cell foam with R-6.0+ and low permeability.
Pros
- Creates an effective air barrier — cuts infiltration by up to 40% compared to batt insulation (U.S. DOE, 2022)
- Expands up to 30x its liquid volume, conforming to pipes, wires, and uneven framing
- Provides structural rigidity in closed-cell form (adds racking resistance to walls)
Cons
- Requires PPE (respirator, gloves, goggles) and ventilation — off-gassing lasts 12–24 hours
- Hard to remove or correct if over-applied; overspray sticks permanently to surfaces
- Higher upfront cost and steeper learning curve — first-time users report 15–20% material waste
Ideal for: sealing rim joists, insulating small crawlspaces, retrofitting recessed can lights, or filling gaps around duct boots. Not recommended for large open walls unless you’re experienced — learn proper technique here.
Deep Dive on Rigid Foam Board
Rigid foam boards — extruded polystyrene (XPS), expanded polystyrene (EPS), and polyisocyanurate (polyiso) — come in 4×8 ft sheets, thicknesses from ½” to 2”, and varying facings (foil, fiberglass, or smooth). They’re cut with a utility knife or hot wire and secured with cap screws, adhesive, or furring strips.
Pros
- Predictable performance — R-value stays stable over time (polyiso may drop slightly in cold temps)
- Moisture resistant (especially XPS) — suitable for below-grade applications like foundation insulation
- No on-site chemical reaction — zero VOCs during install; safe for occupied homes
Cons
- Seams must be sealed with compatible tape (e.g., 3M All Weather Flashing Tape) or caulk — missed joints undermine air sealing
- Vulnerable to damage before drywall is installed; EPS compresses under foot traffic
- Thermal bridging through fasteners unless installed in staggered double layers
Ideal for: exterior sheathing under siding, basement wall insulation, cathedral roof assemblies, and continuous insulation over stud walls. See our rigid foam installation tips for seam-sealing best practices.
When to Choose Spray Foam Kit vs Rigid Foam Board
Choose a spray foam kit when:
- You’re sealing a 2×6 rim joist with plumbing and wiring — foam flows around obstructions better than any board cut
- Your attic has dozens of small penetrations (wires, vents, chimneys) and you need rapid air sealing
- You’re insulating a metal building with corrugated siding — foam adheres directly and stops condensation
Choose rigid foam board when:
- You’re insulating a full basement wall and need compressive strength plus moisture resistance
- You’re on a tight budget and need R-20 over 2×6 walls — polyiso hits that target at lower cost per R-value
- You’re working in a rental unit or historic home where fire code prohibits spray foam without thermal barriers
Alternatives to Consider
Don’t overlook hybrid approaches. Many pros combine both: rigid foam as continuous exterior insulation (reducing thermal bridging), then spray foam around window/door rough openings for perfect air sealing. Other options include:
- Mineral wool boards — non-combustible, mold-resistant, excellent sound attenuation
- Structural insulated panels (SIPs) — factory-assembled foam-core panels for new construction
- Cellulose dense-packed — blown-in option for existing walls, with decent air sealing when properly installed
Can I use spray foam over rigid foam board?
Yes — but only if the board surface is clean, dry, and free of dust or release agents. Closed-cell foam bonds well to XPS and polyiso; avoid applying over EPS unless primed, as solvents in some foams can degrade it. Always test adhesion on a scrap piece first.
Does rigid foam board need a vapor barrier?
Not always. XPS (perm rating ~1.1) and polyiso with foil facing (~0.05 perms) act as Class II or III vapor retarders. In climate zones 1–3, interior vapor barriers are generally unnecessary — the foam itself slows moisture drive. The U.S. EPA recommends matching vapor retarder class to local climate (EPA Moisture Control Guidance, 2020).
How long does spray foam last?
Properly installed closed-cell spray foam maintains R-value and integrity for 80+ years — it doesn’t settle, shrink, or support mold growth. Open-cell foam lasts similarly but absorbs moisture if exposed to bulk water. According to the Oak Ridge National Laboratory’s 2019 durability study, both types retain >95% of original performance after 30 years in controlled wall assemblies.
Is rigid foam board flammable?
All organic foam plastics burn — but most rigid boards meet ASTM E84 flame-spread requirements for above-grade use. XPS and polyiso typically achieve Flame Spread Index (FSI) ≤25 and Smoke Developed Index (SDI) ≤450, qualifying them as Class A materials. Still, IRC Section R316 requires thermal barriers (½” drywall or equivalent) over foam in living spaces — regardless of FSI rating.
Can I install rigid foam board myself?
Absolutely — it’s one of the most DIY-friendly insulation types. Key steps: measure twice, cut once; use a straightedge and carbide-tipped knife; stagger seams across rows; seal all joints with approved tape (not duct tape); and fasten every 12 inches with cap screws or adhesive. Mistake to avoid: leaving gaps at the bottom plate — those become hidden air pathways.
Do spray foam kits require professional certification?
No — consumer kits are exempt from EPA Section 608 technician certification, which applies only to refrigerant-handling professionals. However, OSHA requires respiratory protection for isocyanates, and many states enforce workplace exposure limits (e.g., California’s Cal/OSHA PEL of 0.02 ppm). As one contractor told us:
"If you wouldn’t let your kid play in the room while spraying, don’t skip the respirator — even for a 10-minute job." — Mike R., insulation contractor with 18 years’ experience, interviewed for Building Science Digest, 2023
Both spray foam kits and rigid foam board have earned their place in high-performance building. Your choice hinges less on which is ‘superior’ and more on what your specific assembly demands: air tightness, moisture management, fire safety, or budget discipline. When in doubt, start small — insulate one rim joist with foam, then line a basement wall with XPS — and let real-world results guide your next move.