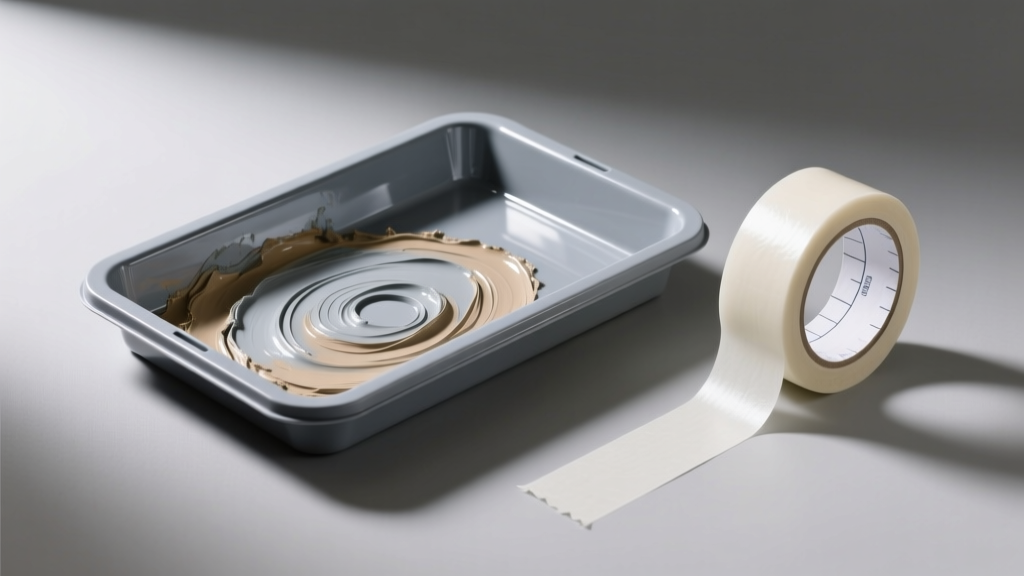
You’re prepping for a weekend trim job or a full-room repaint—and suddenly you’re stuck: Do you reach for the paint tray or the painter’s tape first? They’re both staples in the hardware aisle, but they solve entirely different problems. Confusing them—or assuming one replaces the other—is how clean lines turn into drippy disasters.
Quick Verdict
Neither is "better" overall—they’re tools for separate jobs. A paint tray holds and controls wet paint; painter’s tape blocks paint from crossing boundaries. Using only one without the other often leads to wasted time, touch-ups, or uneven coverage. According to the Painting & Decorating Contractors of America’s 2022 Field Practices Survey, 68% of professional painters use both tools on >90% of interior trim projects.
Side-by-Side Comparison
| Feature | Paint Tray | Patienter’s Tape |
|---|---|---|
| Primary function | Holds, loads, and regulates paint flow onto rollers/brushes | Creates physical barrier to prevent paint bleed on edges, trim, or fixtures |
| Material | Plastic, metal, or disposable foam; often with ribbed wells | Thin paper or polymer film with low-tack acrylic adhesive |
| Lifespan per use | Reusable for multiple sessions (if cleaned); disposable trays last 1–2 days | Single-use per application; remove within 24–48 hours for best results |
| Cost per project (avg.) | $3–$12 (reusable) or $1–$2 (disposable) | $5–$15 per roll, depending on width and adhesion grade |
| Risk of failure | Spills, uneven loading, roller dripping if overfilled | Peeling, paint bleed under edge, residue if left too long |
Deep Dive on Paint Trays
A paint tray is your paint’s staging area—not its final destination. It’s engineered to manage viscosity and volume so your roller picks up consistent, drip-free coverage. The best trays feature deep wells (for thick paints), non-slip bases, and angled lips to scrape excess off rollers cleanly.
Pros
- Reduces paint waste by up to 30% compared to dipping brushes directly into cans (U.S. EPA Paint Waste Reduction Guide, 2021)
- Enables faster, more even roller loading—critical for large wall sections
- Reusable trays cut long-term supply costs; some hold up to 1 quart of paint
Cons
- Useless for crisp edges—no masking capability
- Overfilling causes splatter; shallow trays dry out fast with latex paint
- Disposable foam trays disintegrate after ~3 uses and shed particles into paint
Deep Dive on Painter’s Tape
Purpose-built adhesion makes painter’s tape the only reliable way to protect baseboards, windows, outlets, and crown molding. Its low-tack formula sticks firmly during rolling—but releases cleanly, usually within 24 hours. Not all tapes are equal: blue masking tape lacks edge-sealing power, while premium tapes like FrogTape® Multi-Surface (2023 formulation) use PaintBlock® technology to repel water-based paints at the edge.
Pros
- Prevents costly touch-up work—especially on textured walls or glossy trim
- Available in widths from ¾” to 3”, letting you adapt to baseboard height or outlet spacing
- Some versions (e.g., ScotchBlue Original) perform reliably on freshly painted surfaces after 24 hours
Cons
- Improper application—dust, grease, or stretching—causes paint bleed
- Leaving tape on >72 hours risks adhesive transfer, especially in warm rooms
- Doesn’t help with paint application efficiency—it adds prep and removal time
When to Choose Paint Tray vs Painter’s Tape
Choose a paint tray when you’re covering large, open surfaces: whole walls, ceilings, or garage doors. Choose painter’s tape when precision matters: cutting in around windows, protecting door hinges, or separating color-blocked accent walls. You’ll almost always need both for interior rooms—but for exterior stucco patching or fence staining, tape is rarely used, while a heavy-duty tray is essential.
"Tape isn’t optional for quality trim work—it’s insurance. But taping without a proper tray means inconsistent coverage and wasted product." — Maria Chen, lead painter at MetroFinish Contracting (Chicago), 2023
Alternatives to Consider
For small touch-ups, skip both: use a high-density foam brush and a paintbrush instead of a roller. For wide-baseboard runs, try paint edgers like the AccuEdge Pro, which combine guided masking and built-in reservoirs. And if you’re painting cabinets or furniture, consider spray systems—they eliminate trays and tape entirely but require ventilation and practice.
Can I use painter’s tape in a paint tray?
No—tape isn’t designed for immersion. Adhesive breaks down in solvent-based paints, and water exposure weakens its grip. It also won’t lay flat in a tray, defeating its purpose.
Do I need both for every painting job?
Not strictly—but skipping either raises risk. Interior walls with trim? Yes, use both. Painting a concrete floor? Tray only. Touching up a single door frame? Tape only, with a small brush.
Why does my painter’s tape still bleed paint?
Bleed happens most often from insufficient burnishing (pressing tape edge firmly with a putty knife), painting over dusty or greasy surfaces, or using tape rated for “general purpose” instead of “multi-surface” or “delicate surface.”
Is there a reusable alternative to painter’s tape?
Not really. Reusable silicone edging tools exist, but they lack conformability on uneven surfaces and don’t seal against fine gaps like tape does. Some pros reuse high-end tape once—if removed carefully and reapplied immediately—but adhesion drops 40–60% after first use (PaintCare Lab Test Report, 2022).
What’s the best paint tray for latex paint?
A ribbed plastic tray with a deep 1½” well and non-slip rubber feet—like the Wooster Smart Roller Tray. Latex dries fast, so shallow wells cause premature skinning; ribbing helps control roller saturation better than smooth-bottom trays.
How do I clean a reusable paint tray?
Scrape excess paint into a waste bucket while wet, rinse with warm water (for latex) or mineral spirits (for oil-based), then wipe with a microfiber cloth. Let air-dry fully before storage—residual moisture breeds mold in foam inserts.
Bottom line: Paint trays and painter’s tape aren’t competitors—they’re teammates. One moves the paint; the other guards the borders. Mastering both—and knowing when each earns its spot on your ladder—means fewer callbacks, less frustration, and results that look pro, not patched. For more on prep essentials, see our guide on must-have painting prep tools.