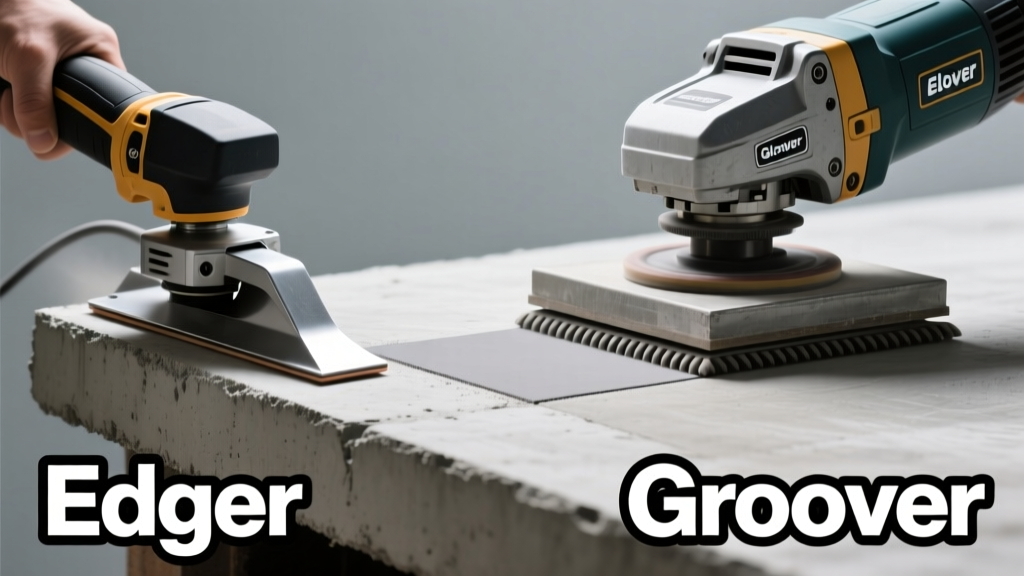
You’re prepping a 3,200 sq ft residential patio pour and wondering: do you need an edger, a groover, or both? It’s not just about preference—it’s about control, timing, and avoiding hairline cracks or uneven joints that show up months later.
Quick Verdict
An edger shapes clean, rounded edges along slab perimeters and control joints; a groover cuts precise contraction joints into fresh concrete to manage cracking. Neither replaces the other—they serve different stages and purposes. For most small-to-midsize jobs (under 5,000 sq ft), you’ll need both—but in sequence: edger first, groover second, within the same finishing window.
Side-by-Side Comparison
| Feature | Edger | Groover |
|---|---|---|
| Primary function | Forms smooth, rounded edges at slab perimeter and joint faces | Cuts straight, consistent contraction joints (typically ¼”–⅜” deep) |
| Timing in pour | Used during initial finishing, before final troweling | Applied after bull floating, before final trowel pass |
| Depth control | No depth adjustment—shape is fixed by wheel profile | Adjustable depth (commonly ¼”, ⅜”, ½”) via guide wheels or stop screws |
| Typical blade/wheel type | Steel or carbide-tipped rounded wheel (½”–1” radius) | Carbide-tipped V-groove or flat-bottom cutter (⅛”–½” wide) |
| Operator skill sensitivity | Low—forgiving of minor speed or angle variation | Medium—requires steady pace and alignment to avoid wandering or inconsistent depth |
Deep Dive on Edgers
Edgers excel at defining the visual and structural boundary of a slab. A quality walk-behind edger with a ¾” carbide wheel leaves a crisp, durable edge that resists chipping—critical for driveways and walkways exposed to freeze-thaw cycles. Hand edgers remain useful for tight corners, around columns, or near landscaping where larger machines can’t reach.
Pros
- Prevents spalling at slab edges—especially important in northern climates
- Works well on slabs as thin as 3.5” (per ACI 302.1R-15 guidelines)
- Minimal setup: no depth calibration needed
Cons
- Does nothing to control interior cracking
- Can gouge if dragged too slowly on stiff mix (slump < 3”)
- Wheels wear faster on abrasive aggregates like crushed granite
Best for: Driveways, sidewalks, stamped concrete perimeters, and any job where edge durability and appearance matter more than interior joint precision.
Deep Dive on Groovers
Groovers address what edgers ignore: internal stress relief. According to the Portland Cement Association’s Design and Control of Concrete Mixtures (2022), properly spaced and sized contraction joints reduce random cracking by up to 70% on slabs-on-grade. Groovers deliver repeatable, code-compliant joint geometry—unlike hand-cutting with a saw, which introduces vibration and delays curing.
"Grooving within 1–2 hours after finishing—while concrete is still plastic but firm enough to hold shape—is critical. Miss that window, and you risk raveling or incomplete joint formation." — Concrete Construction Magazine, July 2023
Pros
- Enables early joint formation before surface hardens
- Compatible with laser-guided screeds for straighter runs on large pads
- Reduces post-pour saw-cutting labor and dust (up to 40% less cleanup, per NRMCA field survey 2021)
Cons
- Requires operator attention to alignment—wandering grooves compromise crack control
- Not suitable for very stiff mixes (slump < 2.5”) without added water or retarder
- Replacement cutters cost $22–$38 each (vs. $12–$18 for edger wheels)
Best for: Garage floors, patios, commercial slabs, and any pour over 1,000 sq ft where long-term crack management matters more than edge aesthetics alone.
When to Choose Edger vs Groover
Choose an edger when your priority is edge protection, curb appeal, or working with thin-section concrete (< 4”). Choose a groover when your slab exceeds 10’ x 10’, contains no reinforcement, or sits on poorly draining subgrade—conditions that elevate cracking risk. For residential garage slabs poured at 4” thick with fiber mesh, use both: edger first for perimeter definition, then groover at 12’ intervals for crack control.
Alternatives to Consider
If budget or job scale limits tool access, consider hybrid tools like the multi-function power trowel attachment that adds edging and shallow grooving capability—or rent a walk-behind unit with interchangeable wheels and cutters. For ultra-small jobs (< 200 sq ft), manual tools like the Hawk & Groove Tool Set offer precision without motorized complexity. Also worth noting: some contractors skip grooving entirely and rely on early-entry saw cutting, though this adds time, cost, and silica dust exposure.
Can I use an edger to make contraction joints?
No. Edger wheels lack the geometry or depth control to form functional contraction joints. Their rounded profile doesn’t create the required 90° or V-groove geometry needed for controlled crack initiation. Attempting it risks shallow, ineffective joints that fail under thermal stress.
Do I need both tools for a 2,400 sq ft backyard patio?
Yes—if the patio includes exposed edges (e.g., next to lawn or pavers) and exceeds 12’ in any direction. The edger protects those borders from erosion and impact; the groover manages shrinkage across the field. Skipping either increases long-term maintenance risk.
How soon after pouring should I use each tool?
Edger: 20–45 minutes after strike-off, while surface is still plastic but supports light pressure. Groover: 45–90 minutes after finishing—when a thumbprint leaves ~1/8” indentation. Timing varies with temperature and mix design; always test in an inconspicuous corner first.
Are battery-powered edgers and groovers reliable?
For jobs under 1,500 sq ft, yes—models like the EDCO Lithium Pro series maintain consistent RPM for 45+ minutes per charge (per manufacturer specs, 2024). But for larger pours or hot weather, corded or gas units provide uninterrupted torque and depth consistency.
What’s the biggest mistake new users make?
Running the groover too fast—causing shallow, tapered joints—or too slow, resulting in ragged edges and excessive material removal. Practice on a test pad using chalk lines and a depth gauge. Keep passes at 2–3 ft/sec for optimal groove uniformity.
Neither tool is “better” in isolation. The right choice depends on your slab’s size, exposure, and performance requirements—not just what’s sitting in your trailer. Match the tool to the physics of the pour, not the convenience of the moment.