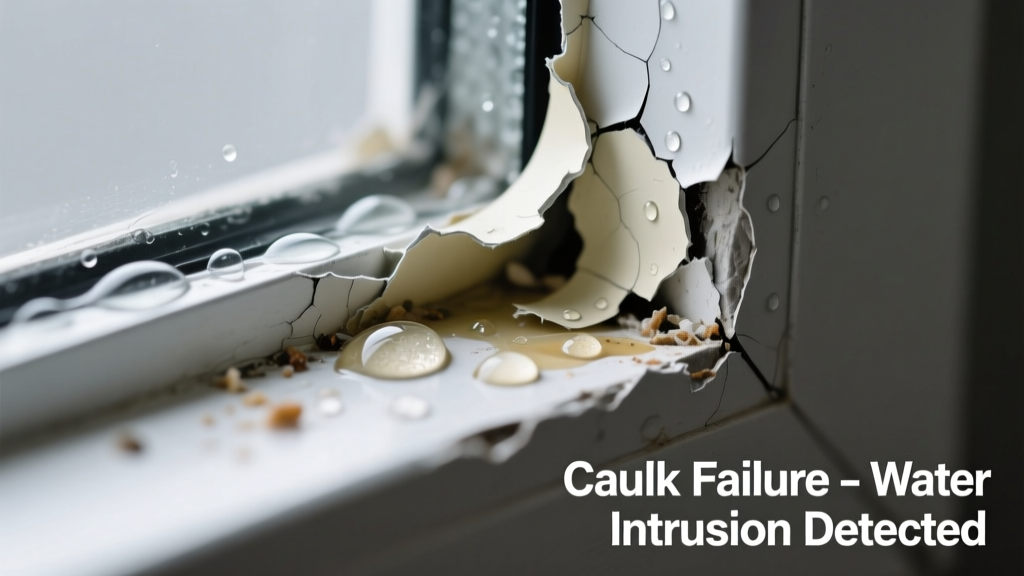
You spot a damp sill after rain, a dark stain creeping up the drywall near your window, or even a slow drip onto your floor—yet the window itself looks intact. Don’t assume it’s just ‘old caulk.’ Water follows the path of least resistance, and failed caulk is often a symptom, not the root cause.
Quick Checklist
- Is water appearing *only* during or immediately after rainfall—not during humidity or condensation?
- Does the leak occur near the window frame’s exterior edge (not the interior trim or glass)?
- Can you see visible cracks, gaps, or crumbling caulk where the window meets siding or brick?
- Is the leak localized to one side (e.g., bottom-left corner) rather than evenly distributed?
- Has the window been recently painted, re-sided, or had storm windows added?
- Do you hear wind whistling near the window when it’s gusty?
Possible Causes
Failed Exterior Caulk Seal
Look for brittle, cracked, or missing caulk at the interface between window frame and siding—or between brick mortar joints and window nailing flange. Press a fingernail into suspect areas: if it crumbles or pulls away easily, it’s compromised. This is typically a DIY fix—but only if the substrate is sound and no moisture has penetrated behind it. Replace window caulk with high-quality silicone or polyurethane sealant rated for exterior use.
Missing or Damaged Flashing
Flashing (often aluminum or rubberized membrane) sits beneath the window’s nailing flange and directs water outward. If it’s torn, lifted, or was never installed, water bypasses caulk entirely—even if the caulk looks perfect. Confirm by removing a small section of siding or trim near the top or sides of the window. This requires professional assessment—flashing repair involves partial disassembly. Fix window flashing before resealing.
Rotting Sill or Frame Substrate
Press a screwdriver into the wood at the bottom of the window exterior sill. If it sinks in more than 1/8 inch, rot is present—and caulk won’t stick to decayed material. This indicates long-term moisture intrusion and likely needs pro-level repair, including possible sill replacement. Repair rotten window sill only after full moisture testing.
What to Do First
Stop further damage before diagnosing deeply. Grab a dry towel and absorb standing water. Then, place a shallow pan or bucket under active drips. Next, inspect the exterior on a dry day: photograph every seam, joint, and caulk line. Finally, run a garden hose slowly over the top of the window for 5 minutes while someone watches inside—this isolates the entry point better than waiting for rain.
- Wipe and dry all wet surfaces thoroughly to prevent mold (the U.S. EPA estimates mold can begin growing within 24–48 hours)
- Open nearby windows or doors to improve airflow—reducing humidity slows secondary damage
- Label photos with date, weather conditions, and location (e.g., “NW bedroom window – post-rain, left corner”)
What NOT to Do
Slapping on new caulk over old, cracked sealant is the most common error—and guarantees failure within months. You’re sealing a leak *over* the leak, not fixing it. Also avoid using painter’s caulk or acrylic latex indoors for exterior seams; these degrade in UV and freeze-thaw cycles.
- Don’t caulk over wet, dirty, or oily surfaces—clean with denatured alcohol first
- Don’t ignore interior signs like peeling paint on adjacent walls or musty odors—they suggest deeper moisture migration
- Don’t assume ‘newer’ windows are immune: a 2022 NAHB study found 37% of homes built between 2018–2022 had improper flashing installation
Is the leak coming from the top of the window?
This strongly points to failed head flashing or lack of a drip cap—not caulk alone. Water flows down the wall and pools above the window, then sneaks behind the frame. Inspect for a metal or bent-shingle-style drip edge above the window; if absent or corroded, that’s your priority.
Does water appear only during wind-driven rain?
Wind pressure forces water sideways into tiny gaps. Even hairline cracks in caulk become entry points under 20+ mph gusts. This doesn’t mean the caulk is ‘fine’—it means it’s insufficient for your climate zone. According to the Insurance Institute for Business & Home Safety's 2023 report, wind-driven rain accounts for 68% of water intrusion in coastal and plains regions.
“Caulk isn’t waterproofing—it’s the last line of defense. If water reaches the caulk, something upstream has already failed.” — Gary Henson, Building Envelope Consultant, IBHS Field Team, 2022
Is there discoloration or efflorescence on brick or stucco near the window?
White, chalky mineral deposits indicate chronic water movement behind the cladding. That means the leak isn’t surface-deep—it’s traveling behind the finish and exiting lower down. This requires investigation of weep holes, drainage planes, and possibly cladding removal.
Did the leak start right after a renovation or siding replacement?
Contractors sometimes omit or misalign flashing during re-siding. They may also compress insulation around the rough opening, blocking drainage paths. Check for gaps between new siding and window flange—if you can slide a credit card in, flashing is likely compromised.
Is the interior drywall bulging or soft near the window?
That’s a red flag for trapped moisture in the wall cavity. Don’t cut into it yourself. Call a moisture remediation specialist with infrared and moisture meter capability. The U.S. EPA estimates that 14% of household water usage is from leaks—but hidden leaks account for over half of insurance water-claim payouts.
| Caulk Type | Lifespan | UV Resistance | Best For |
|---|---|---|---|
| Silicone | 20+ years | Excellent | Brick, stone, metal; high-movement joints |
| Polyurethane | 15–20 years | Good (with UV stabilizers) | Wood, vinyl, fiber cement; strong adhesion |
| Acrylic Latex | 3–5 years | Poor | Interior-only; temporary indoor patching |
Once you’ve ruled out flashing, rot, and drainage failures, recaulking is smart—and effective. But never treat the sealant as the solution. Treat it as the final step in a system that starts with proper flashing and ends with a clean, dry, stable substrate. If your photos show multiple failure points or you’re unsure about substrate integrity, find a certified building envelope pro before spending time on a cosmetic fix.