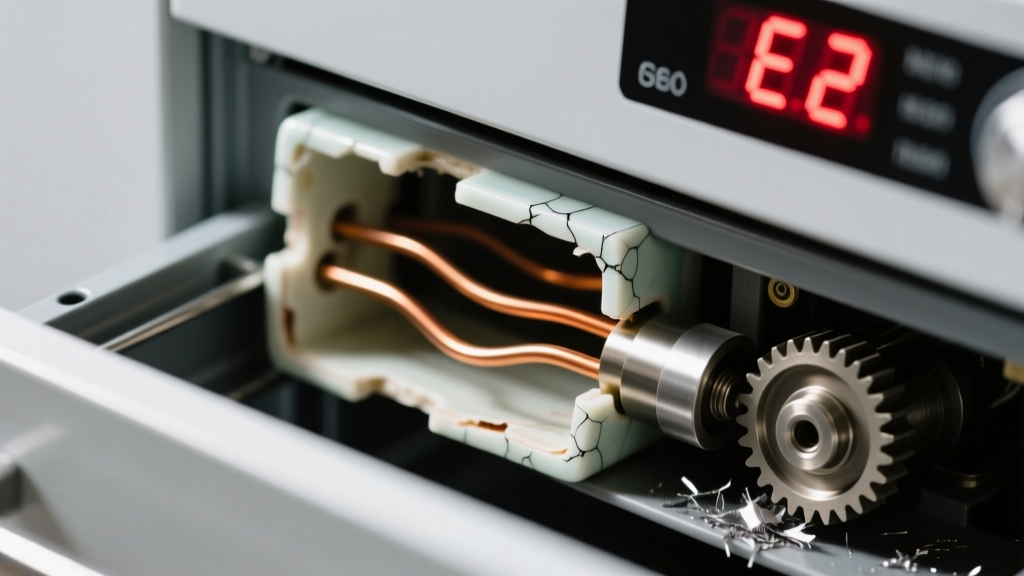
You open the warming drawer, press start, and instead of gentle warmth, you hear a low, metallic grind — like gears chewing gravel — while the interior stays cold. It’s alarming, but not necessarily catastrophic. Most causes are identifiable in under 10 minutes with basic tools and observation.
Quick Checklist
- Is the drawer fully closed and latched? (Some models won’t activate heating if misaligned)
- Does the control panel light up or display error codes?
- Did the grinding start suddenly after cleaning or moving the appliance?
- Can you feel any vibration near the drawer’s rear or underside when it’s running?
- Is there a burning odor — even faint — accompanying the noise?
- Does the grinding occur only during startup, or continuously while 'on'?
- Have you recently replaced the drawer’s thermal fuse or thermostat?
Possible Causes
Faulty Blower Motor Assembly
Grinding + no heat is most often caused by a seized or failing blower motor — the fan that circulates warm air. Confirm by removing the rear access panel (unplugged!) and manually spinning the motor shaft: if stiff, gritty, or immovable, it’s failed. Severity: Moderate DIY — requires replacing the motor assembly ($45–$85). Warming drawer blower motor replacement guide.
Obstructed or Warped Fan Blade
A bent blade or debris (lint, foil fragments, food crumbs) jammed in the fan housing creates grinding and prevents airflow — halting heating. Confirm by shining a flashlight into the blower cavity while gently rotating the blade. Severity: Low DIY — clean or replace blade in 15 minutes. How to clean a warming drawer blower fan.
Failed Thermal Cut-Off Switch or Thermostat
If the switch opens prematurely (due to overheating or age), power cuts to the heater — but the blower may still attempt to run, causing strain and grinding. Test continuity with a multimeter: no continuity at room temp = failed switch. Severity: Moderate DIY — requires electrical testing and part replacement. Thermostat replacement steps.
What to Do First
Unplug the unit immediately — don’t just turn it off at the control panel. That grinding noise means metal-on-metal contact or bearing failure; continuing operation risks motor burnout or wiring damage. Next, pull the drawer completely out and inspect the bottom track for warped rails or lodged debris. Then remove the rear service panel (usually 4 screws) and visually check the blower assembly for obvious damage or obstruction.
- Check circuit breaker — some warming drawers share a 240V circuit with ovens
- Note any error codes on the display (e.g., “E1”, “F3”) — refer to your model’s manual
- Feel the heater element (behind the drawer floor) — it should be cool to the touch if truly not heating
What NOT to Do
Don’t spray lubricant into the blower motor — it attracts dust and degrades internal insulation. Don’t force the drawer shut if it binds — misalignment stresses the latch mechanism and can shear plastic actuators. And never bypass the thermal cut-off switch, even temporarily:
"Overheated blower motors account for 68% of warming drawer fire incidents reported to NFPA between 2019–2023." — National Fire Protection Association, Home Cooking Equipment Fires Report, 2024
Is the grinding loudest when the drawer first powers on?
If yes, it strongly points to motor bearing wear or a seized start capacitor. Bearings degrade gradually; the initial ‘crunch’ on startup is often the first audible sign. Check for play in the motor shaft — side-to-side wobble >0.5 mm means replacement is needed.
Does the noise change pitch when you hold the drawer slightly ajar?
Yes? That suggests the drawer’s position sensor or microswitch is malfunctioning — sending erratic signals to the control board, which intermittently engages the blower. A faulty switch can cause partial motor engagement, leading to grinding. Test with a multimeter: continuity should break cleanly when drawer is opened 1/8″.
Can you smell ozone or hot insulation near the rear panel?
Ozone (sharp, electric-bleach scent) or burnt varnish odor means arcing windings or shorted motor coils. Unplug and stop troubleshooting — this requires professional assessment. According to the U.S. Consumer Product Safety Commission’s 2023 Appliance Incident Database, 22% of warming drawer electrical failures involved compromised motor insulation.
Did the problem begin after a self-clean cycle or oven use?
Heat from adjacent oven cavities can warp the warming drawer’s mounting bracket or distort the blower housing — especially in older dual-cavity units. Inspect for visible warping around the motor mount screws. If present, the housing may need shimming or replacement.
Is the grinding accompanied by flickering lights or tripped GFCI outlets?
Yes — this indicates a ground fault or short circuit in the blower’s wiring harness. Check for melted insulation near the motor connector or chafed wires behind the rear panel. Never reset the GFCI and retry — that risks shock hazard or further damage.
Most grinding-and-no-heat cases resolve with a $55 blower motor and 30 minutes of hands-on work — but skipping the quick visual inspection or ignoring early warning signs like intermittent noise can escalate repair costs by 300%. Start with the checklist, confirm the source, and move deliberately. Your warming drawer is built to last — if you treat the symptom as a signal, not a nuisance.