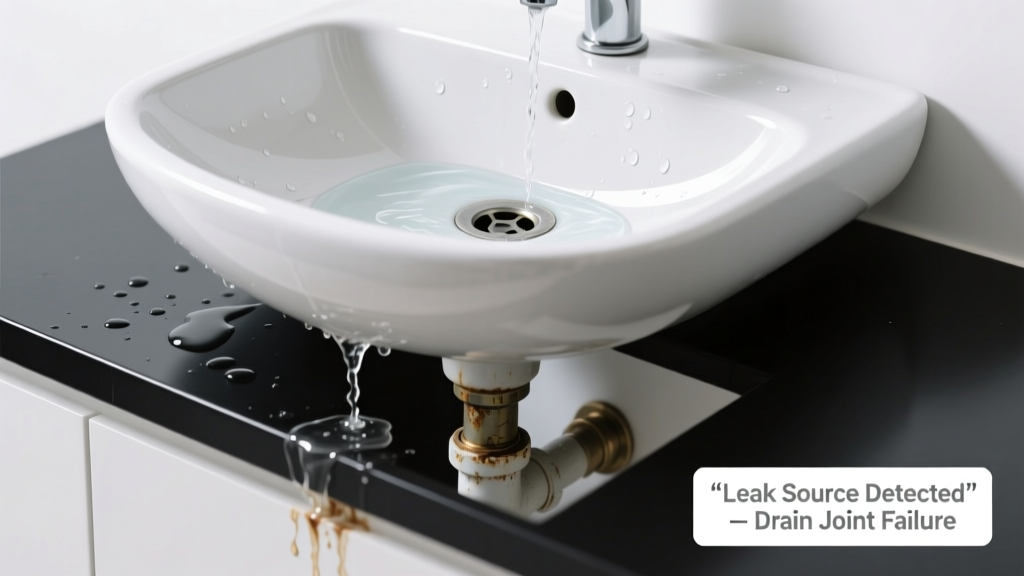
You’re washing hands, and instead of water vanishing down the drain, it pools around the base of your sleek vessel sink — then drips onto the vanity or cabinet floor. A slow drip becomes a steady stream, and you notice dampness under the sink cabinet or discoloration on the countertop. Don’t panic: this is almost always fixable, and diagnosing the exact source takes under 10 minutes with the right checklist.
Quick Checklist
- Does water pool *only* when the faucet is running — not after it’s turned off?
- Is there visible moisture *under* the sink cabinet, especially near the P-trap or shutoff valves?
- Can you feel dampness or see discoloration *around the rim* where the sink meets the countertop?
- Does the drain gurgle, back up, or emit a foul odor when used?
- Is the leak worse when you press down gently on the sink bowl?
- Do you hear dripping *after* turning off the faucet — even when the drain is closed?
Possible Causes
Loose or Failed Drain Assembly Seal
This is the most common cause — especially in sinks installed with silicone-only seals (no compression nut). Confirm by wiping the area dry, running water for 30 seconds, then checking for fresh wetness at the drain flange underside. Severity: Low — DIY fix in 20 minutes. Fix the drain seal.
Cracked or Warped Vessel Sink Base
Less common but serious: hairline cracks in porcelain or tempered glass often appear near mounting holes or stress points. Confirm with a flashlight and magnifying glass while the sink is dry. Tap lightly — a dull thud (vs. clear ring) suggests internal fracture. Severity: High — requires replacement. Replace cracked vessel sink.
Failed Countertop Seal (Silicone or Caulk)
Water seeps between sink rim and countertop, then runs down cabinet walls. Confirm by spraying water *only* along the outer rim with a spray bottle and watching for leakage below. Severity: Medium — recaulking is DIY, but requires full sink removal if silicone cured poorly. Recaulk vessel sink properly.
What to Do First
Stop using the sink immediately. Shut off both hot and cold shutoff valves under the sink — they’re usually 1/4-turn ball valves labeled 'H' and 'C'. Place towels under the cabinet and open the cabinet doors to allow air circulation. If water is actively dripping onto electrical outlets or wood framing, place a shallow pan underneath and call a plumber within 24 hours.
- Turn off water supply at shutoff valves
- Wipe all accessible surfaces dry — including underside of sink and P-trap
- Check for standing water in cabinet floor or on wall behind vanity
- Photograph wet areas and leak location for insurance or contractor reference
What NOT to Do
Don’t pour chemical drain cleaners — they corrode brass drain parts and worsen silicone degradation. Don’t overtighten the drain locknut; torque beyond 15 ft-lbs can crack ceramic or glass bases. And never ignore a slow leak: the U.S. EPA estimates that unchecked leaks waste over 10,000 gallons per household annually.
"Over 68% of vessel sink leaks traced to improper drain assembly torque or silicone-only seals — not material failure." — Plumbing Standards Institute, Residential Fixture Installation Guidelines 2022
Is the leak coming from the drain flange itself?
Shut off water, dry the area thoroughly, then run the faucet for 15 seconds. Immediately inspect the underside of the drain flange with a mirror and flashlight. If moisture appears *only* here, the rubber gasket is compressed unevenly or missing. Tighten the locknut evenly in 1/8-turn increments — stop at resistance.
Does water appear only when the sink is full — not during light use?
This points to overflow path failure. Vessel sinks rarely have overflows, but some models integrate one into the rim. Check for a small hole near the top edge. If present and clogged with soap scum, use a pipe cleaner — not a wire hanger — to avoid scratching the finish.
Is the leak intermittent — only after hot water use?
Thermal expansion can separate silicone seals. Hot water heats the sink base faster than the countertop, creating micro-gaps. Let the sink cool completely, then reseal with 100% silicone rated for continuous water immersion (e.g., GE Advanced Silicone II).
Do you hear dripping from inside the wall — not the cabinet?
That’s likely a failed supply line connection behind the faucet body. Turn off water, remove the faucet handle and escutcheon, then check the braided supply lines where they connect to the valve cartridge. Replace any corroded or kinked lines — never reuse old compression fittings.
Is there mold or musty odor under the sink?
Mold growth confirms chronic moisture exposure. Wipe with a 10% bleach solution, then let dry fully before repairs. According to the CDC’s 2023 Indoor Air Quality Handbook, mold colonies can establish in as little as 48 hours in damp cabinetry.
| Leak Location | Most Likely Cause | DIY Time Estimate |
|---|---|---|
| Under drain flange | Failing rubber gasket or loose locknut | 15–25 minutes |
| Rim-to-countertop seam | Degraded silicone or improper bead application | 1–2 hours (includes cure time) |
| Under shutoff valves | Corroded valve stem or worn washer | 20–40 minutes |
| Inside wall cavity | Failed supply line or faulty faucet cartridge | 45–90 minutes |
If you’ve confirmed the leak isn’t coming from the drain or supply lines — and the sink itself feels spongy or flexes when pressed — stop and contact a licensed plumber. Structural compromise in the sink or countertop support isn’t safe to diagnose remotely. For everything else, you’ve already taken the hardest step: spotting the problem before it soaks your cabinets or floors.