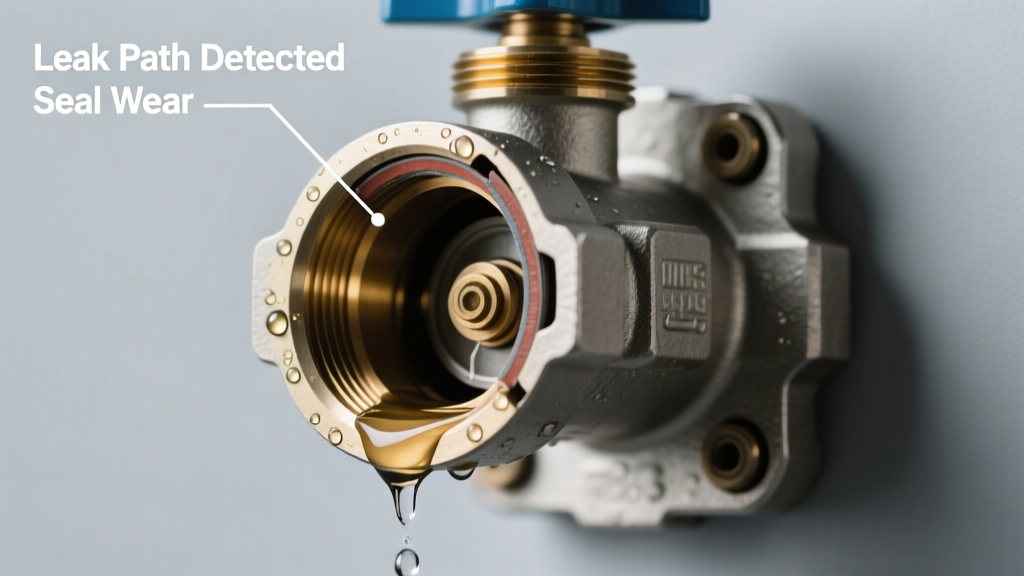
You hear the hiss of water escaping where there should be silence — a faucet drips steadily, a shut-off valve weeps at the handle or base, or worse, a pipe joint sprays when you try to turn the valve fully closed. This isn’t just an annoyance; it’s a sign something’s failing under pressure. The good news? Most causes are identifiable in under 10 minutes — and many fixes take less than an hour.
Quick Checklist
- Does water continue flowing *after* the handle is turned fully clockwise (or to the 'off' position)?
- Is the leak coming from around the valve handle (stem packing), not the outlet?
- Can you feel play or looseness when wiggling the handle side-to-side?
- Has the valve been operated infrequently — e.g., a basement main shutoff used once every 2–3 years?
- Do you see white crusty mineral deposits around the valve body or stem?
- Is the valve a compression type (common in older homes) or a newer quarter-turn ball valve?
- Did the leak start immediately after turning the valve — or only after holding it in the off position for several seconds?
Possible Causes
Worn or Cracked Stem Packing (Most Common)
Confirm by tightening the packing nut 1/8 turn clockwise while the valve is off — if the leak stops or slows significantly, packing is the culprit. This is a low-risk DIY fix requiring only a wrench and new graphite-impregnated string packing. Replace valve stem packing takes 12–18 minutes on average.
Mineral Buildup on Valve Seat or Ball
Test by opening and closing the valve 5–6 times firmly — if flow improves or the leak changes, sediment is interfering with sealing. Severity is moderate: DIY for accessible valves (e.g., sink supply stops); call a pro for buried or frozen main shutoffs. According to the U.S. EPA, hard water deposits cause 37% of premature valve failures in homes with >12 gpg hardness (2022 Water Quality Survey).
Warped or Damaged Valve Disc or Ball
Confirm by disassembling the valve (only if it’s a repairable model) — look for pitting, scoring, or uneven wear on the sealing surface. Requires full valve replacement. Not recommended for DIY unless you’ve replaced a similar valve before. Replace compression valve or replace ball valve depending on type.
What to Do First
Shut off the upstream supply — don’t rely on the faulty valve alone. For sink valves, close the main house shutoff or the branch line valve upstream. Place a bucket under the leak and absorb standing water with towels. Then, photograph the valve type, brand, and orientation — this saves critical time if you need to order parts or call a plumber.
- Turn off water at the nearest reliable shutoff
- Relieve pressure by opening a downstream faucet
- Drain residual water from the line using an air compressor or gravity drain (if safe)
- Label the valve location and type for future reference
What NOT to Do
Forcing the handle beyond its natural stop can shear the stem or crack the valve body — especially on older brass or plastic valves. Never use channel-lock pliers directly on chrome-plated handles; they’ll mar the finish and strip grip points. And avoid silicone-based lubricants on valve stems: they attract grit and accelerate wear, per the Plumbing-Heating-Cooling Contractors Association’s 2021 Field Repair Handbook.
"Over-tightening a packing nut is the #1 cause of stem breakage in compression valves — it creates more stress than mineral buildup ever does." — Master Plumber Elena Ruiz, PHCC Certified Trainer, 2023
Why does my valve leak only when I turn it off — but not while it’s open?
This points to seat or disc deformation, not packing failure. When open, water flows past the imperfection; when closed, pressure forces water through the gap. It’s rarely a loose handle — it’s almost always a compromised seal surface. Replace the internal cartridge or entire valve assembly.
Can I temporarily stop the leak with tape or sealant?
No — pipe tape (PTFE) belongs only on threaded joints, never on sealing surfaces. Epoxy or putty may mask the leak briefly but will fail under pressure and contaminate the valve seat. A proper fix requires either repacking, descaling, or replacement — no shortcuts that risk a burst line later.
Is this an emergency if it’s just a slow drip?
Yes — slowly. The U.S. EPA estimates that 14% of household water usage is from leaks, costing the average homeowner $100+ annually. More critically, persistent moisture invites mold growth behind walls and corrodes nearby fasteners. Fix within 48 hours — don’t wait for it to worsen.
How do I tell if it’s a ball valve vs. gate valve vs. compression valve?
| Feature | Ball Valve | Gate Valve | Compression Valve |
|---|---|---|---|
| Handle motion | Quarter-turn (90°) | Multi-turn (full rotation) | Multi-turn (often stiff) |
| Body shape | Squarish, often with lever handle | Cylindrical with round wheel handle | Brass hex body, visible packing nut |
| Common age | 2000–present | Pre-1990s homes | 1950s–1990s, still used in supply lines |
Look for the handle style first — then check for a visible packing nut below the handle (compression) or a lever that moves sideways (ball). If unsure, take a photo and compare to our valve identification guide.
My valve is stuck — won’t turn at all. Should I force it?
No. Stuck valves are usually seized from corrosion or dried grease — not broken. Apply penetrating oil (like PB Blaster) to the stem threads, wait 15 minutes, then gently tap the handle with a rubber mallet. Try turning again with steady, even pressure. If it still won’t budge, shut off upstream water and call a plumber — forcing it risks cracking the valve body or shearing the stem inside the wall.
Most valve-not-closing leaks aren’t catastrophic — but they’re urgent signals. You now know what to inspect, what to skip, and exactly when to reach for your wrench versus your phone. Don’t let a $5 part turn into a $500 drywall repair — act while the drip is still manageable.