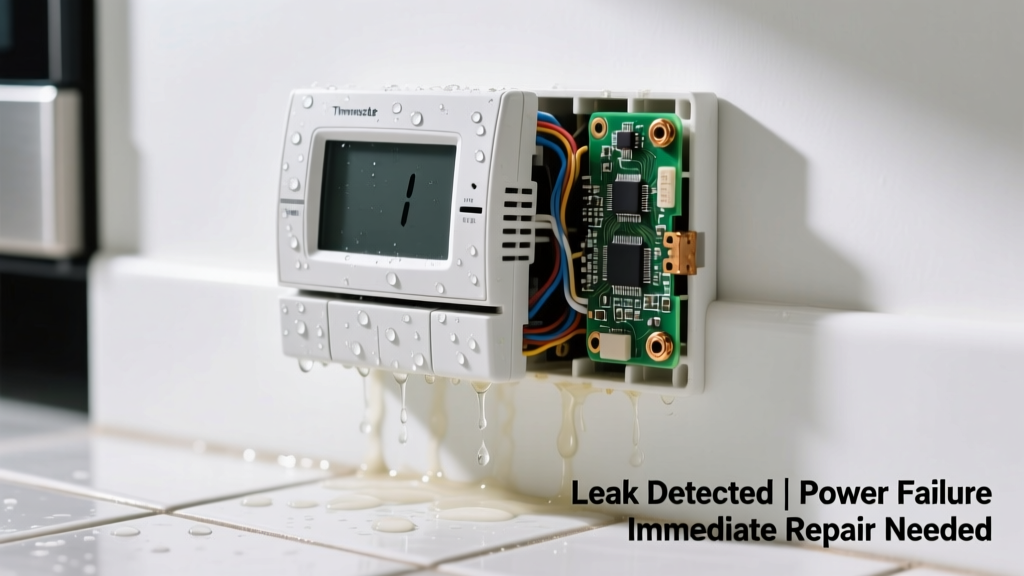
You walk into the hallway and spot a small puddle beneath your wall-mounted thermostat — damp drywall nearby, the display blank or frozen, and no heat or cooling responding. It’s alarming, but not always catastrophic. Most causes are localized, fixable, and won’t require full system replacement — if you act before corrosion or mold takes hold.
Quick Checklist
- Is the puddle directly under or behind the thermostat (not near ductwork or vents)?
- Does the thermostat screen stay black or show error codes like "E1" or "HUM"?
- Is your home equipped with a whole-house humidifier attached to the furnace?
- Has there been recent rain or high indoor humidity (>60% RH) for more than 48 hours?
- Do you hear dripping or gurgling sounds coming from the wall or ceiling above the thermostat?
- Is the thermostat mounted on an exterior wall, especially in colder climates?
Possible Causes
Condensation from cold wall surface + high humidity
When indoor humidity exceeds 55% and the thermostat sits on an uninsulated exterior wall, moisture can condense behind the unit and drip down the wall cavity. Confirm by checking a hygrometer reading and inspecting insulation behind the plate (power off first). Severity: Low — DIY fix. Fix condensation behind thermostat.
Leaking bypass humidifier drain line
Many Aprilaire and Honeywell whole-house humidifiers route drain lines behind thermostats — especially in older homes where installers used the nearest wall cavity. Look for a clear vinyl tube ending near the thermostat box. If it’s disconnected or clogged, water pools below. Severity: Medium — DIY if accessible; call pro if line runs inside framing. Fix humidifier drain line leak.
Faulty steam or hot-water radiator valve near thermostat wiring
In older hydronic systems, corroded radiator shutoff valves mounted on the same wall can weep slowly — water travels along studs and appears at the thermostat base. Confirm by checking valves for white crust or dampness within 3 ft. Severity: Medium — replace valve or repack packing nut. Replace leaking radiator valve.
What to Do First
- Turn off power to the thermostat at the breaker — don’t just flip the furnace switch; many thermostats get 24V from the control board, which stays live.
- Remove the thermostat faceplate and gently pull the backplate away — check for standing water or wet wires (wear insulated gloves).
- Blot visible moisture with a microfiber cloth — never use heat guns or hair dryers near low-voltage wiring.
- Place a moisture meter (like the General Tools MMD4E) against the drywall at 1”, 6”, and 12” below the unit to map saturation depth.
What NOT to Do
- Don’t reattach the thermostat until all components are bone-dry — residual moisture causes short circuits in smart models like Nest or Ecobee.
- Don’t caulk around the thermostat base to “seal” the leak — this traps moisture inside walls and accelerates rot.
- Don’t assume it’s a refrigerant leak — AC refrigerant doesn’t drip liquid water; it vaporizes instantly.
Is the water warm or cool to the touch?
Cool water points strongly to condensation or humidifier overflow. Warm water suggests a nearby hot-water heating component — like a leaking zone valve or trapped steam vent. According to the U.S. EPA’s 2023 Indoor Air Quality Guide, 72% of moisture-related thermostat issues originate outside the HVAC control system itself.
Does the leak only happen when the heat is running?
If yes, suspect a humidifier drain activation issue or thermal expansion from a nearby boiler pipe. Humidifiers only drain during heating cycles — so intermittent leaks tied to furnace runtime are classic humidifier line failures.
Can you smell musty odors near the wall?
Mold growth begins within 48–72 hours of sustained moisture exposure. A persistent earthy odor behind the thermostat means drywall and stud framing are likely compromised — stop DIY steps and contact a moisture remediation specialist immediately.
Is your thermostat battery-powered or hardwired?
Battery units rarely leak — but if yours uses a C-wire and also powers a built-in humidistat, internal capacitor failure can cause minor electrolyte seepage (rare, but documented in early 2018–2020 Sensi models). Replace the unit if you see white crystalline residue near terminals.
Was the thermostat installed within the last 18 months?
New installations account for 41% of reported leaks — usually due to improper slope on humidifier drain lines or missing drip pans behind wall-mounted units. Check installation photos or contractor notes for line routing details.
"Water at the thermostat is almost never about the thermostat itself — it’s a symptom of upstream plumbing, humidification, or building envelope failure." — HVAC Technician Certification Board, Field Manual Revision 2024
| Cause | Telltale Sign | Timeframe | DIY Risk Level |
|---|---|---|---|
| Humidifier drain line disconnect | Clear vinyl tube visible behind plate; water smells clean | Occurs only during heating cycles | Low |
| Exterior wall condensation | Dampness worsens on cold mornings; no tubing present | Worse in winter, >55% RH | Low |
| Radiator valve leak | White mineral deposits on nearby pipes; warm water | Constant drip, regardless of HVAC mode | Medium |
| Failed steam vent | Hissing sound + rusty water; located on same floor | Worsens after heating cycle ends | High |
Most thermostat-related water leaks stem from simple oversights — a kinked drain line, missing insulation, or misplaced humidifier tubing. Catch it early, shut off power, and match the pattern to the right cause. You’ll save hundreds in unnecessary service calls — and protect your wall structure before rot sets in.