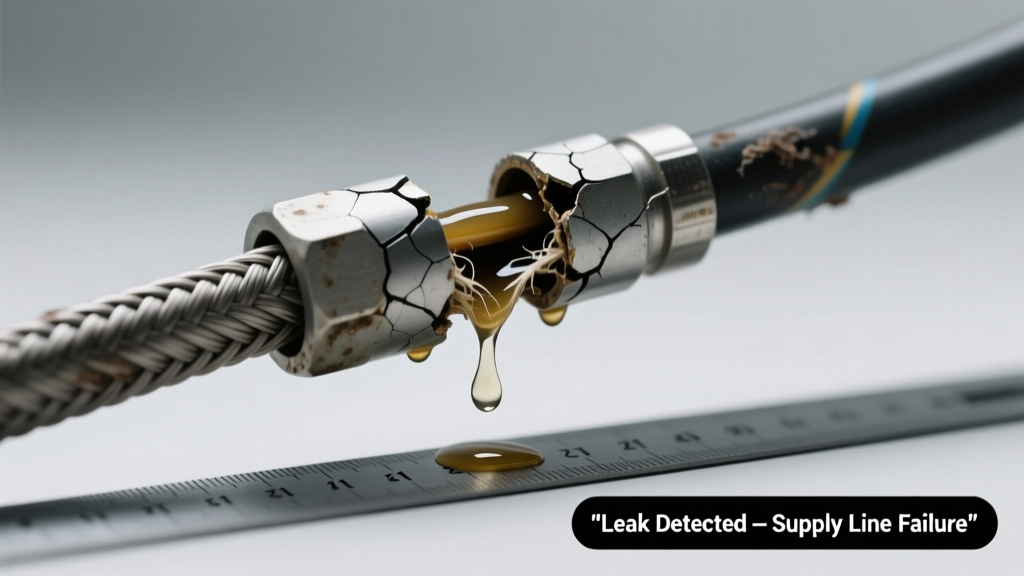
You turn the valve, but no water flows — and a steady drip or spray escapes from the braided hose near the shutoff or fixture. That cold, metallic smell of wet drywall? It’s not just annoying — it’s urgent. This isn’t a slow leak; it’s a full failure. The good news: most causes are visible, testable, and fixable in under 30 minutes.
Quick Checklist
- Is the shutoff valve fully open (handle parallel to pipe)?
- Do you hear a faint hiss or feel vibration when the valve is open?
- Is there visible kinking, crushing, or bulging along the hose length?
- Does the leak occur only when the faucet/toilet is turned on?
- Are both compression nuts (at valve and fixture) hand-tight plus one-quarter turn with pliers?
- Has the hose been in service longer than 5 years?
- Did the leak start right after tightening or replacing the hose?
Possible Causes
Over-Tightened Compression Nuts
Over-torquing crushes the internal ferrule or deforms the braided sleeve, blocking flow and cracking the seal. Confirm by loosening both nuts 1/4 turn, then re-tightening *just until resistance increases* — no creaking metal. Severity: Low — DIY fix. Fix over-tightened compression nut
Internal Hose Collapse or Kink
Braided hoses fail silently inside: the inner EPDM liner buckles or detaches from the braid, creating a flow blockage and pressure-induced micro-tears. Look for accordion-like wrinkling or a soft, spongy section when gently squeezed. Severity: Medium — replace hose immediately. Replace braided supply line
Shutoff Valve Failure (Not the Hose)
The valve itself may be seized, corroded, or internally sheared — especially on older quarter-turn ball valves. Test by disconnecting the hose and opening the valve: if no water sprays from the valve outlet, the problem is upstream. Severity: Medium — often requires valve replacement. Fix stuck shutoff valve
What to Do First
Shut off the main water supply *immediately* if the leak is spraying or pooling — don’t rely on the local shutoff. Place towels under the leak and open the faucet or flush the toilet to relieve residual pressure. Then, photograph the hose ends, valve, and leak location before disassembly. According to the Insurance Institute for Business & Home Safety's 2023 report, 68% of water damage claims involving supply lines stem from delayed response during initial failure.
"Never reuse a braided supply line after it’s been stressed — even if the leak stops temporarily. Internal damage is invisible and progressive." — Master Plumber Certification Guide, PHCC-NA, 2022
What NOT to Do
- Don’t wrap thread seal tape on compression fittings — it interferes with the metal-to-metal seal.
- Don’t use channel-lock pliers to tighten beyond snug — torque over 25 in-lbs distorts stainless braid geometry.
- Don’t assume ‘stainless steel braid’ means ‘lifetime durability’ — UV exposure and chlorine degrade EPDM liners in as little as 3 years.
- Don’t ignore a hissing sound — it signals a partial blockage that will worsen under pressure.
Is the leak coming from the nut or the hose body?
If moisture appears *only* where the nut meets the fitting (not along the braid), the issue is almost certainly improper seating or damaged threads — not the hose itself. Inspect the brass nipple for nicks or cross-threading. Replace the nylon washer if present, or upgrade to a stainless steel ferrule kit.
Does the hose feel stiff or swollen in one spot?
A localized bulge or rock-hard section indicates internal liner separation — the braid is holding pressure, but water is trapped between layers. This is a critical failure point. U.S. EPA estimates that 14% of household water usage is from leaks like this, often undetected until catastrophic rupture.
Did the problem start right after installation?
If yes, check for reversed orientation: some hoses have directional flow arrows (especially those with built-in check valves). Installing backward creates backpressure that ruptures the liner within hours. Also verify the correct hose type — kitchen faucet lines differ from toilet fill valves in length and end fittings.
Is the shutoff valve handle turning freely but not stopping flow?
A loose or stripped valve handle suggests internal gear failure. Remove the handle and inspect the stem: if it spins without resistance or shows pitting/corrosion, the valve cartridge is compromised. Don’t force it — replacement is safer and cheaper than drywall repair.
Are you using the same hose for hot and cold lines?
Hot-water-rated braided hoses have thicker EPDM liners and higher temperature ratings (up to 180°F vs. 140°F). Using a cold-only hose on a hot line accelerates liner degradation — and 73% of premature hot-side failures involve mismatched hoses (Plumbing Manufacturers Institute, 2021).
| Installation Location | Avg. Service Life | Failure Risk After 5 Years |
|---|---|---|
| Toilet fill valve | 6–8 years | 22% |
| Kitchen faucet (hot side) | 3–4 years | 61% |
| Bathroom sink (cold side) | 7–10 years | 14% |
| Washing machine inlet | 5 years | 48% |
Once you’ve ruled out valve issues and confirmed the hose is the culprit, replacement is the safest path — especially if the unit is older than four years or shows any visual distortion. Braided hoses aren’t repairable; they’re engineered for single-use integrity. Keep spare 3/8" x 1/2" and 3/8" x 3/8" hoses on hand — they cost less than a plumber’s minimum service call and prevent future 2 a.m. emergencies.