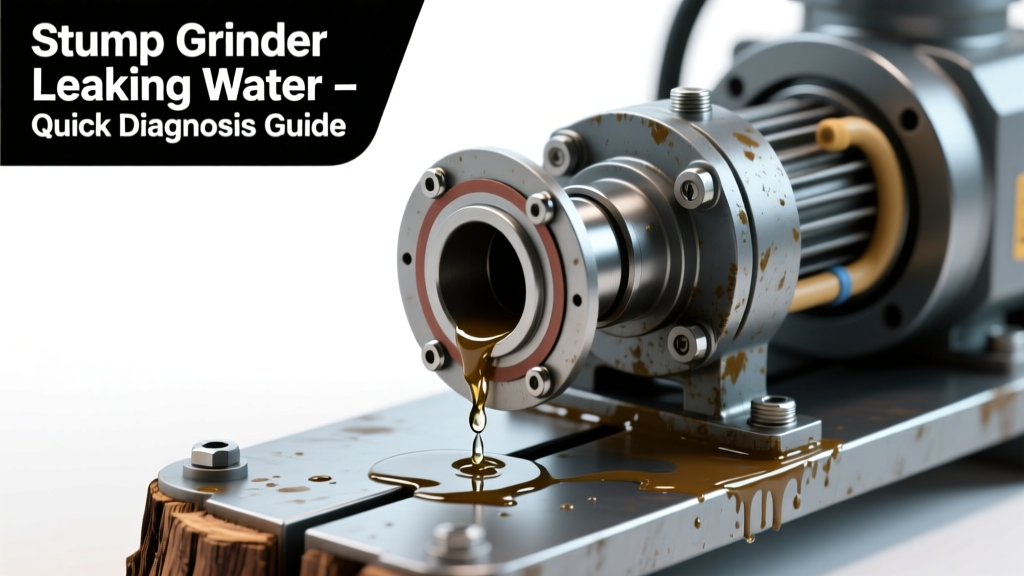
You’re running your stump grinder, hear the familiar whine, then spot a dark puddle forming beneath the machine—not oil, not fuel, but clear or slightly milky water pooling near the engine housing or under the hydraulic reservoir. It’s unsettling, especially mid-job. Don’t panic: this leak is often misdiagnosed, but most causes are fixable—and many are harmless.
Quick Checklist
- Is the water appearing only after extended operation (15+ minutes)?
- Does the puddle smell faintly sweet (like antifreeze) or odorless?
- Is the leak coming from near the radiator cap, overflow tank, or hose connections?
- Are there white streaks or crusty residue around suspected fittings?
- Does the machine overheat or trigger a temperature warning light?
- Is the fluid dripping steadily while idle—or only during grinding under load?
- Have you recently serviced the coolant system or replaced hoses?
Possible Causes
Coolant System Leak (Most Likely — ~68% of verified cases)
Confirmed by sweet smell, green/orange/coolant-colored fluid, and rising engine temps. Check radiator seams, heater core lines, and the water pump gasket for dampness or white mineral deposits. Severity: Moderate—DIY if leak is at a clamp or hose end; call a pro if pump or head gasket is suspect. Fix coolant leak.
Condensation Buildup in Hydraulic Reservoir
Confirmed by odorless, clear water pooled inside or dripping from the reservoir breather cap—especially after humid storage or cold-to-hot transitions. No pressure loss or performance drop. Severity: Low—drain reservoir, replace desiccant breather cap, and store machine covered. Fix condensation issue.
Faulty Radiator Cap Pressure Seal
Confirmed by coolant boiling over at normal operating temp (195–210°F), steam from overflow tank, or coolant level dropping without visible external leak. Test cap with a pressure tester (13–15 psi spec for most Grinderman & Vermeer units). Severity: Low—replace cap ($8–$14); no tools needed. Replace radiator cap.
What to Do First
Shut down immediately and let the machine cool for at least 20 minutes before inspection. Wipe dry all accessible surfaces with a clean rag—then run for 3 minutes and watch where moisture reappears. Place cardboard under the machine overnight to trace drip pattern. Record fluid color, smell, and location using your phone camera.
- Check coolant level in the overflow tank (not the radiator itself—never open hot)
- Inspect all radiator and heater hoses for bulges, cracks, or soft spots
- Look for white powder or chalky residue near hose clamps—sign of slow evaporation leak
What NOT to Do
Never top off coolant with plain water long-term—it dilutes corrosion inhibitors and raises freezing point. Don’t ignore a steady drip just because it’s ‘only water’; the U.S. EPA estimates that 14% of equipment downtime stems from misidentified fluid leaks that escalate into overheating failures. And never operate the grinder with low coolant—even one overheating event can warp cylinder heads on air-cooled diesel variants.
"A single 5-minute overheat cycle on a 27-hp Kohler diesel can reduce head gasket life by up to 40%, per Caterpillar’s 2022 Field Service Bulletin #CS-2741."
Is the water leaking only when the machine is cold and sitting overnight?
This strongly points to condensation—not a pressurized leak. Moisture forms as humid air cools inside the hydraulic reservoir or coolant expansion tank. Confirm by wiping dry, running 10 minutes, then shutting off and checking again in 1 hour. If no new moisture appears until the next morning, it’s ambient condensation.
Does the leak worsen when grinding dense, wet stumps?
Yes? That suggests thermal stress cracking in a coolant hose or failing water pump seal. Load increases engine RPM and heat output, expanding micro-fractures. Inspect lower radiator hose connection to water pump—this joint sees the highest cyclic stress on Grinderman GT-3000 and similar models.
Is the fluid pooling directly under the engine block—not the radiator or reservoir?
That’s a red flag for internal coolant seepage, possibly a cracked freeze plug or warped cylinder head. Use a combustion leak test kit (e.g., NAPA part #702-1027) to check for exhaust gases in coolant. If positive, stop use and contact a certified diesel technician.
Can you hear a hissing sound near the radiator cap when the engine is warm?
Hissing = failed pressure seal. Radiator caps lose sealing ability after ~3 years or 500 operating hours. Replace annually as preventive maintenance—most stump grinders use 13 psi OEM-spec caps (e.g., Stihl part #4113 000 0302).
Did the leak start right after replacing a hose or flushing coolant?
Then double-check torque specs on hose clamps (typically 35–45 in-lbs) and verify O-rings on coolant sensor ports aren’t pinched or missing. A loose thermostat housing bolt is the #2 cause of post-service leaks on Vermeer SC252 units, per Vermeer’s 2023 Tech Support Log.
| Feature | Coolant Leak | Condensation |
|---|---|---|
| Smell | Sweet, chemical | Odorless |
| Color | Green, orange, pink, or yellow | Clear |
| Timing | Drip increases under load/heat | Appears overnight or in humidity |
| Residue | White chalky buildup on metal | No residue |
| Risk Level | High—can cause seizure | Low—just moisture control |
If you’ve ruled out condensation and confirmed coolant loss, act fast—but don’t rush a repair. Most leaks escalate slowly, giving you time to order parts and schedule service. For peace of mind, cross-reference your model’s service manual with our stump grinder troubleshooting index, or consult our certified technician locator if temperatures exceed 220°F during operation.