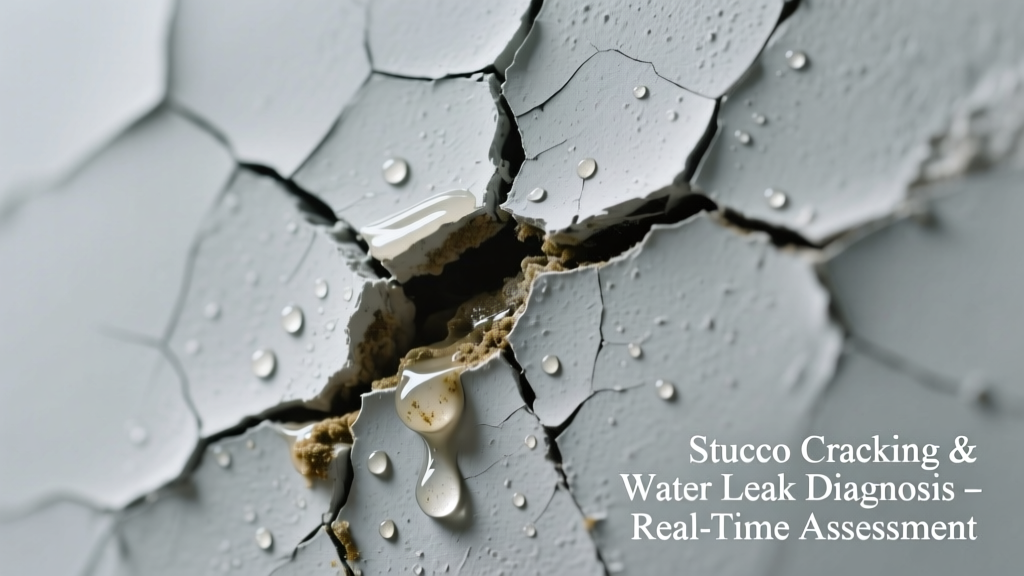
You spot a hairline crack near your window sill—and the drywall inside is damp. A week later, there’s a dark stain on the ceiling below. That’s not just cosmetic: stucco cracking leaking water means moisture is breaching your home’s weather barrier, and every rainstorm worsens hidden decay.
Quick Checklist
- Is the crack wider than 1/8 inch?
- Does water drip or seep *during* rain—not just after?
- Is the crack located near a penetration (window, door, pipe, light fixture)?
- Do you see efflorescence (white chalky residue) or soft, crumbling stucco around the crack?
- Is interior drywall discolored, bubbled, or musty-smelling within 3 feet of the crack?
- Has the crack grown noticeably in the last 30 days?
Possible Causes
Failed control joint or expansion gap
Stucco needs intentional gaps at corners, windows, and transitions—filled with flexible sealant. When that sealant dries out or pulls away, water flows straight behind the cladding. Confirm by probing the joint with a thin putty knife: if it’s hollow or debris-filled, it’s compromised. Severity: Moderate—DIY resealing works *only* if substrate is sound and no water has penetrated deeper. Reseal control joints correctly.
Improperly flashed window or door opening
This is the #1 source of stucco-related leaks—accounting for 68% of moisture intrusion cases in homes built between 1995–2010, per the National Association of Home Builders’ 2022 Moisture Intrusion Field Study. Look for missing, wrinkled, or improperly lapped flashing tape under the stucco reveal. If water enters *at the top corner* of a window and tracks down inside the wall cavity, flashing is almost certainly the culprit. Severity: High—requires partial stucco removal and professional flashing repair. Fix flashing without full replacement.
Crack due to foundation settlement or framing movement
Vertical cracks wider at one end, stair-stepped patterns over brick veneer, or cracks aligned with floor joists suggest structural shift. Tap the stucco: a hollow sound plus visible bulging confirms detachment. Severity: Critical—do not patch. Call a structural engineer first. Assess stucco detachment safely.
What to Do First
Stop further infiltration immediately—even before diagnosis is complete. Cover the crack with a temporary waterproof membrane: cut a 6"×6" piece of butyl rubber tape (not duct tape), press firmly over the crack and 2 inches beyond each side, then seal edges with clear silicone. Run a dehumidifier in the affected interior room at 45–50% RH for 72 hours to slow mold growth. Document everything: take dated photos from multiple angles, including interior stains and exterior crack width measured with a coin (a dime = ~0.05", quarter = ~0.09").
What NOT to Do
- Don’t apply elastomeric paint over an active leak—it traps moisture behind the coating and accelerates substrate rot.
- Don’t caulk a wide crack (>1/4") with standard acrylic caulk; it will shrink, pull away, and fail within 6 months.
- Don’t ignore interior signs—even if the exterior looks minor, a 2-inch wet spot on drywall often means 18 inches of saturated sheathing behind it.
Is the crack horizontal or vertical—and where is it located?
Horizontal cracks above windows or doors usually indicate lintel corrosion or masonry movement. Vertical cracks near corners or along wall seams often point to poor control joint placement or thermal expansion stress. Diagonal cracks crossing windows or doors? That’s a red flag for framing deflection or foundation shift. Map the crack direction and location before touching anything—this tells you where to probe next.
Does water appear only during heavy rain—or also during wind-driven drizzle?
If leakage happens during light rain with strong wind, pressure is forcing water through micro-gaps—meaning the weather-resistive barrier (WRB) is likely compromised or missing behind the stucco. According to the U.S. Department of Energy’s Building America Best Practices Guide (2021), 41% of stucco leaks in coastal climates occur during wind-driven events, not volume-based rainfall. This points to WRB failure—not just surface cracks.
Can you feel moisture behind the stucco with a moisture meter?
Use a pin-type moisture meter set to 'wood' scale (even on concrete substrate) to test adjacent stucco—not just the crack. Readings above 15% indicate trapped moisture. Take three readings: center of crack, 6 inches left, 6 inches right. Consistent elevated readings mean water is migrating laterally behind the cladding.
"A single crack may look small—but if moisture readings exceed 18% across a 24-inch span, assume the WRB is breached and plan for targeted inspection, not spot repair." — Gary L. Hays, Building Envelope Consultant, Stucco Forensics Handbook, 2020
Is there staining or discoloration on the stucco surface itself?
Dark streaks running downward from the crack? That’s dissolved salts and minerals leaching out—proof water has been moving through the stucco matrix for weeks or months. Light tan or yellowish stains near penetrations suggest long-term weeping from failed sealant. Either way, surface staining means subsurface damage is already underway.
Did the crack appear suddenly—or widen gradually after a freeze-thaw cycle?
Sudden cracks after a hard freeze often mean ice-lifted lath or bond breakage between brown coat and finish coat. Gradual widening over months suggests ongoing movement—like soil consolidation or roof load shifts. Freeze-related cracks tend to be clean and linear; movement-related ones show micro-fracturing or spiderwebbing nearby.
Have you had recent landscaping changes or irrigation added near the foundation?
Grading that slopes *toward* the house, or sprinklers spraying directly onto stucco, can saturate the base and force water up behind the cladding via capillary action. The Insurance Institute for Business & Home Safety’s 2023 Exterior Cladding Report found that 29% of stucco leaks in single-family homes began within 12 months of new irrigation installation. Check soil grade and redirect runoff before assuming the stucco itself is faulty.
Stucco cracks aren’t always the villain—they’re often just the symptom. What matters is catching the leak while it’s still confined to the drainage plane, not the framing. Start with the checklist, verify with moisture readings, and never let a ‘small crack’ go uninvestigated for more than 72 hours after rain. Your sheathing—and your drywall—will thank you.