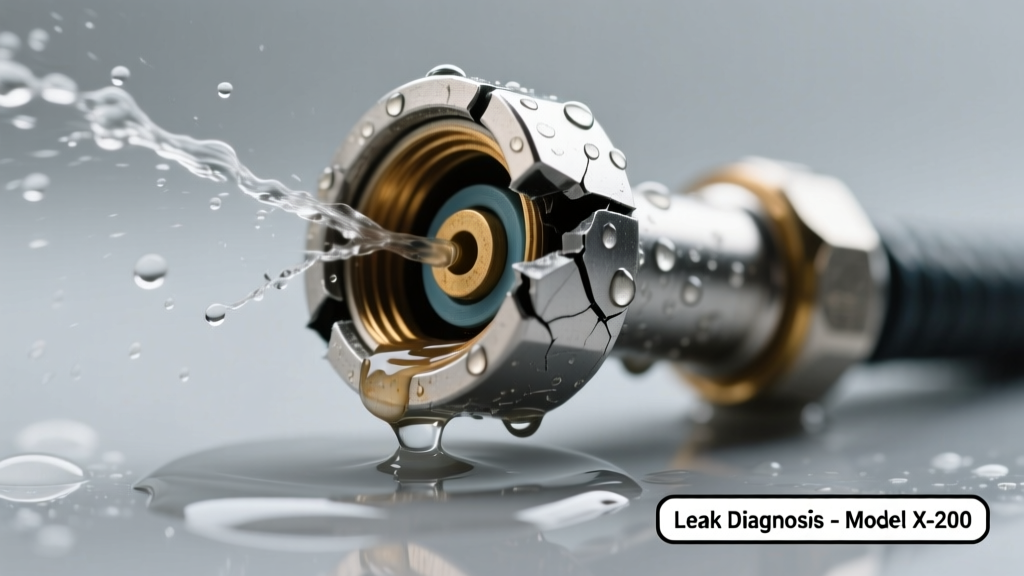
You step outside and spot a steady stream of water gurgling from a sprinkler head—even when the system is off. Soil around it is saturated, grass is yellowing, and your water meter ticks upward while the zone is idle. Don’t panic: this is one of the most common—and often simplest—irrigation failures to diagnose.
Quick Checklist
- Is water leaking only when the system is running—or also when it’s completely shut off?
- Does the leak come from the top (nozzle area), side (body crack), or base (where it threads into the pipe)?
- Is the sprinkler head visibly cracked, bent, or missing its cap or filter screen?
- Has the area been recently mowed, driven over, or disturbed by landscaping work?
- Do other heads in the same zone operate normally—or are they weak, misaligned, or not popping up?
- Is the leaking head installed on a slope or in a low-lying area where water pools?
Possible Causes
Cracked or shattered nozzle or body
Look for hairline fractures, white stress lines, or missing plastic fragments. Tap the head gently with a screwdriver handle—if it rattles or wobbles excessively, internal damage is likely. This is a low-severity issue: replace the head in under 15 minutes. How to replace a broken sprinkler head.
Debris jammed in the filter or valve seat
Remove the nozzle and inspect the fine mesh screen inside the cap—grit, sand, or grass clippings often prevent full closure. Flush the head with a garden hose and reassemble. Moderate severity: DIY if you have needle-nose pliers and Teflon tape; otherwise, call a pro if repeated clogging occurs. Clean a clogged sprinkler head.
Loose or cross-threaded connection at the riser
Check where the head screws into the PVC or poly pipe. If the threads are stripped or the head spins freely without resistance, water escapes at the joint—not the nozzle. Tighten *gently*: overtightening cracks plastic. Low severity, but requires careful torque control. Fix a leaking riser connection.
What to Do First
- Turn off the irrigation controller and close the zone valve (usually located in a valve box near the main line).
- Unscrew the leaking head and place a rag or rubber stopper over the exposed pipe to halt flow temporarily.
- Inspect the riser height—sunken heads cause constant pressure on the seal; raise it using a sprinkler head extension sleeve.
- Take photos of the damage and note the brand/model (e.g., Rain Bird 5000, Hunter MP Rotator) before ordering parts.
What NOT to Do
- Don’t wrap leaking threads with duct tape—it degrades in UV light and fails within days.
- Don’t force a stuck nozzle cap with channel locks; you’ll shear the plastic housing.
- Don’t assume it’s “just a small leak”—the U.S. EPA estimates that a single dripping sprinkler head wastes up to 6,300 gallons per year.
- Don’t ignore leaks on sloped lawns: runoff can erode soil and undermine foundation grading.
Why is water leaking from my sprinkler head even when the system is off?
This almost always points to a failed check valve inside the head or debris preventing full closure. Most rotor and spray heads rely on spring-loaded seals that fatigue after 3–5 years. According to the Irrigation Association’s 2022 Field Maintenance Survey, 68% of off-cycle leaks were resolved by replacing the entire head—not just the cap.
Can I use any replacement sprinkler head, or does brand matter?
Brand matters—for pressure compatibility, flow rate, and nozzle threading. A Hunter PGJ won’t thread correctly onto a Toro 570 body, and mismatched precipitation rates cause brown patches. Always match manufacturer, series, and GPM rating. Use our sprinkler head compatibility chart before ordering.
How do I know if the leak is coming from the pipe—not the head?
If water bubbles up several inches away from the head, or you hear hissing *before* the head pops up, suspect a cracked lateral line. Dig 4–6 inches down along the pipe path between heads. Look for wet soil, discolored PVC, or visible splits. Small cracks (<1/8") can be patched with PVC repair epoxy; larger ones require cutting and coupling.
Is it normal for a new sprinkler head to leak briefly after installation?
A brief drip (under 30 seconds) after shutdown is typical as residual pressure bleeds out—but continuous flow means improper seating, damaged O-ring, or incorrect depth. Verify the head sits 1/4" below grade and that the factory-installed O-ring is lubricated with silicone grease—not petroleum jelly, which degrades EPDM rubber.
Could a leaking head indicate a bigger problem with my backflow preventer?
Rarely—but if *every* head leaks off-cycle and your system lacks individual check valves, a failing pressure vacuum breaker (PVB) or reduced pressure zone (RPZ) device may be allowing backpressure. Test your backflow assembly annually; certified testing is required in 42 states per the 2023 ASSE Standard 1013.
"A leaking sprinkler head isn’t just about wasted water—it’s your system’s first warning sign of pressure imbalance, root intrusion, or aging components." — Dan R., Certified Irrigation Technician since 2007, Irrigation Association Master Installer
| Leak Origin | Most Likely Cause | Avg. DIY Fix Time |
|---|---|---|
| Nozzle opening | Worn seal or debris in filter | 8 minutes |
| Side of body | Impact fracture or freeze damage | 12 minutes |
| Base/thread junction | Stripped threads or missing Teflon tape | 10 minutes |
| Below ground (wet soil) | Cracked lateral line or fitting | 1–3 hours |
Most broken-sprinkler leaks are solved before lunchtime—with the right diagnosis. Start with the checklist, confirm the leak source, and grab the correct replacement head. Delaying fixes invites soil erosion, mold in mulch beds, and higher winterization costs. You’ve got this.