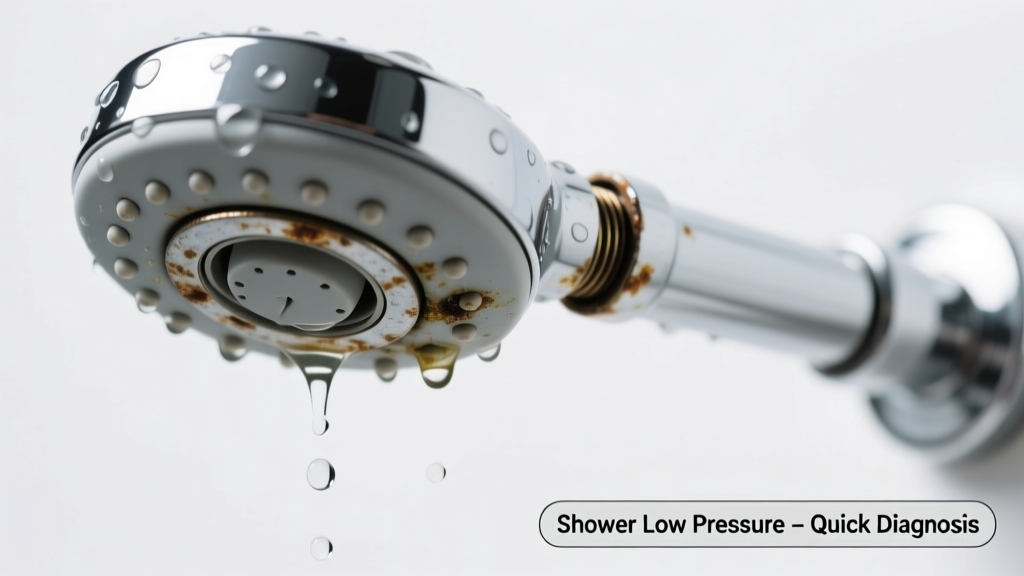
You’re stepping into the shower, turn the handle—and instead of a steady stream, you get a weak sputter while water pools around the base or drips from the spout when it’s off. It’s frustrating, wasteful, and potentially damaging. The good news? Most causes are diagnosable in under 10 minutes—and many are fixable without a plumber.
Quick Checklist
- Does the leak happen only when the shower is running—or also when it’s turned off?
- Is low pressure consistent across both hot and cold settings?
- Do you hear hissing, knocking, or gurgling near the wall or valve?
- Has the shower been recently renovated or had new fixtures installed?
- Is water pooling at the base of the shower stall or dripping from the ceiling below?
- Does the leak worsen when you adjust the handle mid-stream?
Possible Causes
Clogged Showerhead or Flow Restrictor
Mineral buildup inside the showerhead or behind the flow restrictor starves pressure and can force water to back-leak through seals. Remove the showerhead, soak it in vinegar for 30 minutes, and inspect the rubber washer and restrictor disc. If pressure returns and no drip remains, this was the culprit. Severity: DIY—takes 15 minutes. Fix clogged showerhead.
Worn Cartridge or Ceramic Disc
In single-handle Moen, Delta, or Pfister valves, a cracked or calcified cartridge causes cross-flow (hot/cold mixing) and internal bypass—leading to both low output and persistent dripping. Turn off water, remove handle and trim, then pull the cartridge. Look for pitting, hairline cracks, or gritty residue. Severity: Intermediate DIY—if you match the exact model number. Replace shower cartridge.
Failing Pressure-Balancing Valve
Common in tub/shower combos with anti-scald valves, these fail silently: they restrict flow *and* allow cold water to bleed into the hot line (or vice versa), causing intermittent leaks at the spout or handle. Test by turning on just hot—then just cold. If pressure drops sharply when switching, the valve is likely degraded. Severity: Pro-recommended. Replacement requires shut-off access and precise calibration. Fix pressure-balancing valve.
What to Do First
Stop using the shower immediately. Locate your bathroom’s dedicated shut-off valve—usually behind an access panel near the tub or in the basement directly below. If none exists, close the main house shutoff and open two faucets (one high, one low) to relieve pressure. Place towels under the drip point and monitor for 15 minutes to gauge leak volume.
- Check under the sink and in the basement ceiling for wet drywall or insulation stains
- Take photos of all visible moisture—especially behind tile grout lines or at caulk seams
- Note whether dripping continues after 5 minutes with water fully off (indicates failed seal)
What NOT to Do
Don’t crank the handle harder—it stresses worn internal parts and widens micro-fractures in cartridges or seats. Don’t wrap leaking joints with tape or sealant; that masks the real issue and delays proper repair. And don’t ignore a slow drip: the U.S. EPA estimates that a faucet leaking once per second wastes over 3,000 gallons annually.
"A single dripping showerhead accounts for nearly 10% of all residential water waste linked to fixture failure—more than running toilets combined." — Plumbing Manufacturers Institute, 2022 Residential Leak Survey
Is the leak coming from the shower arm connection—not the head?
If water appears where the pipe meets the wall (not the showerhead itself), the threaded joint may be loose or missing Teflon tape. Tighten gently with channel-locks—no more than ¼ turn past hand-tight. If it weeps after tightening, disassemble, clean threads, and re-wrap with 3 full layers of PTFE tape, wrapping clockwise.
Does low pressure only happen when other fixtures are in use?
This points to undersized supply lines or a partially closed main shutoff. Check if kitchen or laundry pressure also drops when shower runs. If yes, inspect the main shutoff valve—it may be corroded or not fully opened. Also verify supply line diameter: homes built before 1985 often have ½-inch copper, which struggles with modern high-flow heads.
Is water leaking from the handle or escutcheon plate?
That’s almost always a failed O-ring or compression seat behind the handle. On two-handle setups, remove the handle screw (often hidden under a decorative cap), pull the handle, and inspect the stem tip. Cracks or flattened rubber indicate replacement needed. On single-handle units, it’s usually the cartridge’s upper seal—replacing the whole cartridge resolves both leak and pressure loss.
Did the problem start right after replacing the showerhead or valve trim?
Misaligned or overtightened trim kits compress internal seals unevenly, causing bypass leaks and flow restriction. Loosen the retaining nut by ⅛ turn and test. If pressure improves and drip stops, reassemble with manufacturer-specified torque (most require only 15–20 in-lbs). Over-torquing is the #1 cause of premature cartridge failure in new installations.
Is there visible mold or soft drywall behind the shower wall?
That signals long-term leakage behind tile—likely from a cracked valve body, failed solder joint, or rotted supply line. Shut off water immediately and call a licensed plumber with wall-cam inspection capability. Do not attempt to cut open drywall yourself unless you’ve confirmed no live wires or pipes are in the stud bay.
Most low-pressure + leak combos resolve with simple cleaning or part replacement—but catching them early prevents $2,000+ in water damage repairs. Start with the showerhead and work inward. When in doubt, document everything and consult a pro before the next shower cycle.