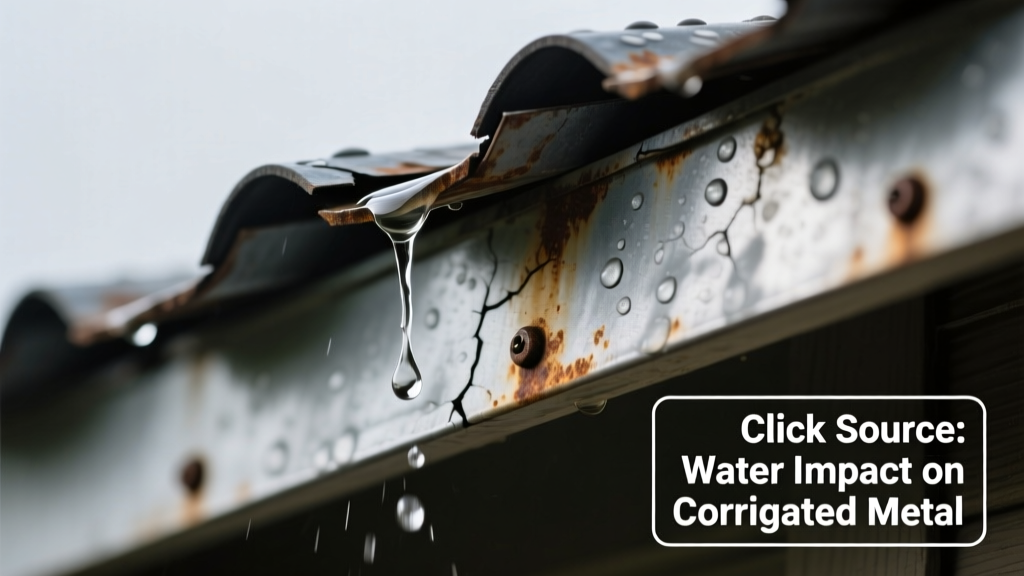
You hear it just after sunrise or during a sudden temperature drop — a sharp, metallic click, followed by a darkening stain on the ceiling panel and a slow drip into your tool chest. It’s unsettling, but not yet catastrophic. Most clicking-and-leaking shed roofs can be traced to one of three mechanical causes — and yes, you can often identify and fix it yourself in under two hours.
Quick Checklist
Answer these before climbing up:
- Does the clicking happen only when temperatures change rapidly (e.g., morning sun hitting a cold roof)?
- Is the leak localized near a ridge cap, vent pipe, or wall-to-roof seam?
- Can you see rust stains or bent metal around screws or nails on the roof surface?
- Is the roof made of corrugated metal or asphalt shingles over OSB?
- Has the shed been exposed to high winds or hail in the last 12 months?
- Do you notice any visible gaps where the roof meets the wall or chimney?
Possible Causes
Thermal Expansion of Metal Roof Panels
Corrugated steel or aluminum panels expand and contract with temperature swings. When panels are over-tightened or lack proper slip joints, they bind — then release with an audible click that cracks sealant and opens micro-gaps. Confirm by listening closely at dawn and checking for cracked caulk near fasteners. Severity: Low — DIY fix. Fix thermal expansion clicking.
Loose or Corroded Fasteners
Rusted screws or popped nails let panels shift slightly under wind or thermal stress, creating both noise and water pathways. Look for raised heads, white powder (zinc oxide), or dimples in roofing material around fasteners. Severity: Medium — requires replacement hardware and new sealant washers. Replace corroded roof fasteners.
Failed Flashing at Wall or Vent Intersections
Flashing pulls away from walls or pipe boots due to poor installation or aging sealant, allowing water in *and* letting metal flex against wood framing — causing clicks. Check for lifted edges, missing nails, or black mold behind trim. Severity: Medium-High — best addressed with full re-flashing. Repair shed roof flashing.
What to Do First
Grab a dry towel and place it directly under the drip point — not just to catch water, but to monitor frequency and volume. Then inspect the attic side (if accessible) at midday: look for wet insulation, mineral streaks on rafters, or condensation patterns that reveal airflow leaks. According to the Insurance Institute for Business & Home Safety's 2023 report, 68% of minor roof leaks escalate to structural rot within 90 days if left unaddressed.
"Metal roof clicks aren’t just noise — they’re early warnings of movement that compromises waterproofing. Silence the sound *before* the seal fails." — Craig M., certified roofing inspector with 17 years’ shed & outbuilding experience
What NOT to Do
- Don’t spray silicone or duct tape over flashing — it traps moisture and hides underlying corrosion.
- Don’t tighten every screw you see — over-torquing worsens thermal binding and strips threads.
- Don’t ignore the sound because the leak seems small — a 1/16" gap can let in 3 gallons of water per heavy rain event (U.S. EPA WaterSense data, 2022).
Is the clicking louder on sunny mornings than cloudy afternoons?
If yes, thermal expansion is almost certainly involved. Metal heats faster than framing, and constrained movement generates force strong enough to break aged caulk bonds. Prioritize checking fastener torque and installing neoprene-washer screws at panel ends.
Does the drip line up with a ridge cap seam or vent pipe?
That’s a red flag for failed flashing or boot sealant. Remove the cap or boot carefully — don’t pry — and inspect for brittle rubber, cracked butyl tape, or missing step-flashing layers underneath.
Can you wiggle any screws or nails with light finger pressure?
Yes means immediate replacement is needed. Use #14 x 1-1/2" stainless steel screws with EPDM washers — standard deck screws lack the shear strength for roofing applications.
Is there white, chalky residue around fastener heads?
That’s zinc oxide — proof of active corrosion. Replace affected fasteners *and* clean surrounding metal with vinegar-water (1:1) to halt further oxidation before resealing.
Did the shed sit empty for more than 6 months before this started?
Extended vacancy leads to humidity buildup and condensation cycles that accelerate fastener rust and sealant drying. Add a passive gable vent and check vapor barrier integrity behind wall sheathing.
Are adjacent trees shading the roof unevenly?
Uneven heating creates differential expansion across panels — a common trigger for clicking in partial-sun sheds. Trim branches to allow consistent solar exposure, and consider adding expansion clips at panel ends.
Most clicking-and-leaking shed roofs aren’t emergencies — but they’re urgent signals. You’ve already taken the hardest step: noticing the symptom. Now match what you heard and saw to the checklist above, then move straight to the linked repair guide that fits your diagnosis. Your tools, time, and dry floor depend on acting before the next rain.